Having spent the month of May without full shore power, Kelly and I have been functioning exclusively via solar power. For the most part, the lack of shore power has been largely a small nuisance, but during this time we’ve come to learn a lot about our power consumption habits and system constraints.
At purchase, our trailer was equipped with an inverter upgrade which allows us to use a subset of electrical outlets since they are powered directly by a pair of house batteries. Largely, this solution of works well, but does have some gaps – mainly a lack of 12-volt sockets (similar to cigarette outlets, but with greater power capacity) which can be used to efficiently charge various electronics (phones, tablets, etc.) with less power consumption than traditional outlets.
Most annoying is the lack of 12-volt sockets in the bedroom – specifically near the bedside nightstands. Always looking for a project, today I decided to add a socket to each of the bedroom nightstands.
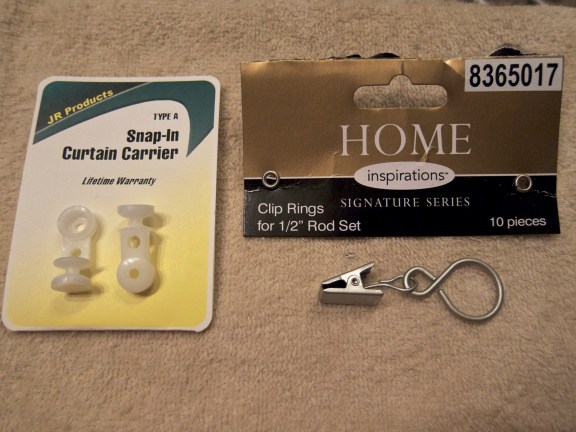
My first order of business included a trip to NAPA auto parts and Ace Hardware for a few required supplies.

A variety of supplies needed for the project
Once all parts were organized I began prepping the cable runs. I wired-in a 15-amp fuse for each of the negative leads, and added heat shrink over each joint.

Positive cables prepped
Initial wiring of the positive and negative cables was straightforward and didn’t take too much time. When I completed this task, I began thinking about where to locate the sockets.
Kelly’s chief request with this project was that I locate the sockets discretely, away from plain view. Our 27′ FB floor-plan situates the bedroom close to the forward storage area … an easy location for tapping into power. Once I finalized the socket location, I used a hole saw to bore an opening for each socket. The first image below is taken from the garage (under) bed storage, while the second is taken from inside the trailer after I had completed seating the socket into place.
I repeated this process for Kelly’s side of the bed, then shifted my attention back to the wiring.

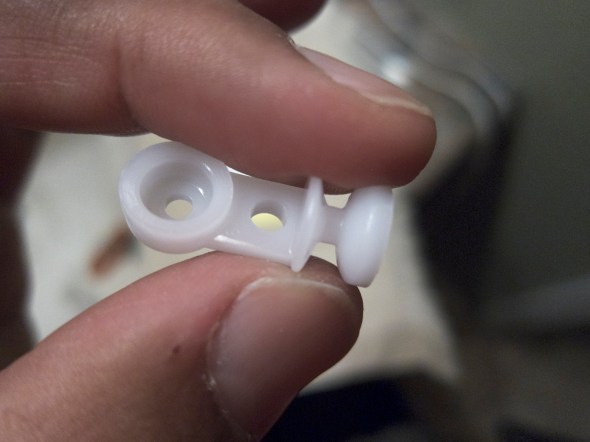
One of the holes awaiting the 12-volt socket

The socket installed under the bed, next to the nightstand
With the sockets in place, I could then determine how much wire would be needed to reach the buss bars I’d be tapping into for power. As seen in the picture below, I consolidated the positive and negative wires from my nightstand side of the bed into protective split loom before anchoring the bundle up and out-of-the-way.

Wiring from the far side nightstand
Kelly’s nightstand is really close the DC (12-volt) electronics bay, negating the need for split loom. This being the case, I finalized the wire lengths and attached everything remaining into place … doing my best to keep things “tidy” despite the mass of existing wires already in the area.
Then, using my trusty multimeter, I confirmed both sockets were fully powered “hot” at 12.5 volts and ready for use.

Kelly’s socket entering the electronics bay.

A spaghetti mix of wires.
Theoretically, my work was complete at this point – all that remained was to test both sockets.

Power!
While I forgot to snap a picture of the partition wall which protects the electronics from all the junk I keep in the “garage”, I reinstalled this divider, effectively concluding the project. Satisfied with my accomplishments, I rewarded myself with a very satisfying beer.
All in, I’m out about $60 in parts, which I suspect will prove to be money well spent.