Back to New Delhi

Greeting me and countless others, this artwork spans a huge wall just above the Customs and Immigration counters, indicating we all have finally arrived to New Delhi. Getting here is a long, long journey. via Instagram
Apr 20
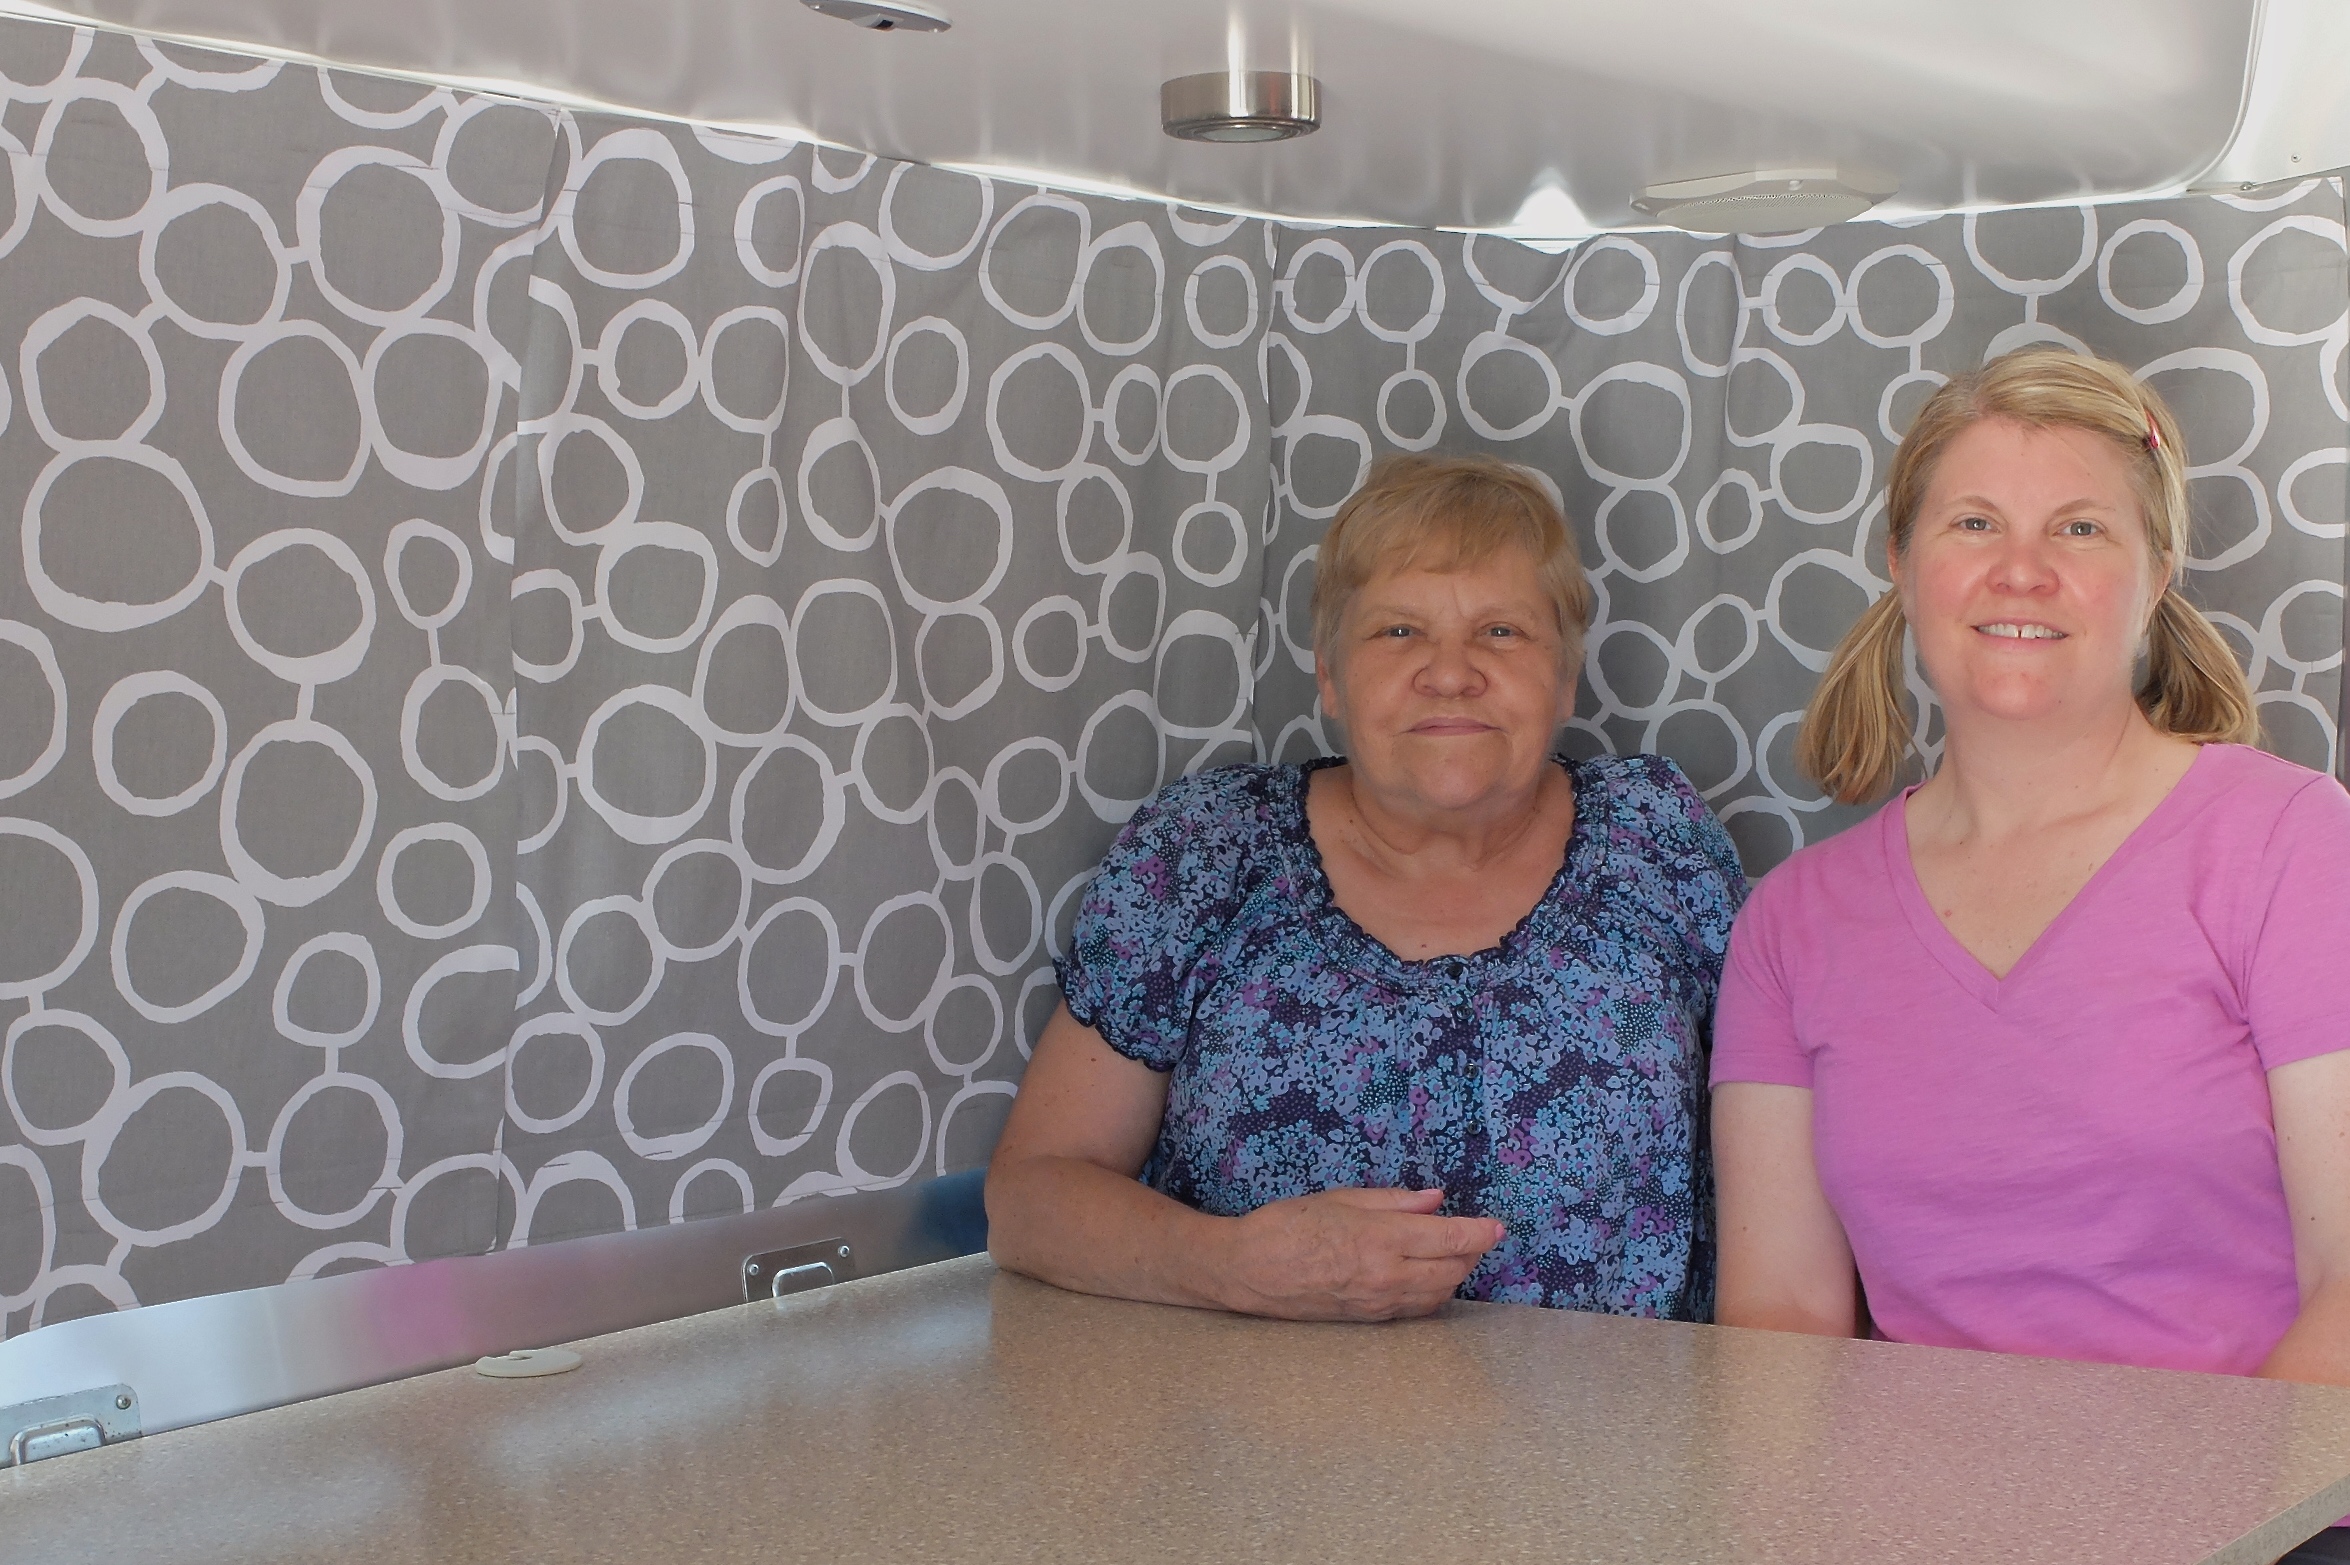
The stock curtains provided by Airstream are a bit boring and also too thin; Kelly has been wanting to swap them for something different for a long time. And so it was that last week in Tucson, while visiting Kelly’s mom and her husband, that project “curtain upgrade” was hatched. Kelly assumed the role of project manager, but most of the work was lovingly completed her mom.
Not only are the new curtains better looking, blackout fabric was added, improving privacy and also eliminating unwanted sunshine/glare.
Another benefit of the efforts this week … Kelly will stop ordering and hanging swatch samples throughout the trailer.
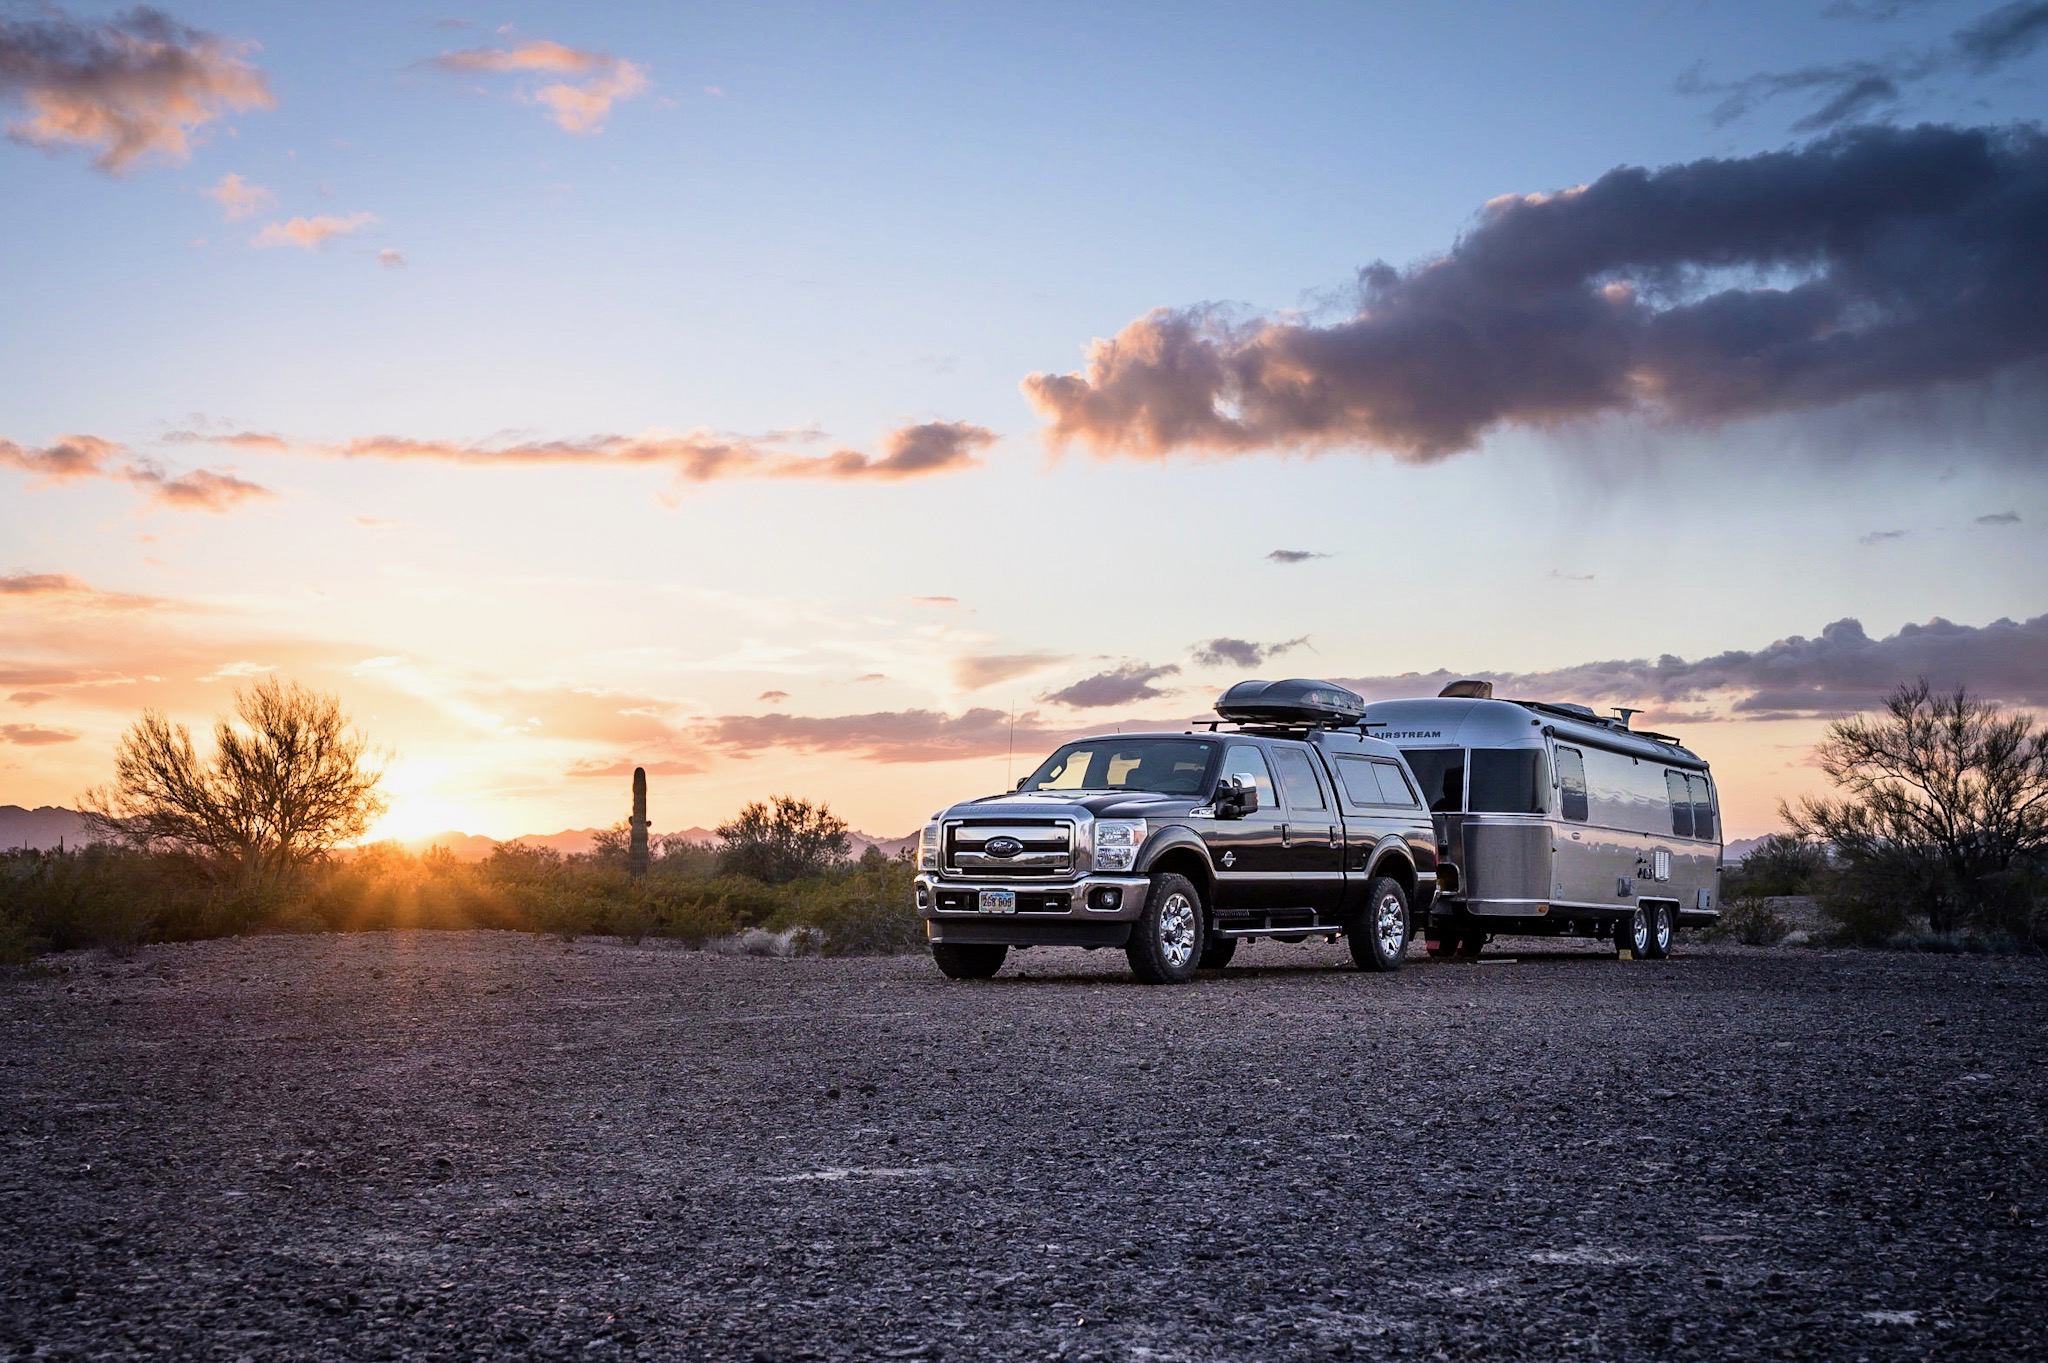
Last week I spent a few hours upgrading our ‘media hub’ in the Airstream. Much of the technology we had been using was carried-over from LuLu, our previous RV. Now, nearly six years later from initial purchase, the timing seemed right to upgrade various mobile internet components Kelly and I will be relying upon as we transition into telecommuting workers.
With an objective of keeping the process simple, I purchased hardware that is known for its quality, reliability, and price value.
The installation was pretty straightforward and less the items listed below, I was fortunate to have everything else required for the installation in my tool box and spare parts kit. BTW, I purchased everything from 3G Store* and have included the parts inventory below:
My first order of action was to remove the existing Antenna, but first I had to dig out the waterproofing sealant.
The existing 2G/3G antenna to be replaced
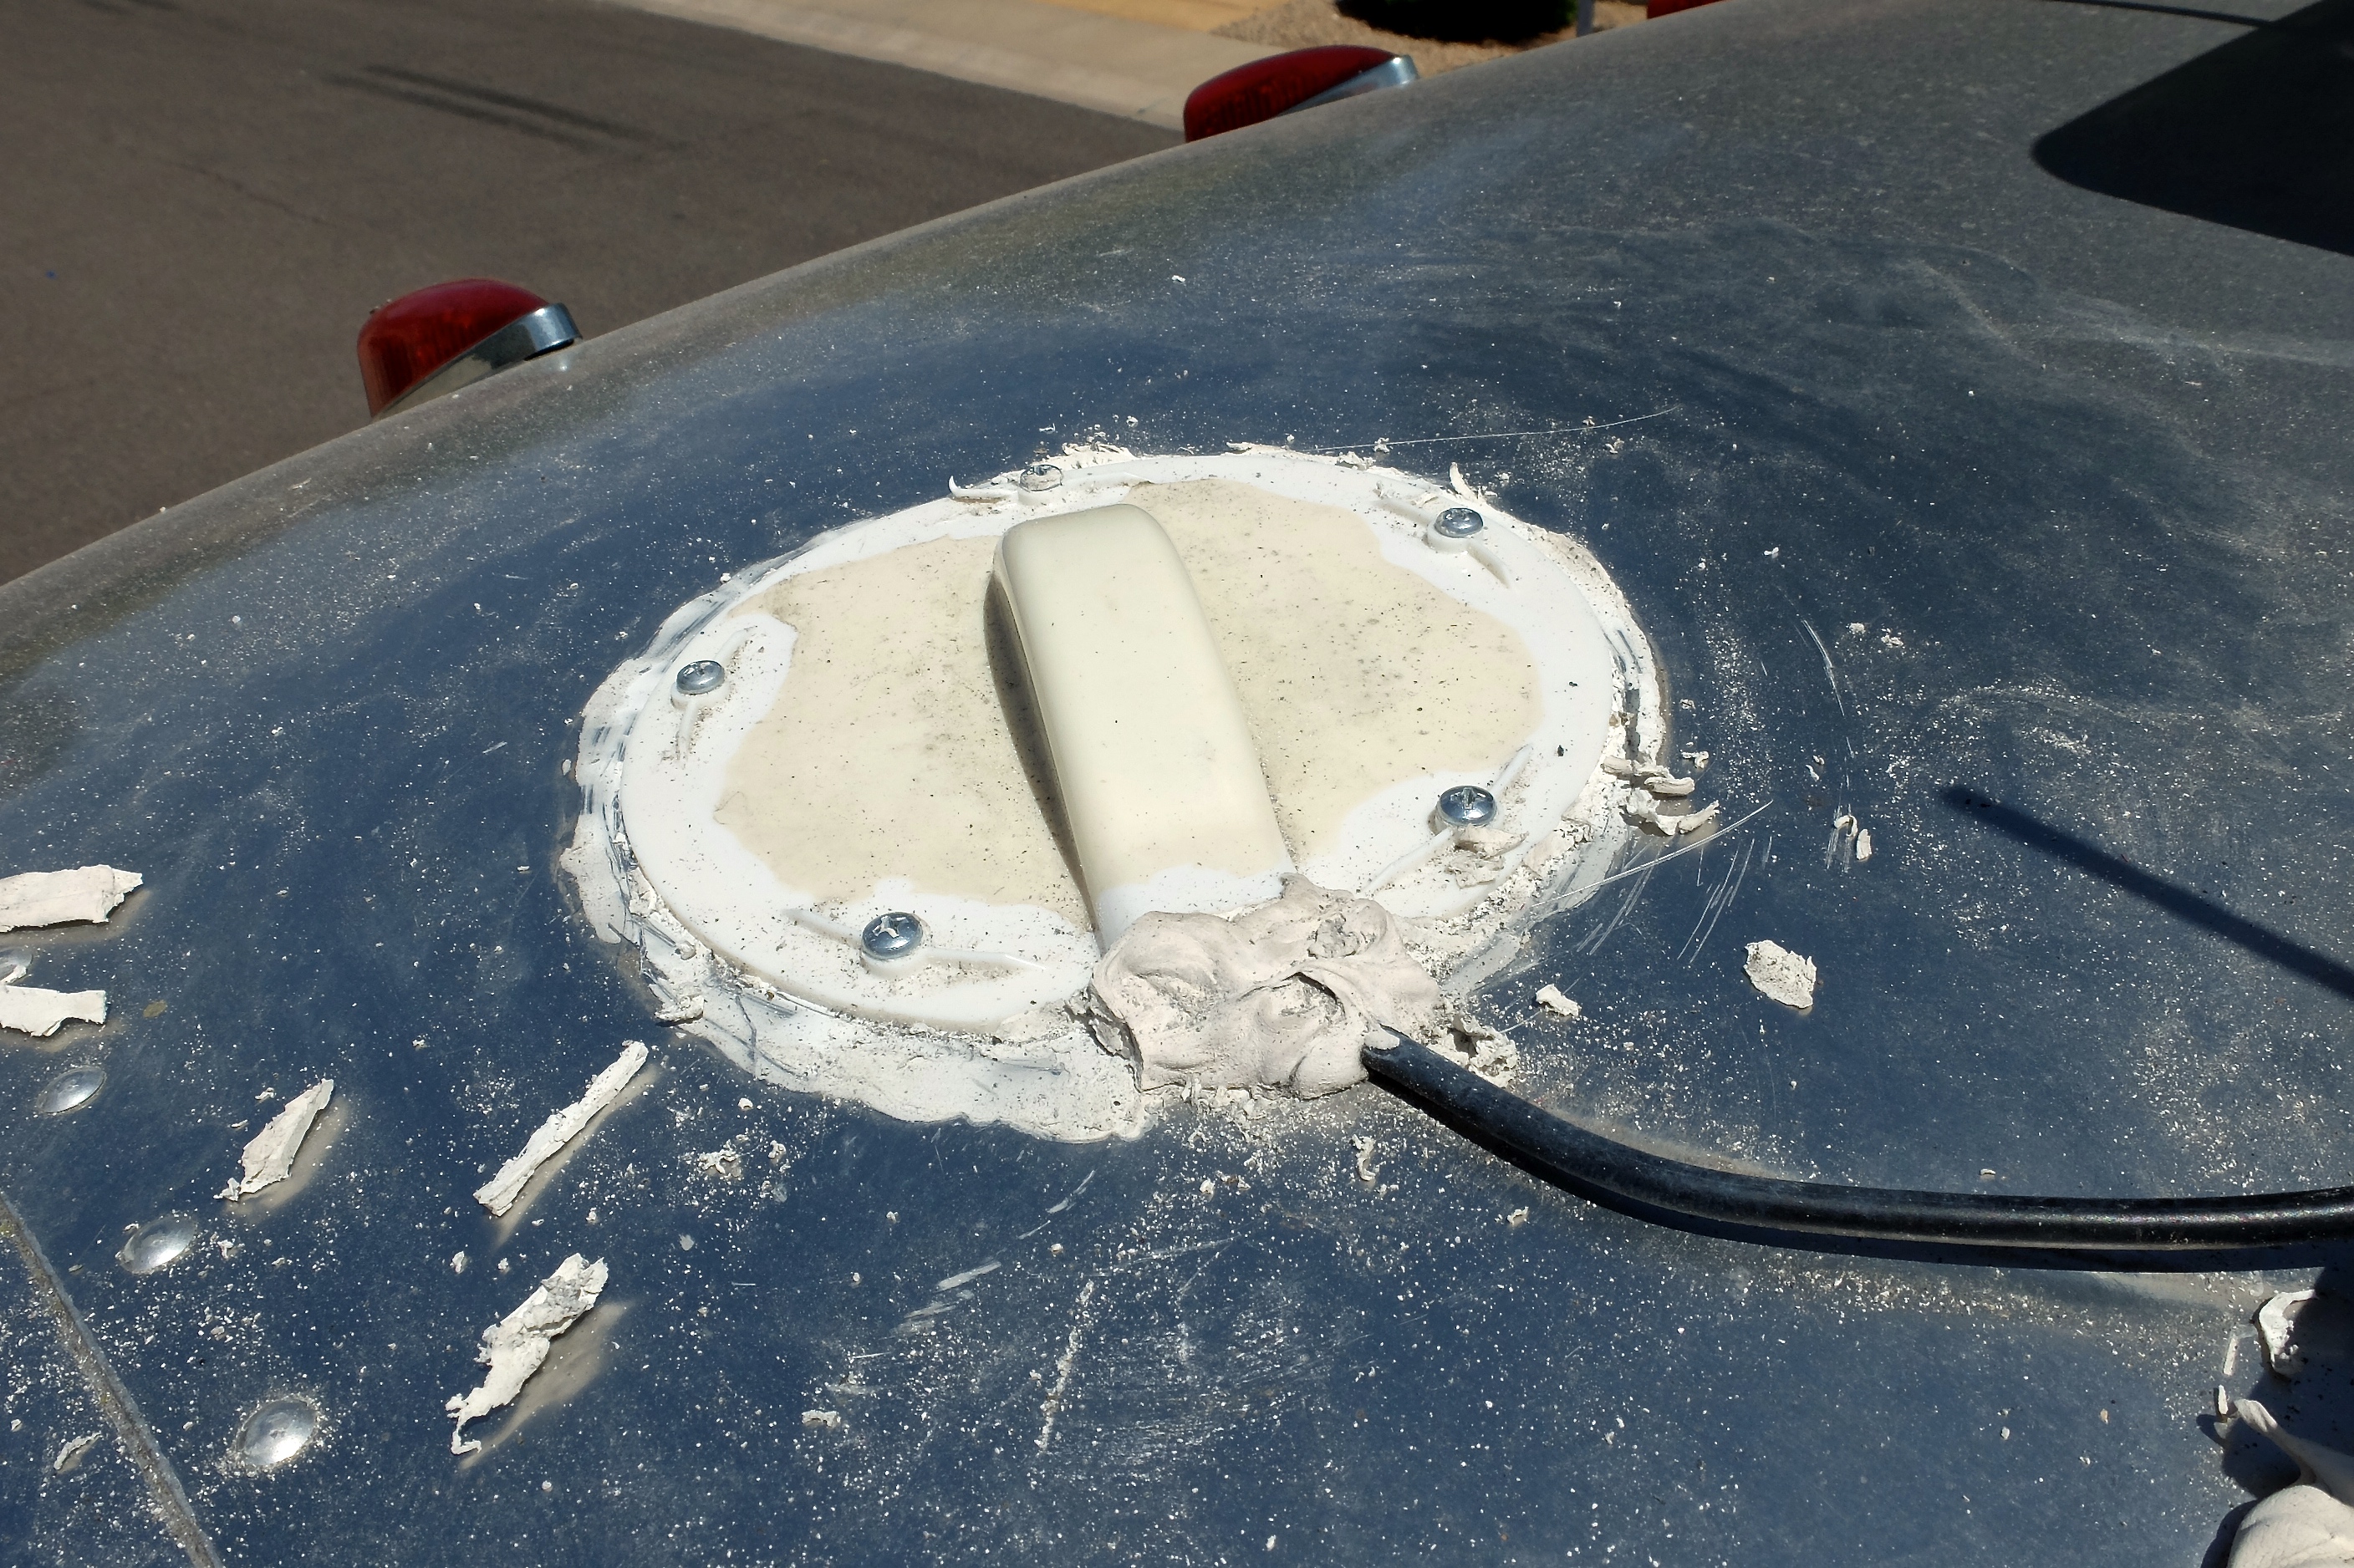
Antenna housing / cap
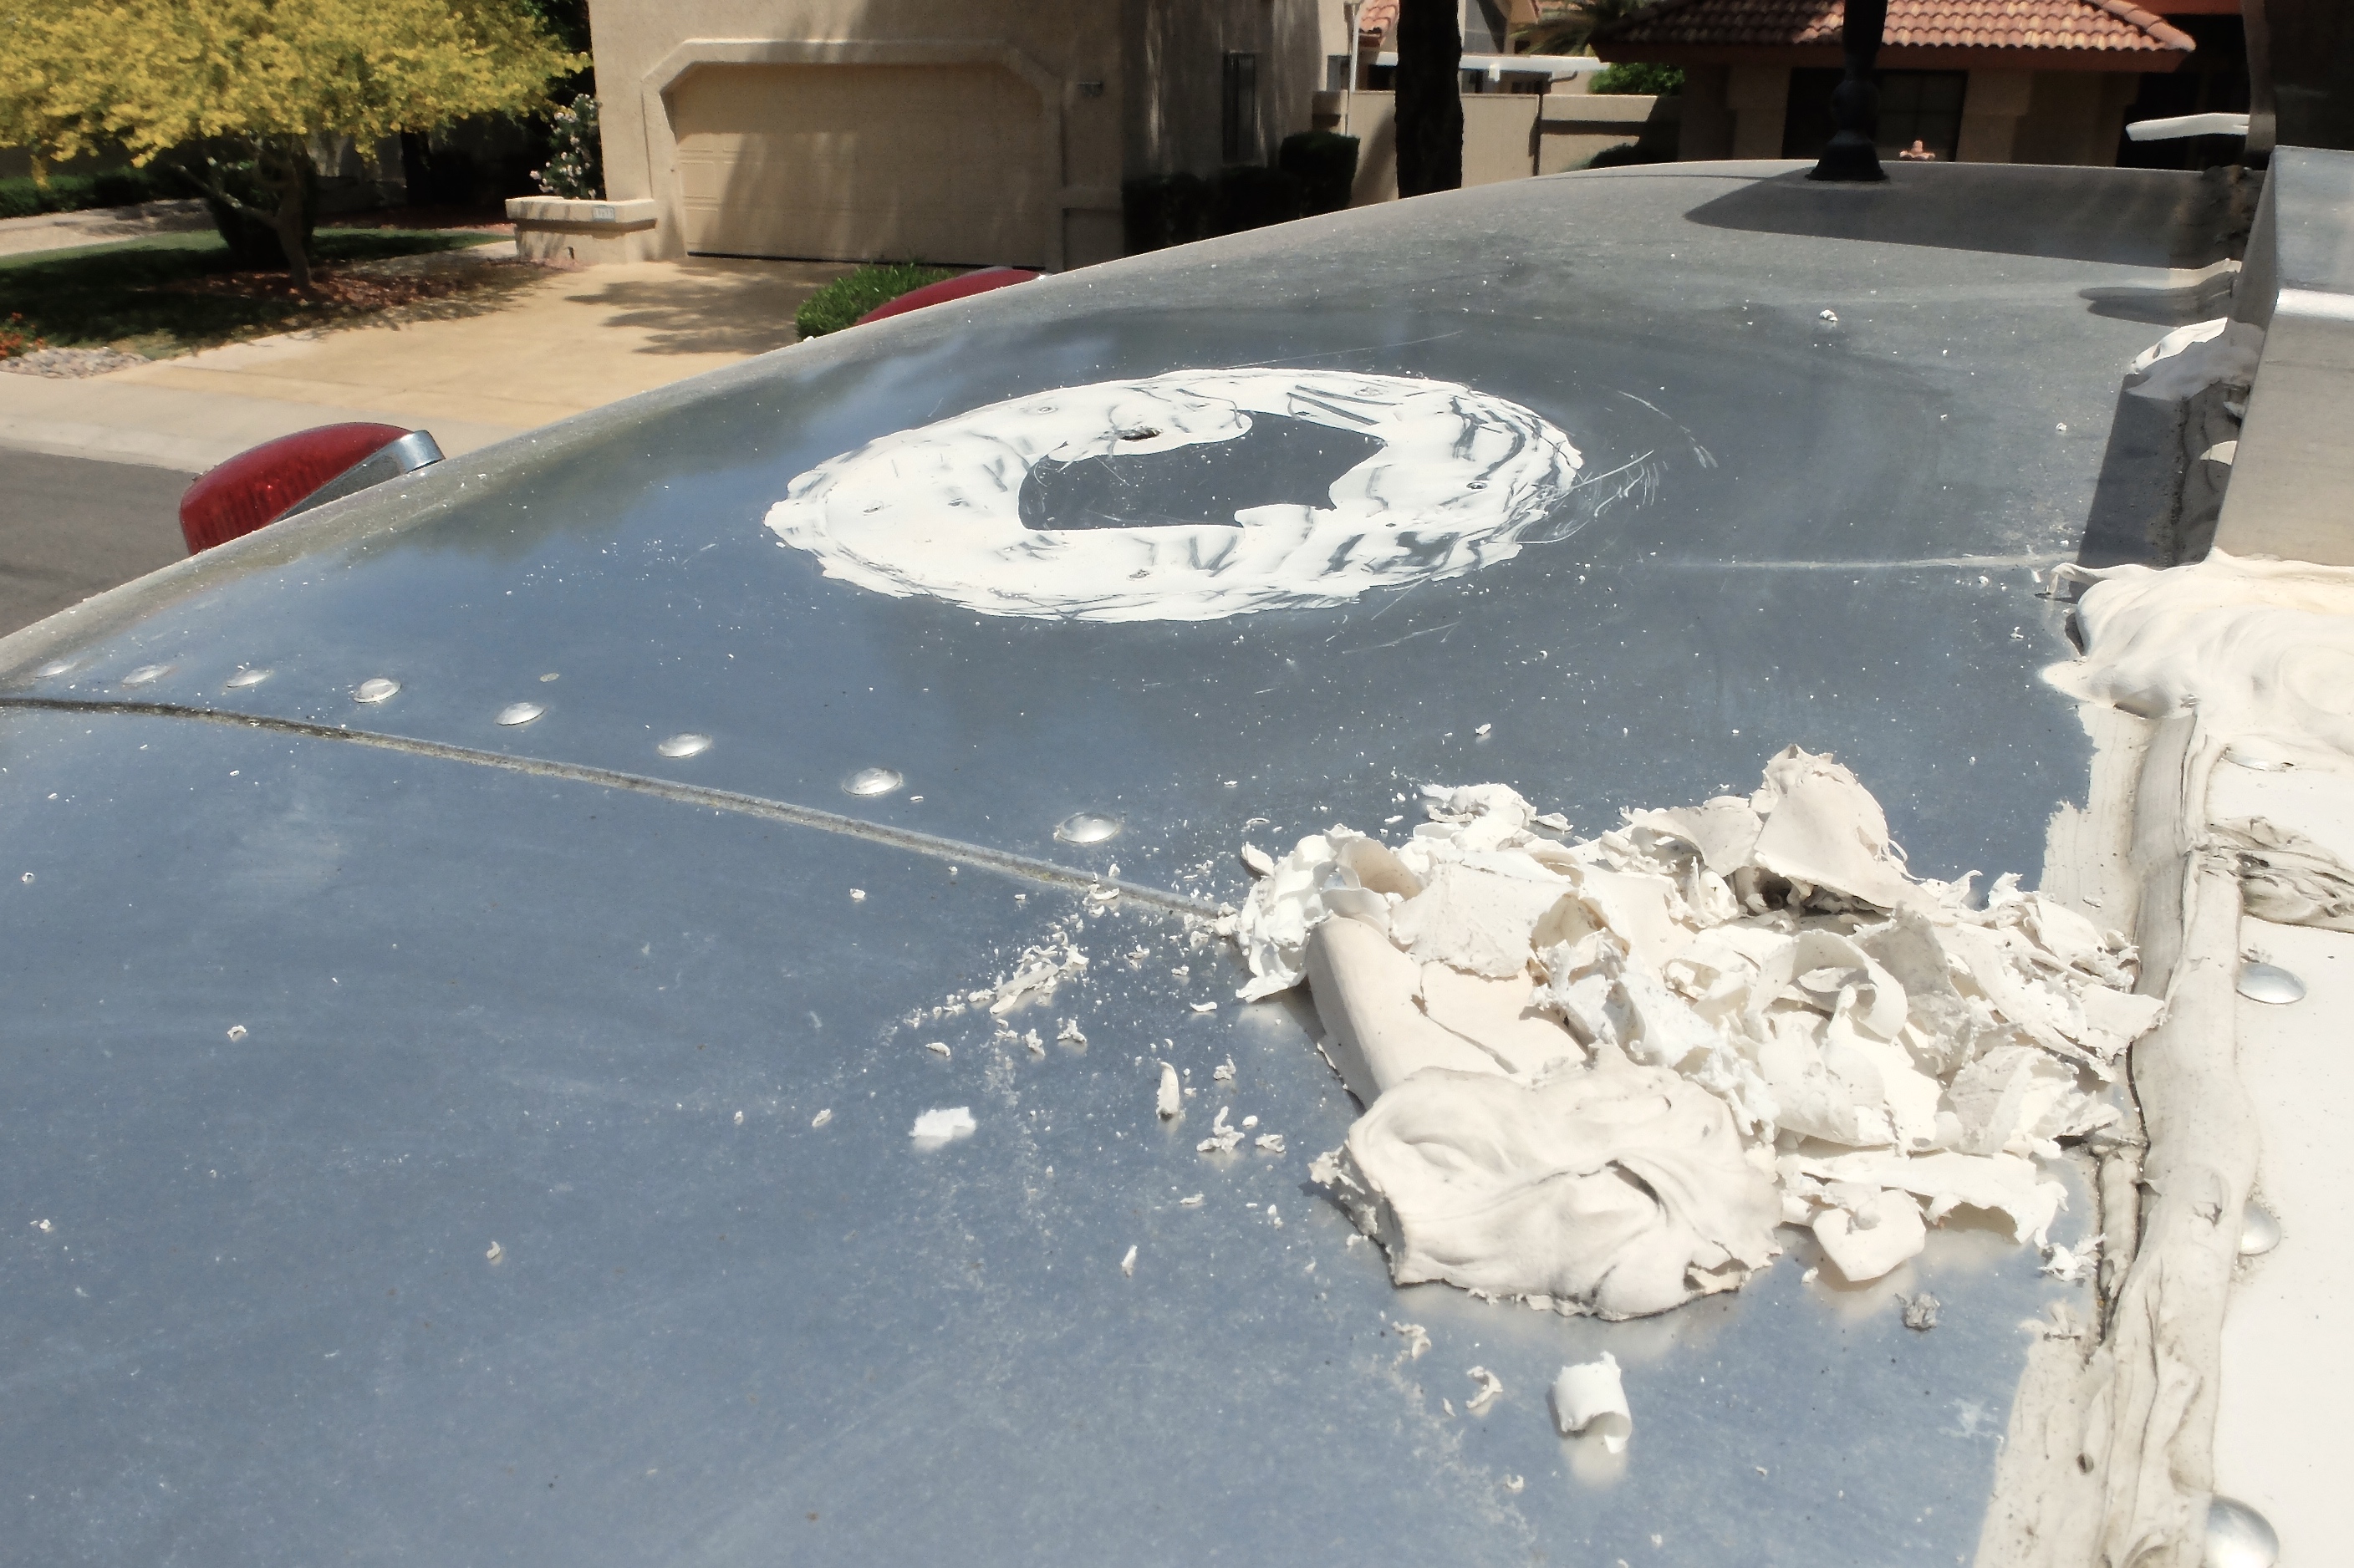
All prepped and ready for final surface cleaning.
Once the existing parts were removed, I was ready to fish the new cabling and pre-fit the new antenna. Fishing cable is often tricky, and this effort was no different. Threading the cable between two holes with tight tolerances proved quite difficult. Normally I would have used a straightened hanger as a guide needle, but in this instance the tolerance was too tight and the additional hanger width was a problem. I didn’t want to expand the holes, so atop a ladder and under the blazing sun, I blindly poked new cable (white in color) until I threaded through. A few four-letter words may have been uttered.
The black cable was removed; I threaded new cable through the tiny hole above.
The new cable fished and ready for fitting.
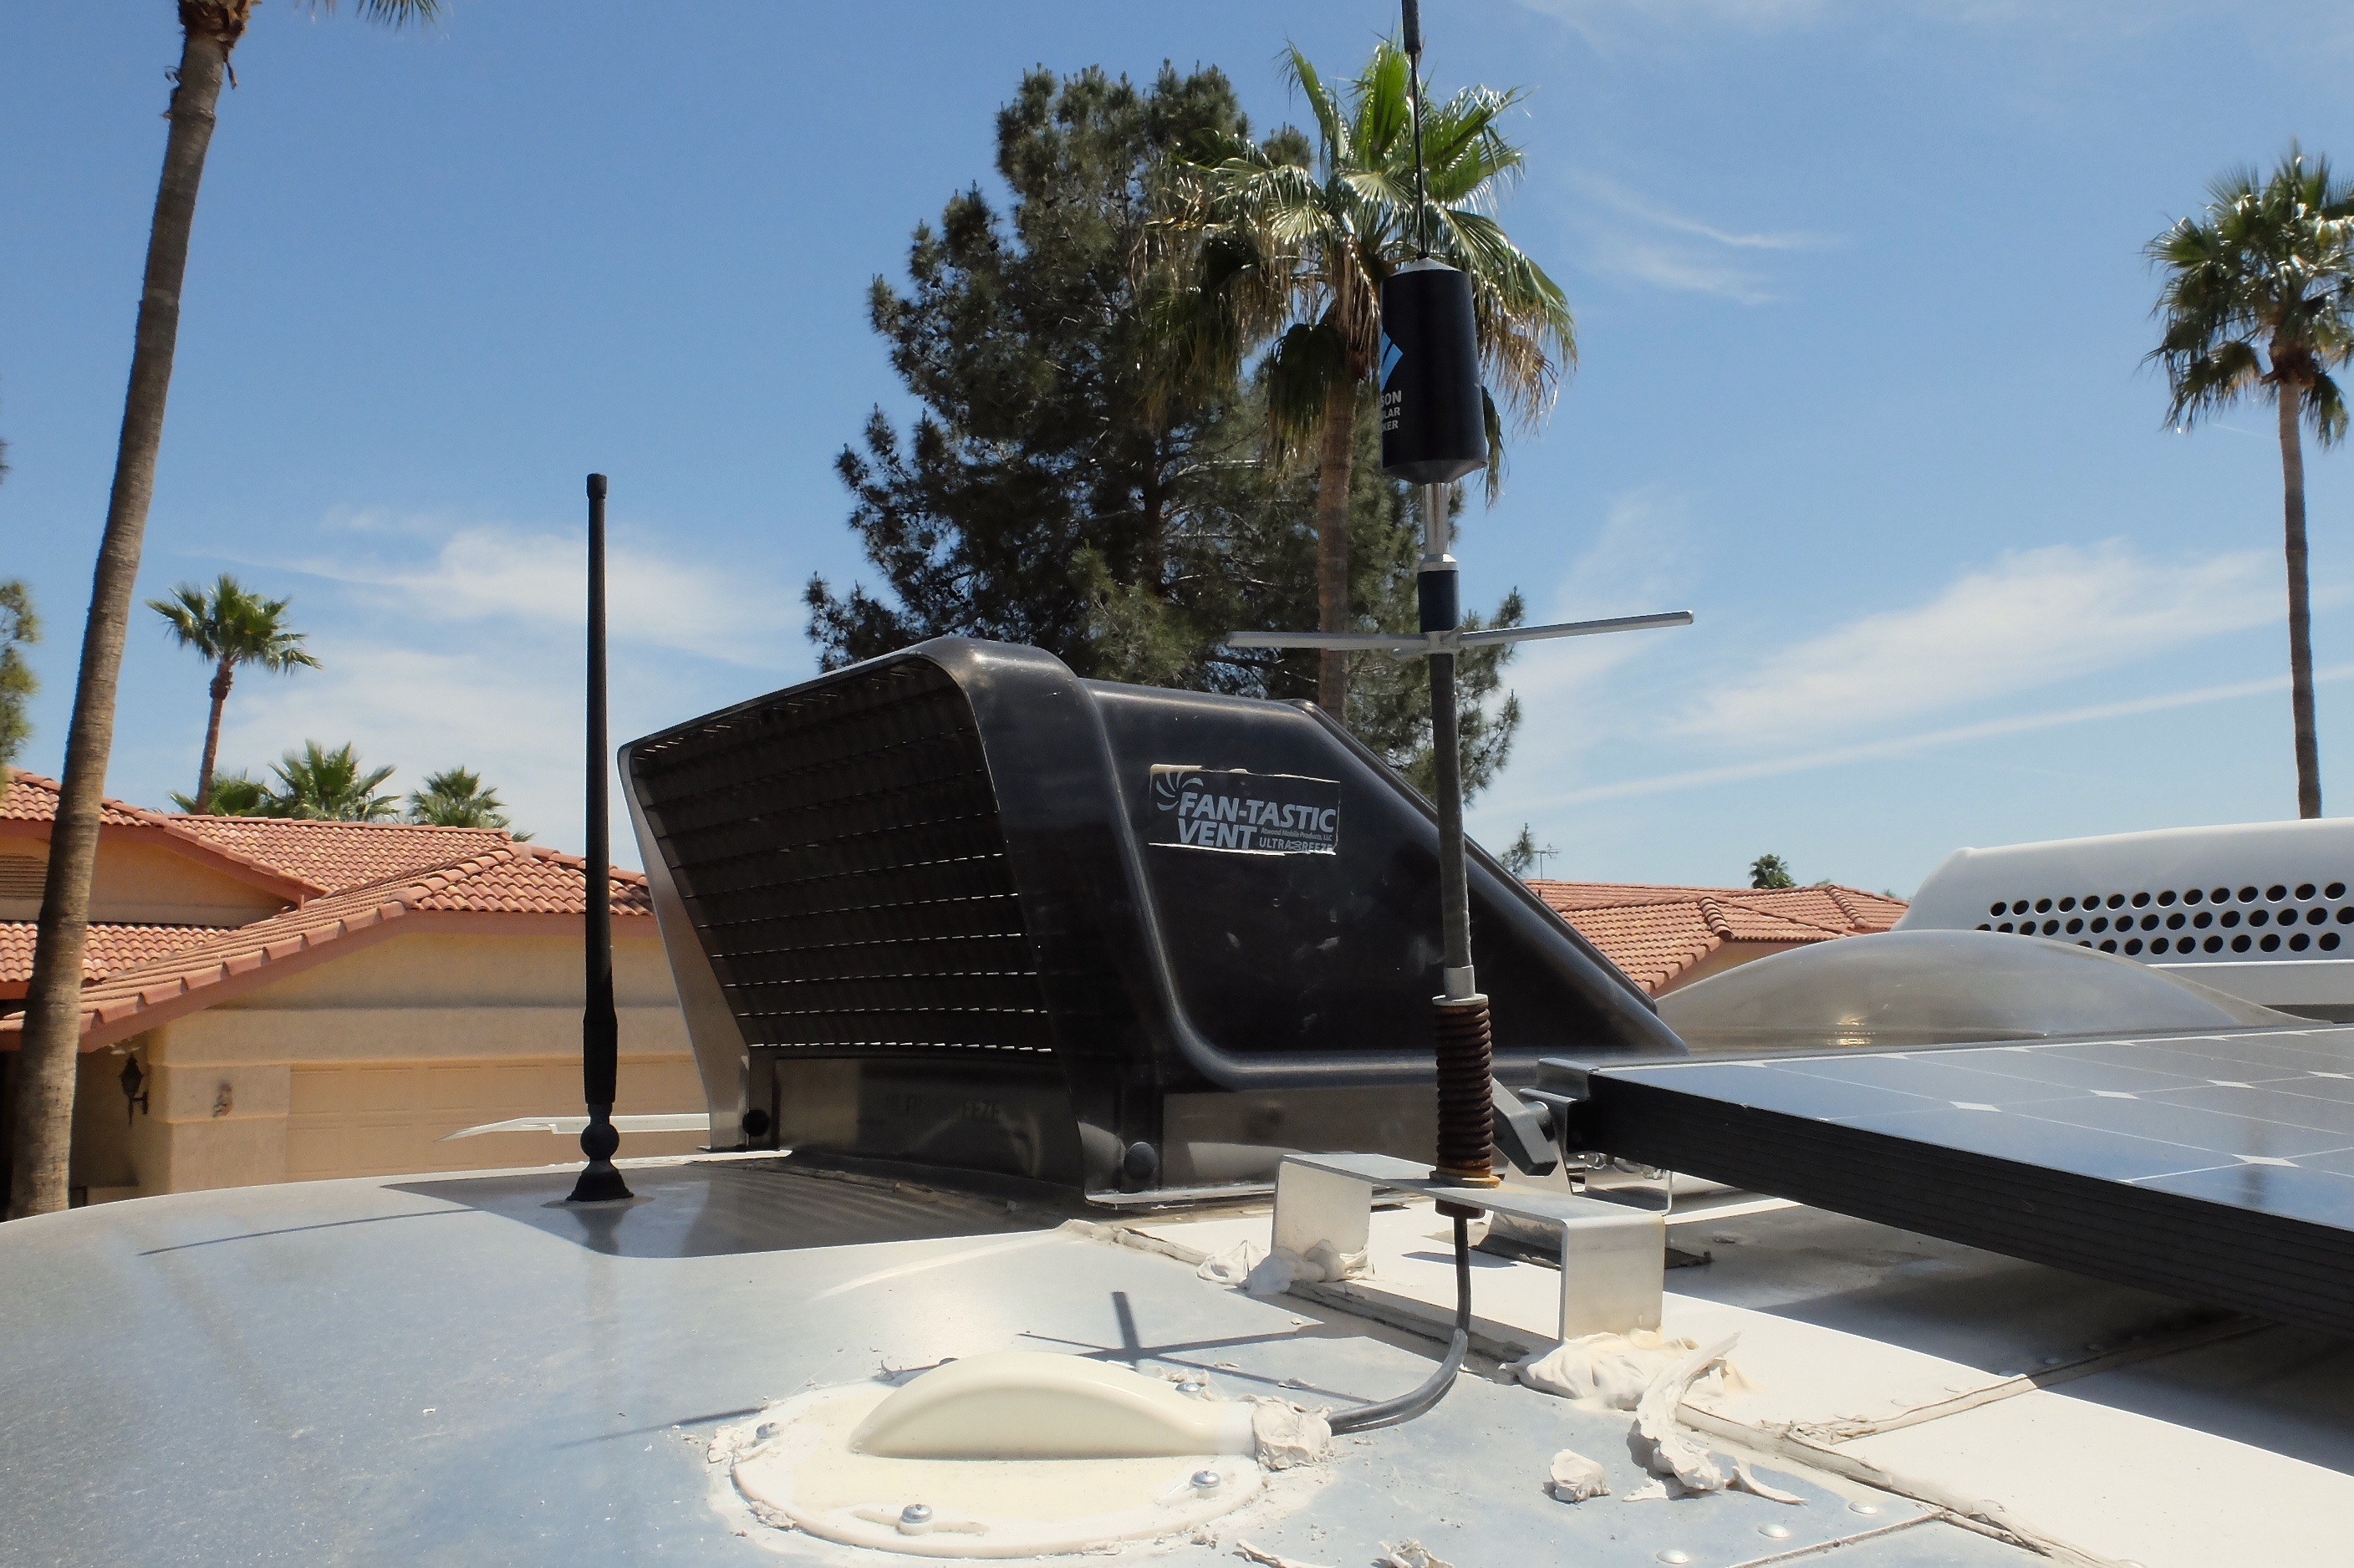
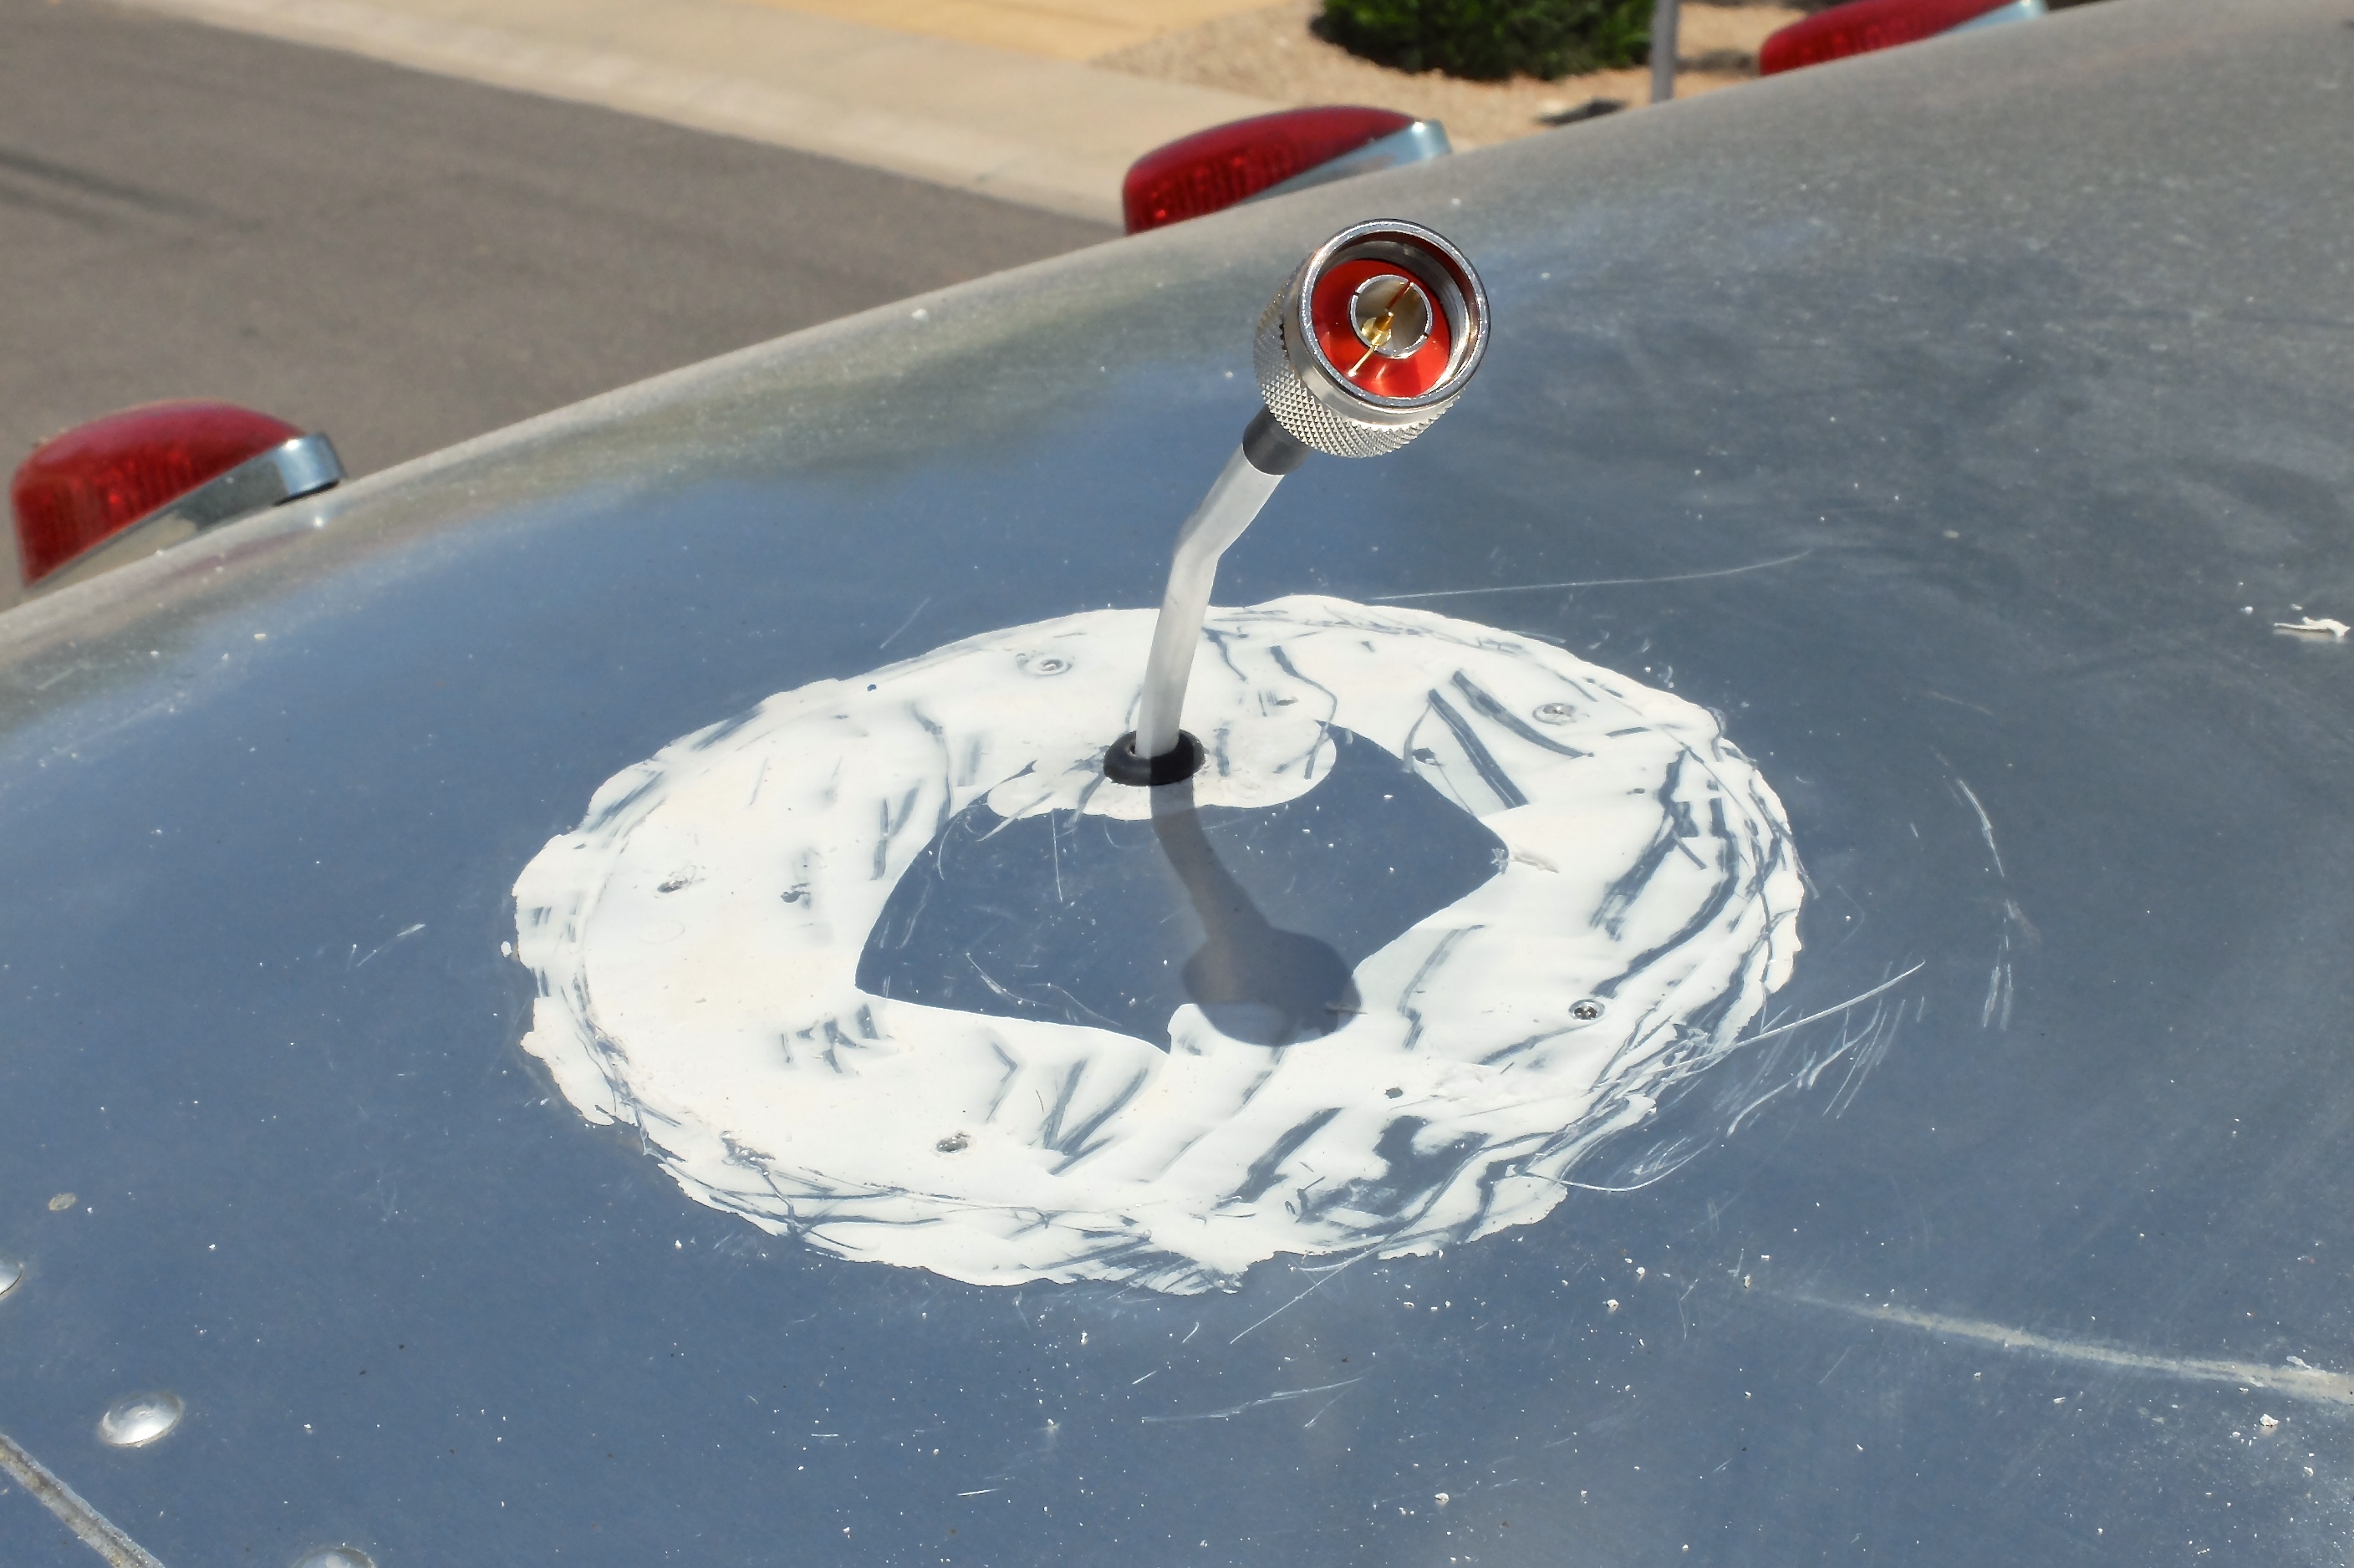
With the new wiring in place I was ready to begin test-fitting the replacement antenna. I really wanted to reuse the existing mount bracket as-is, but the height was a challenge. Various fit scenarios were attempted, and a few failed bracket test holes drilled, but nothing worked. Once again, a few four-letter words may have been uttered.

Roof installment completed
In the end, I settled on a solution that is not the most aesthetically pleasing, but I think it will work just fine. More, I was able to reuse existing parts and avoided drilling into the Airstream skin … a win in my book.
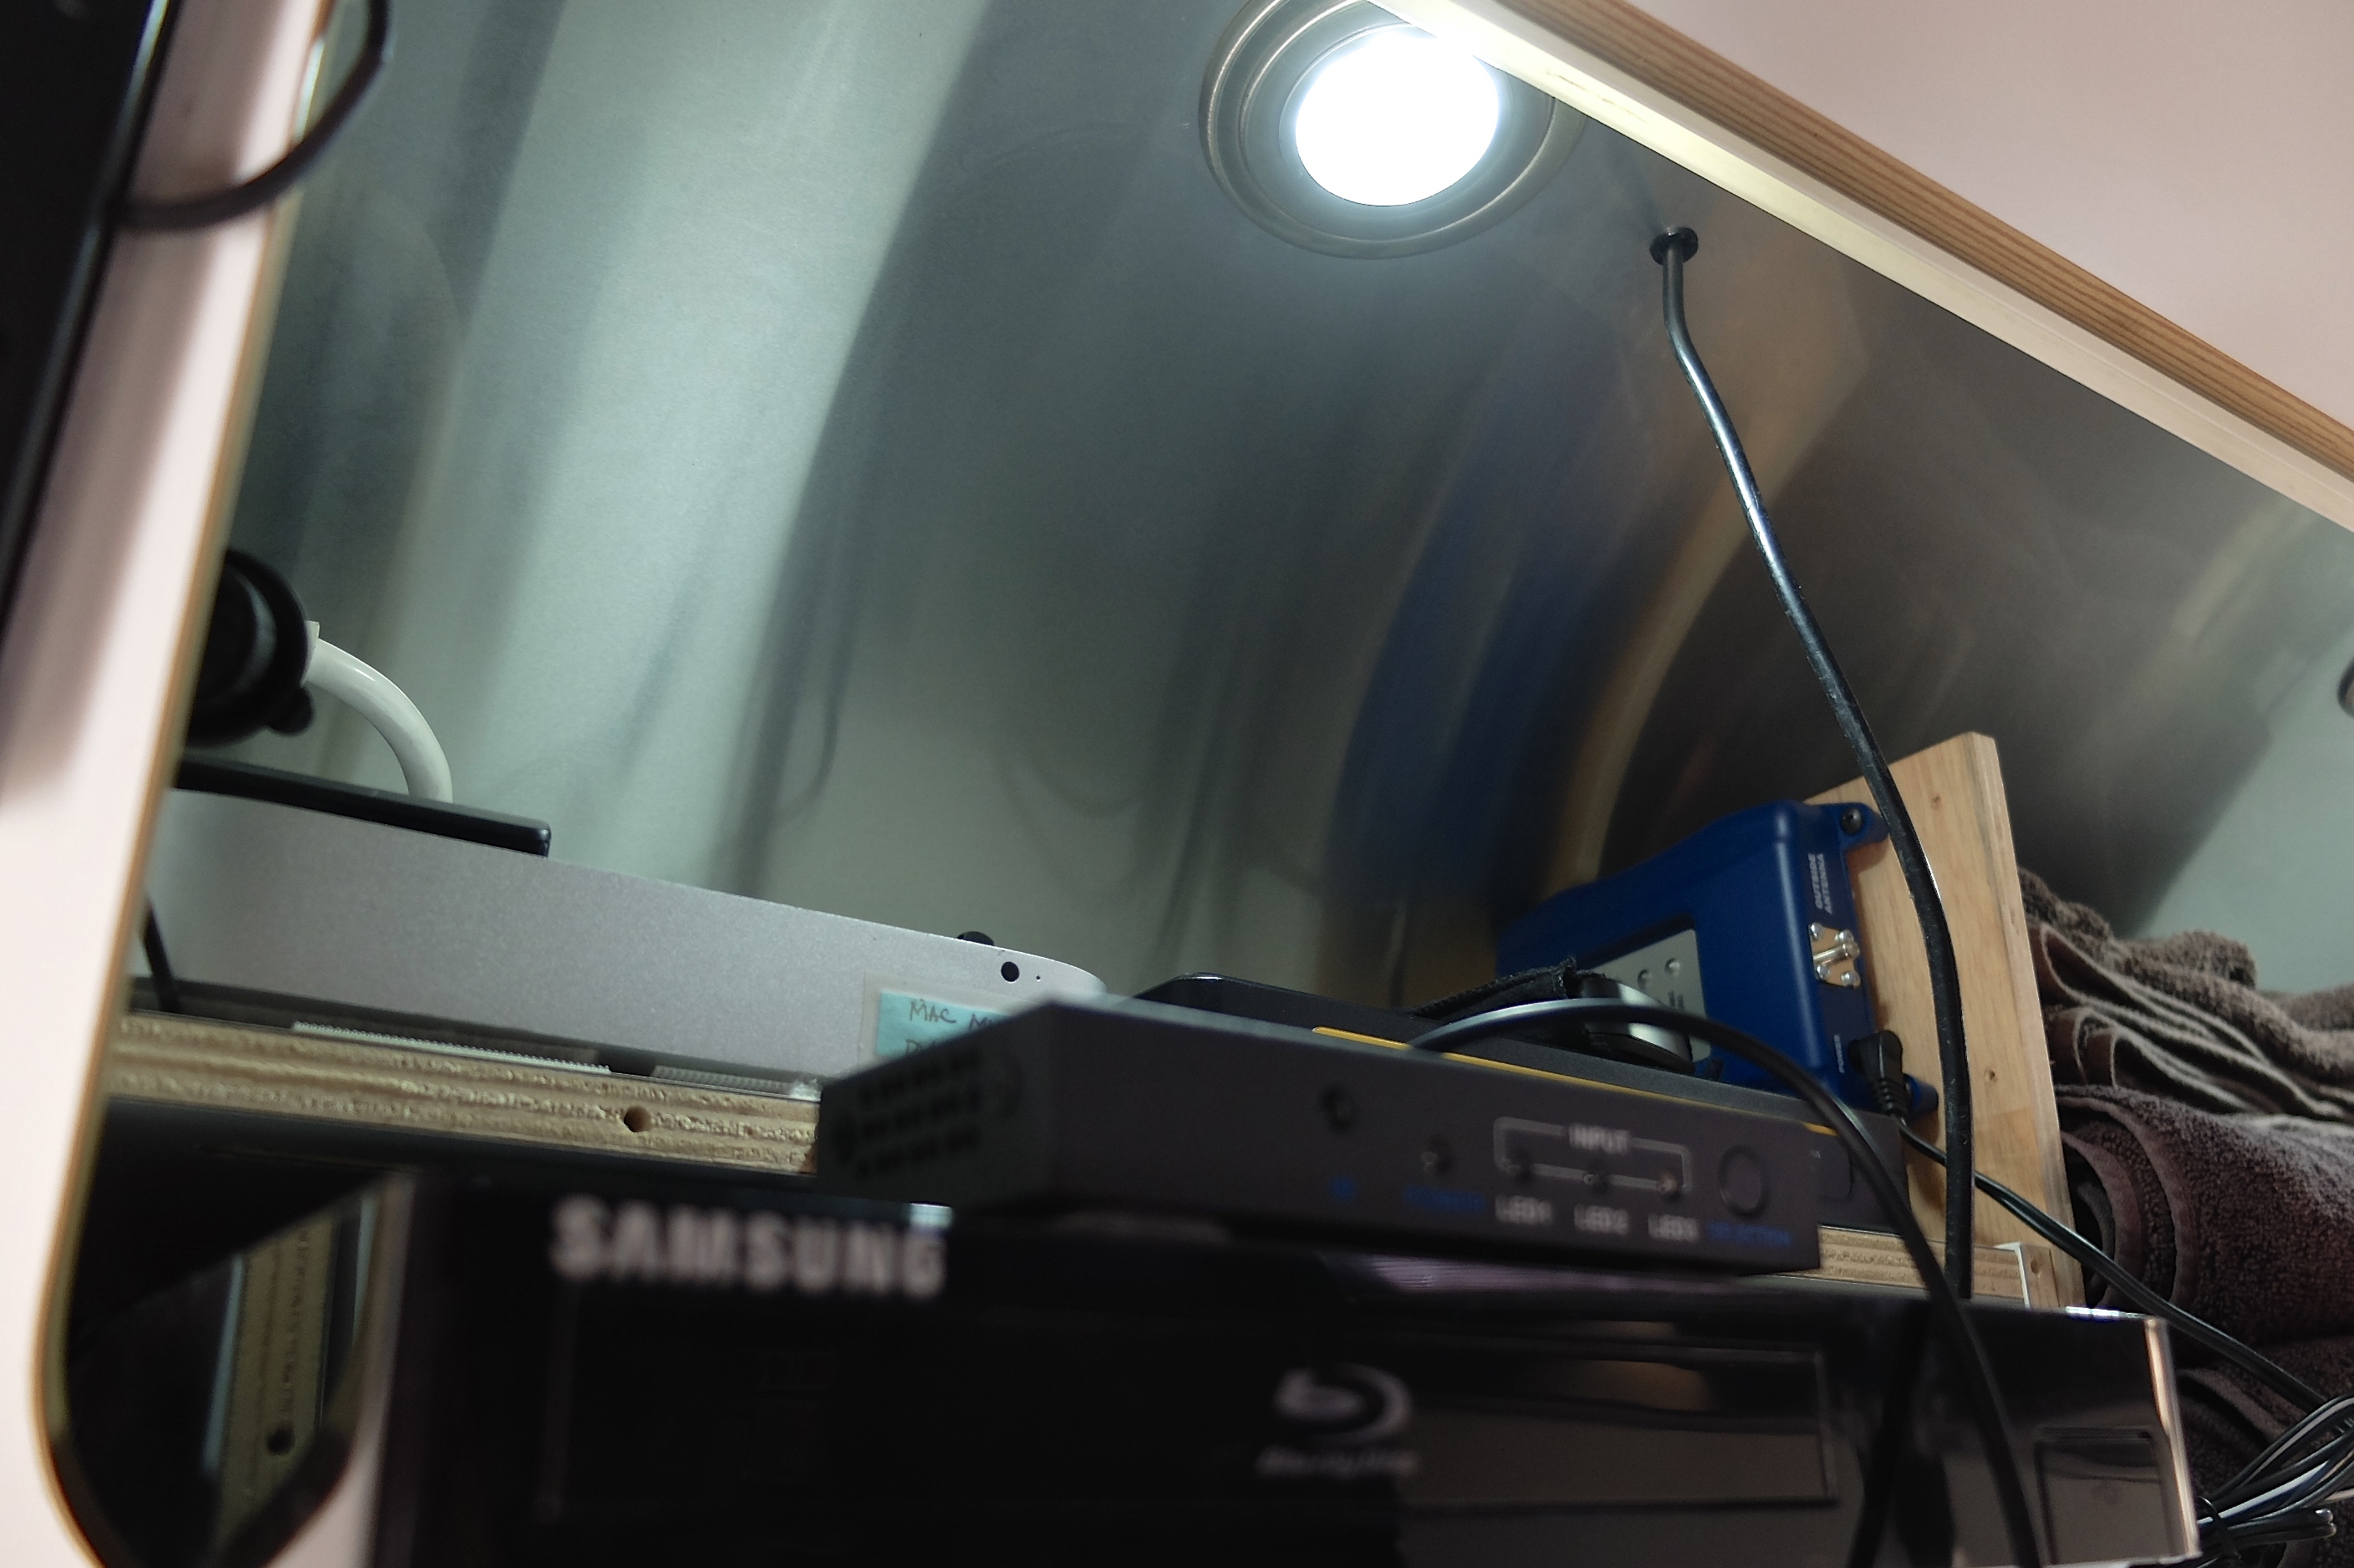
Mounting the antenna was only part of the project – I also needed to install the interior signal amplifier connecting to the antenna. This aspect of the project was quite easy and went quickly.
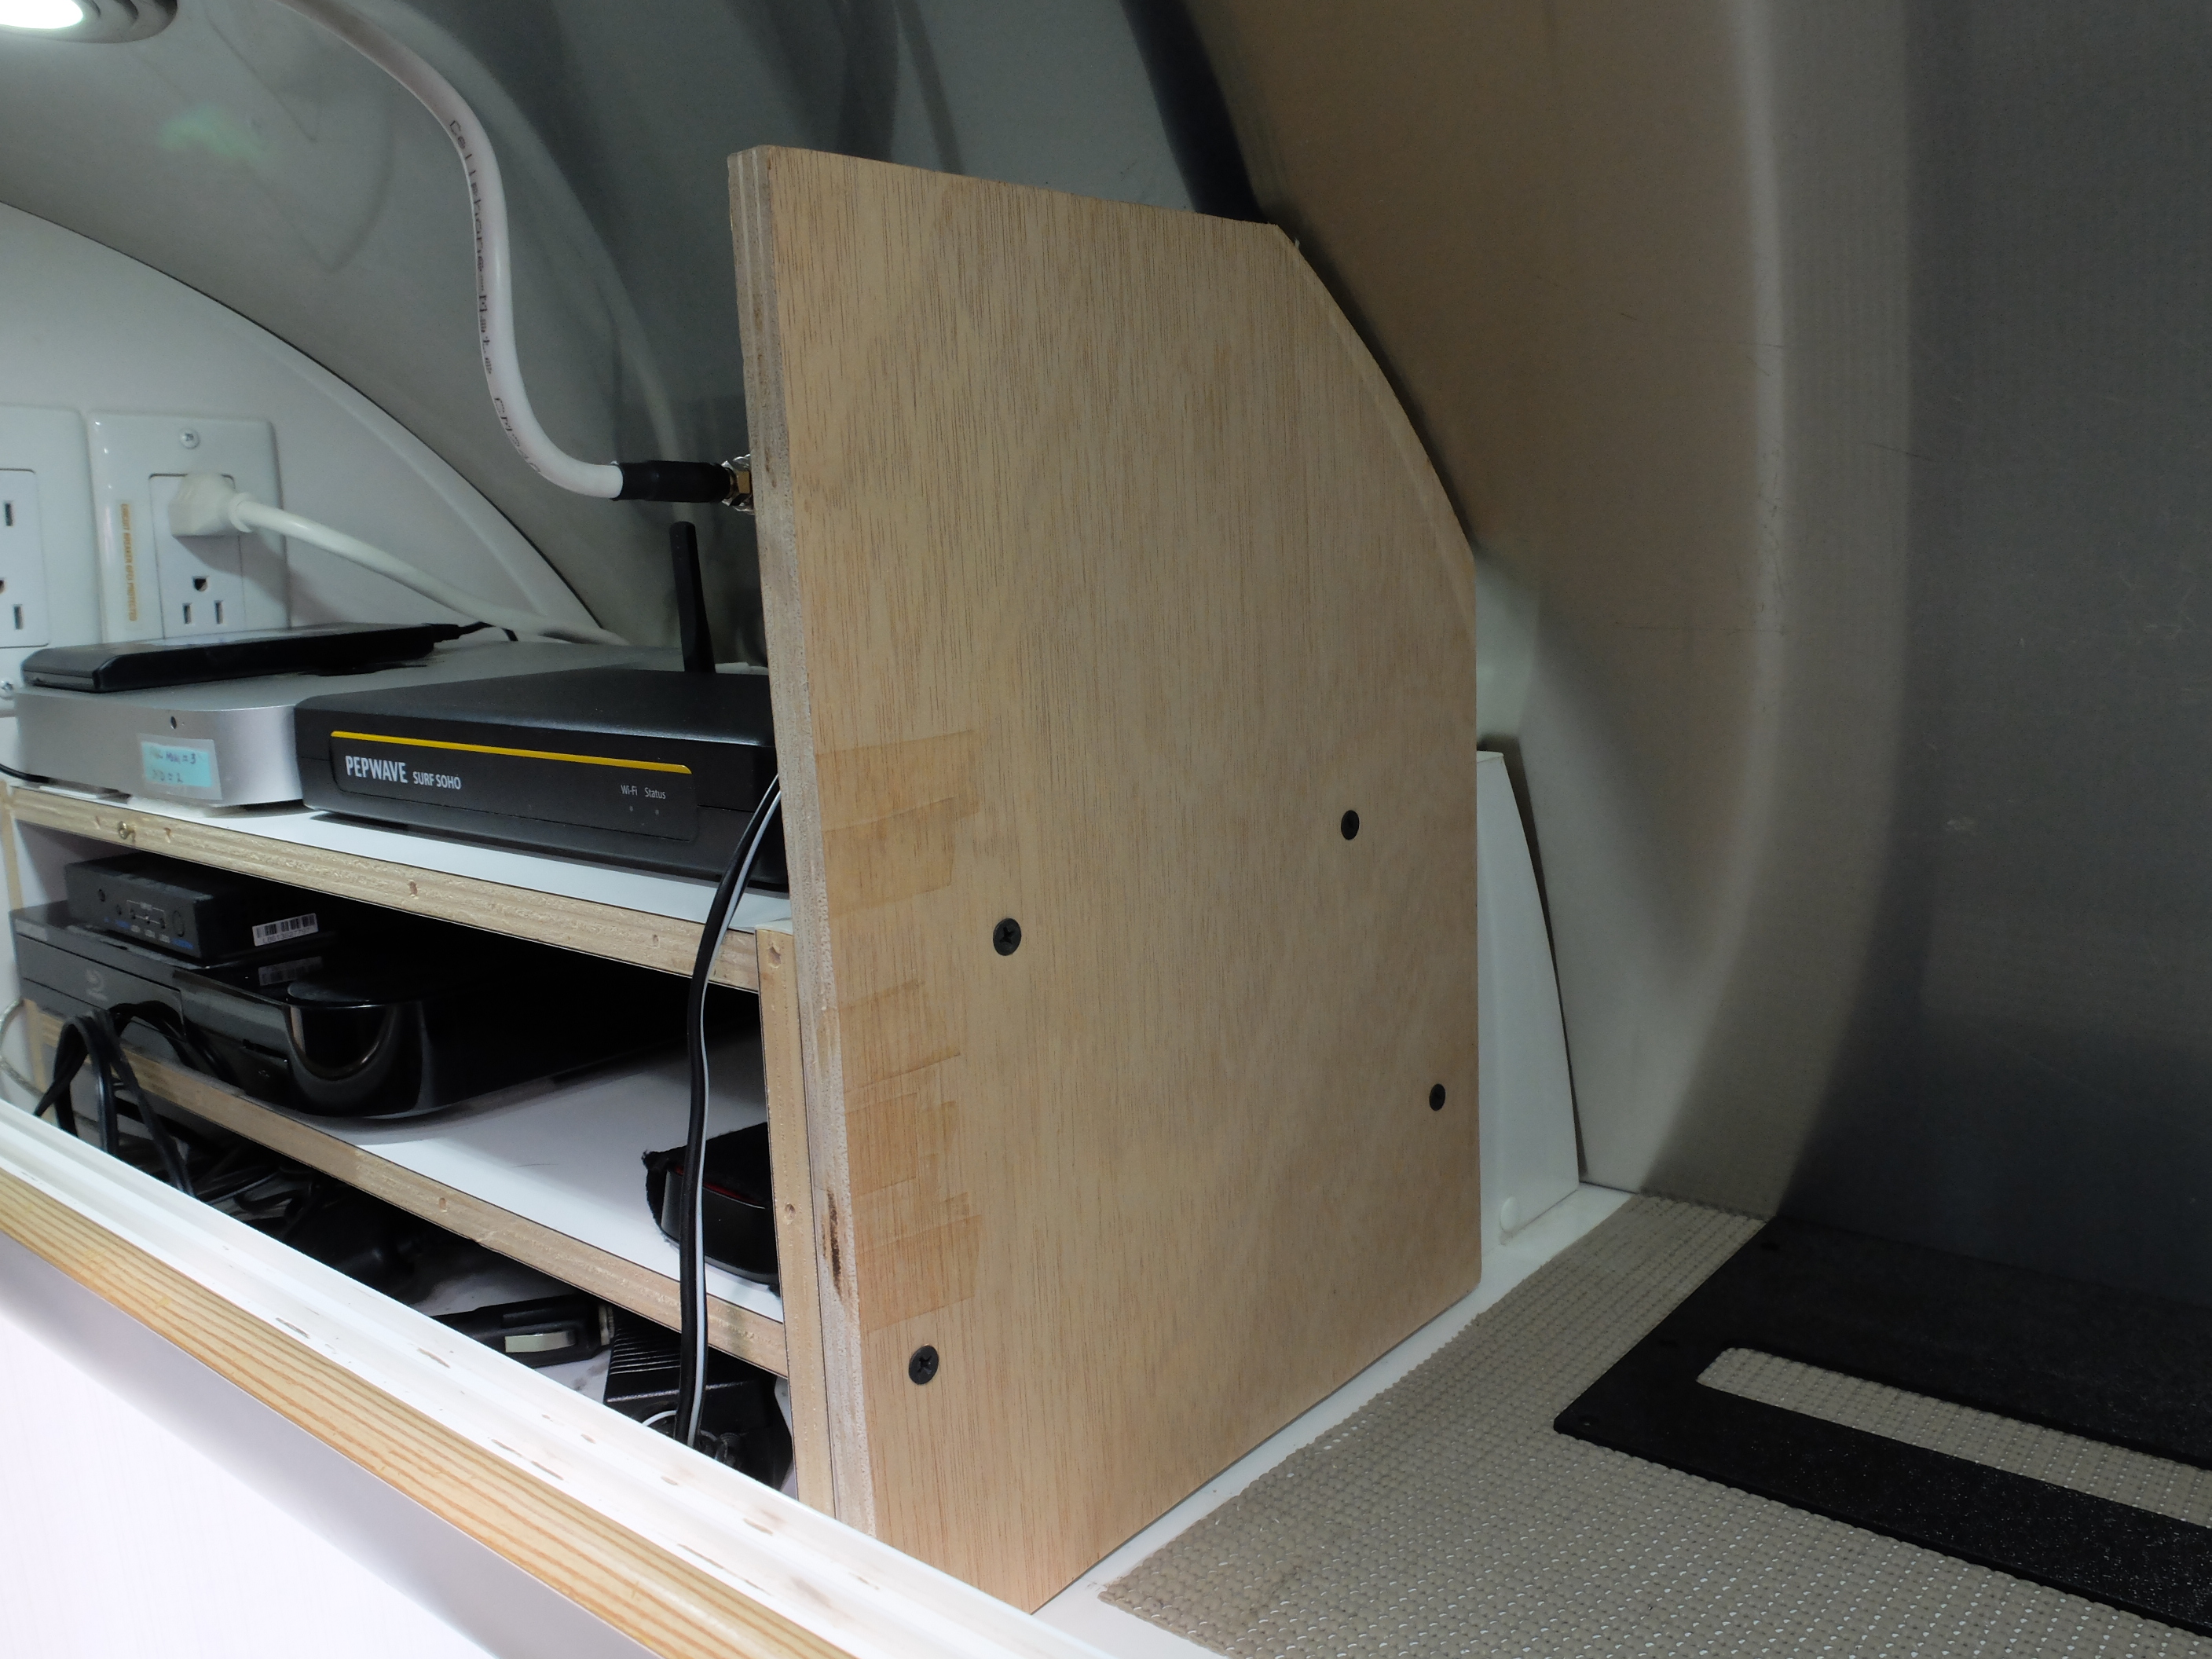
A piece of wood was added as a mounting plate
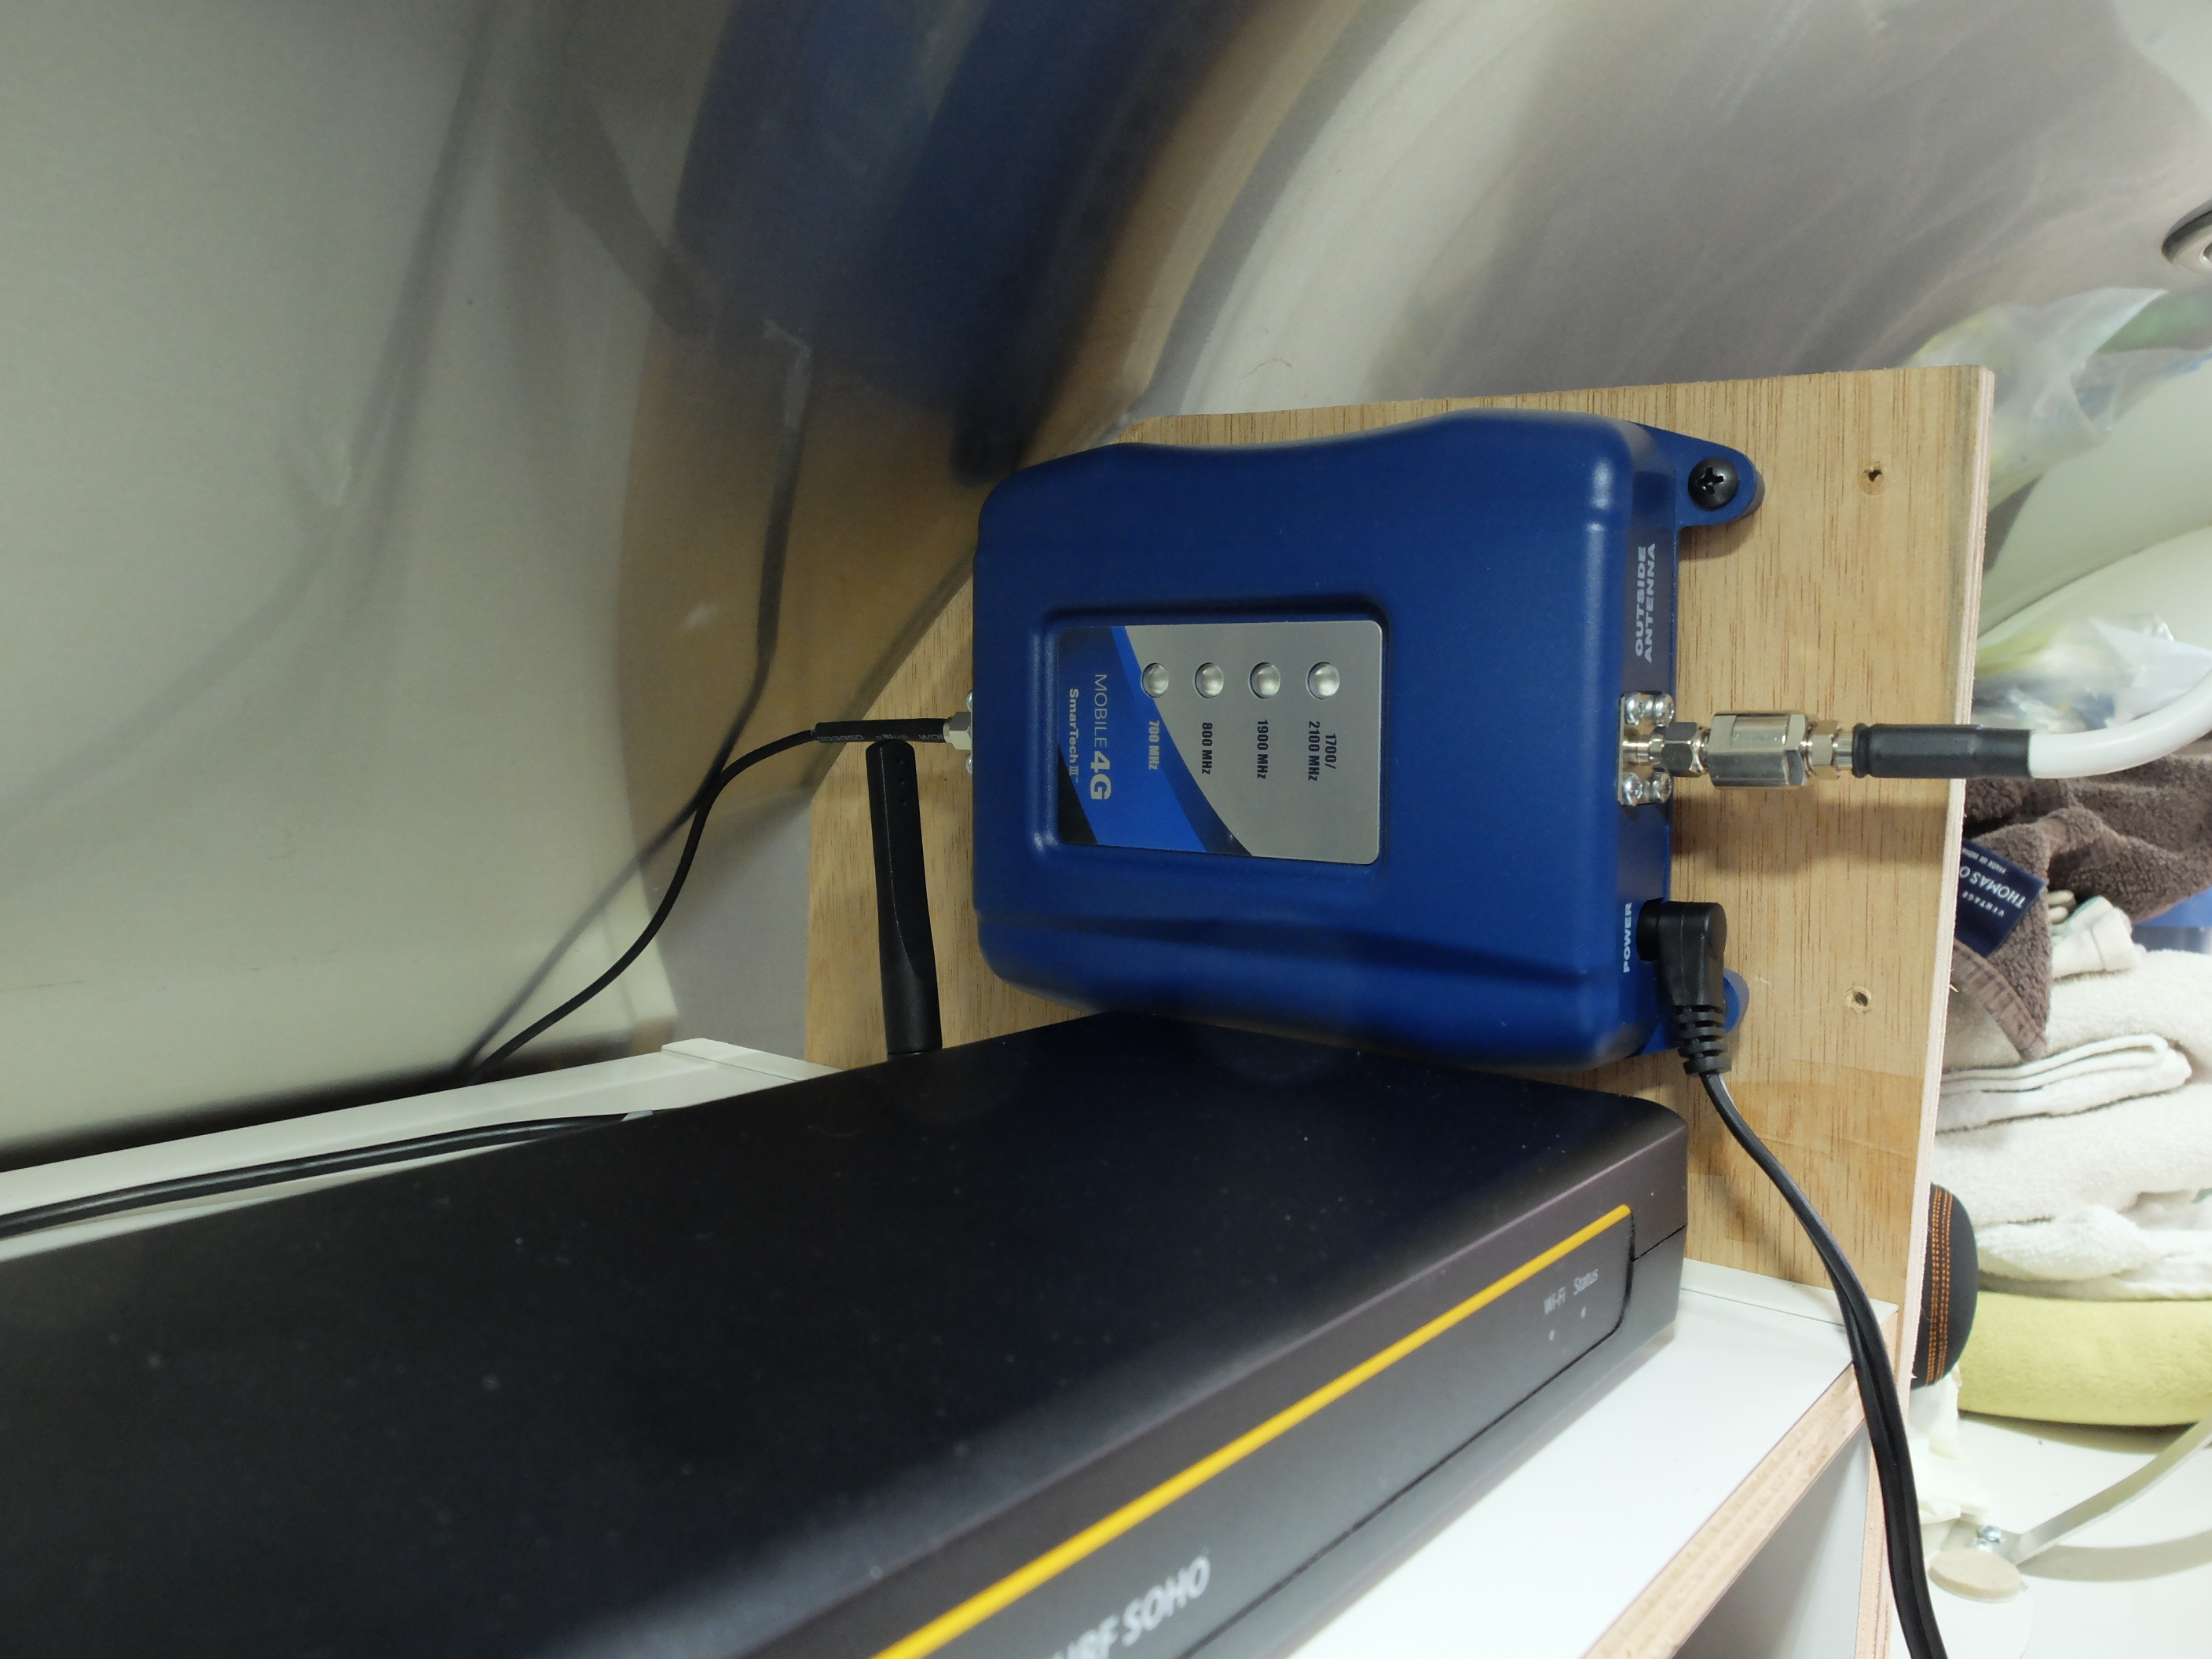
Amplifier mounted
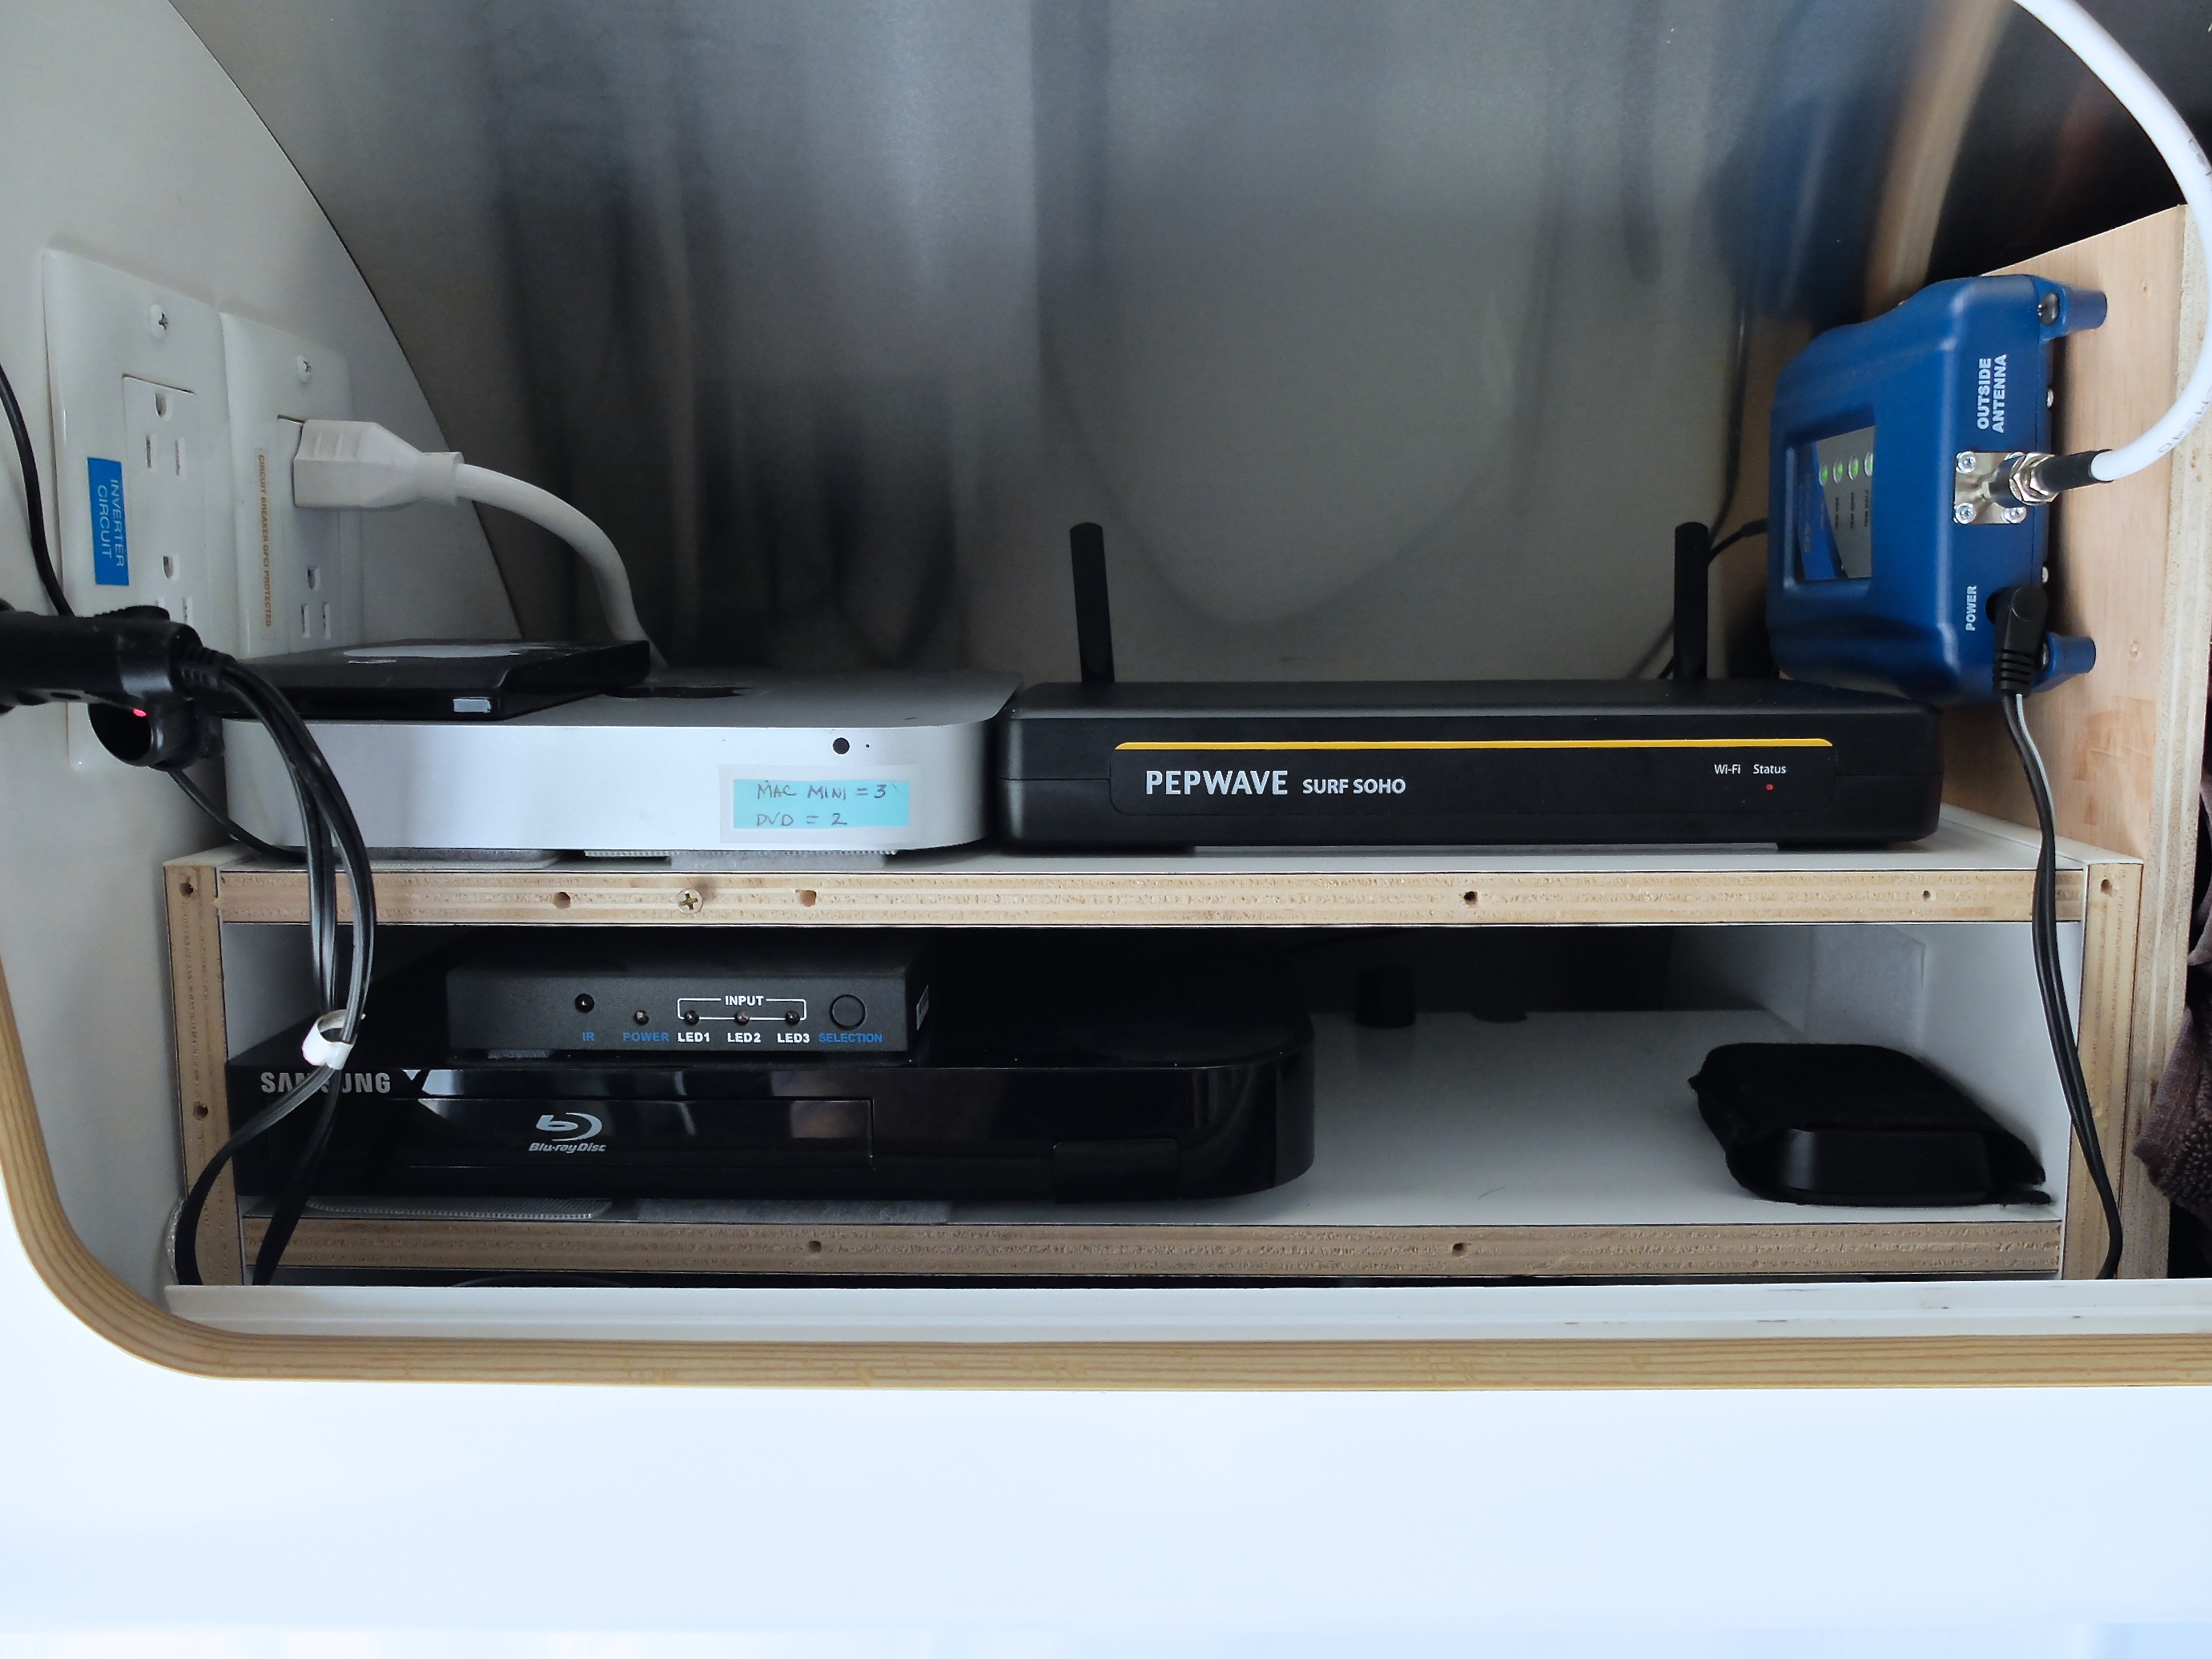
A clean install for my media cabinet
It will be a few weeks before I’m in an area requiring significant signal amplification, but I’m happy to have this project off my to-do list.
* I am not a 3G Store affiliate; I do not receive any compensation or other benefit by sharing any links contained in this post.