Upgrading Our Mobile Media
Last week I spent a few hours upgrading our ‘media hub’ in the Airstream. Much of the technology we had been using was carried-over from LuLu, our previous RV. Now, nearly six years later from initial purchase, the timing seemed right to upgrade various mobile internet components Kelly and I will be relying upon as we transition into telecommuting workers.
With an objective of keeping the process simple, I purchased hardware that is known for its quality, reliability, and price value.
The installation was pretty straightforward and less the items listed below, I was fortunate to have everything else required for the installation in my tool box and spare parts kit. BTW, I purchased everything from 3G Store* and have included the parts inventory below:
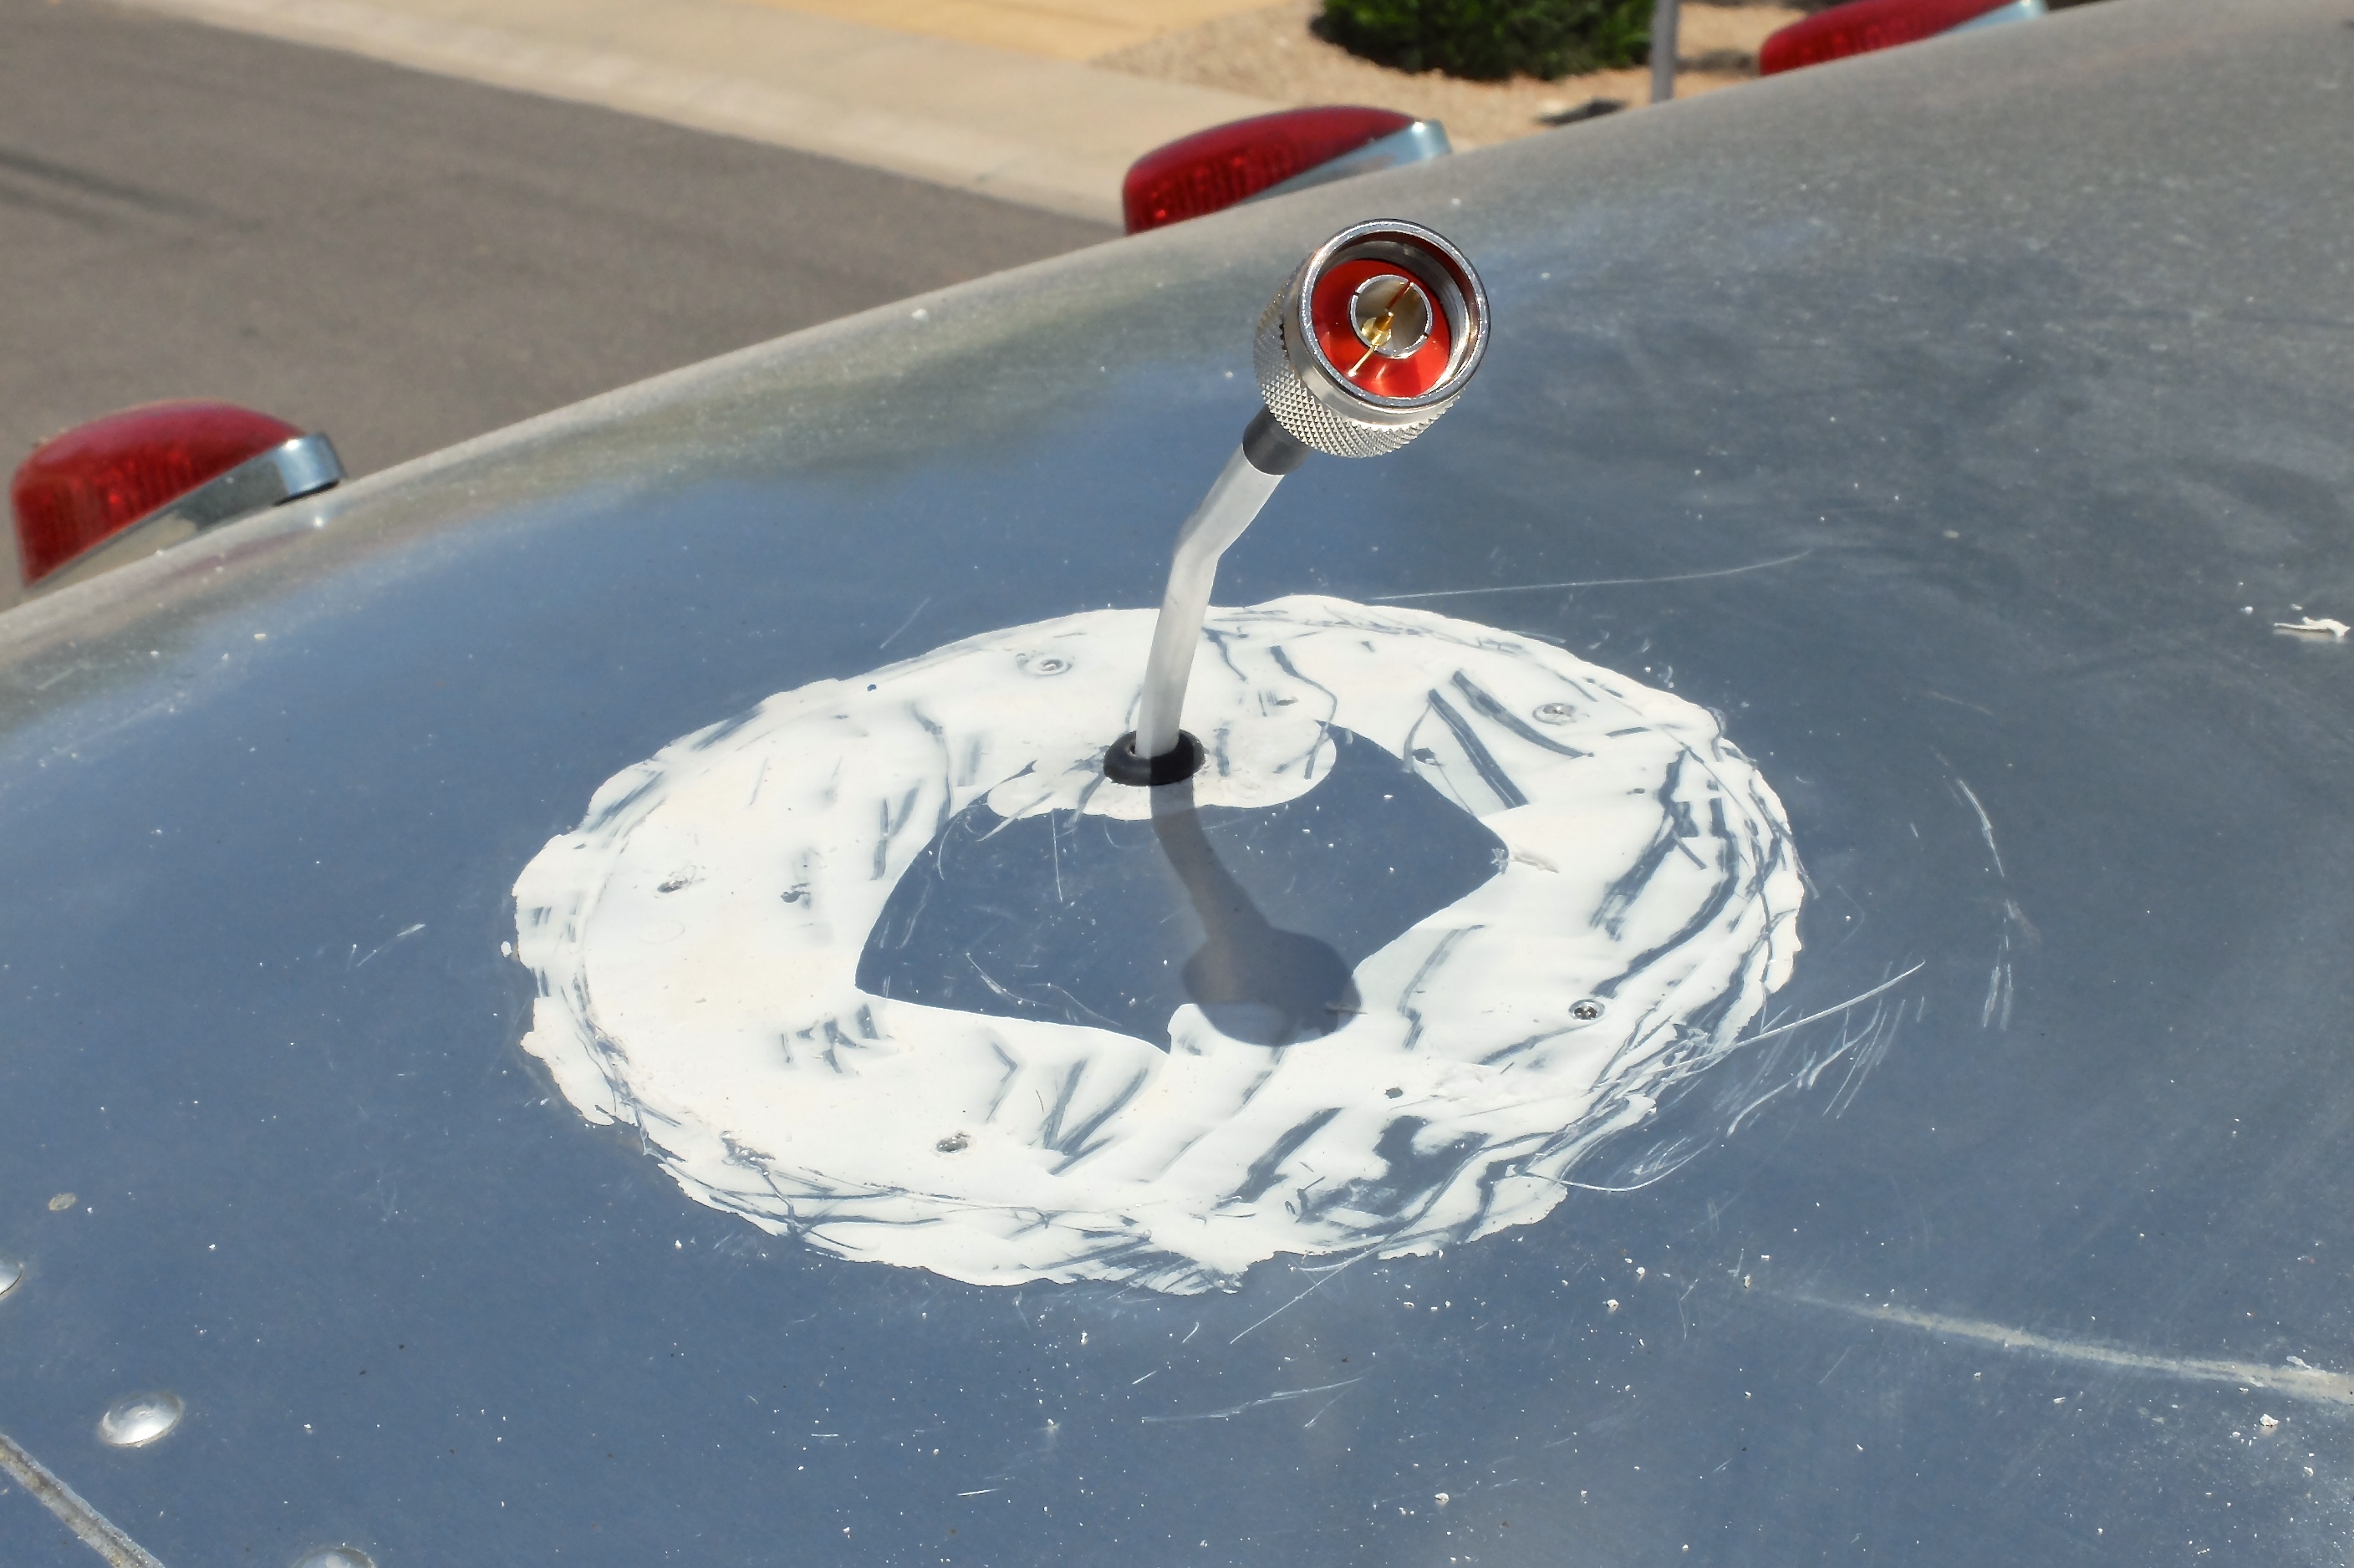
My first order of action was to remove the existing Antenna, but first I had to dig out the waterproofing sealant.
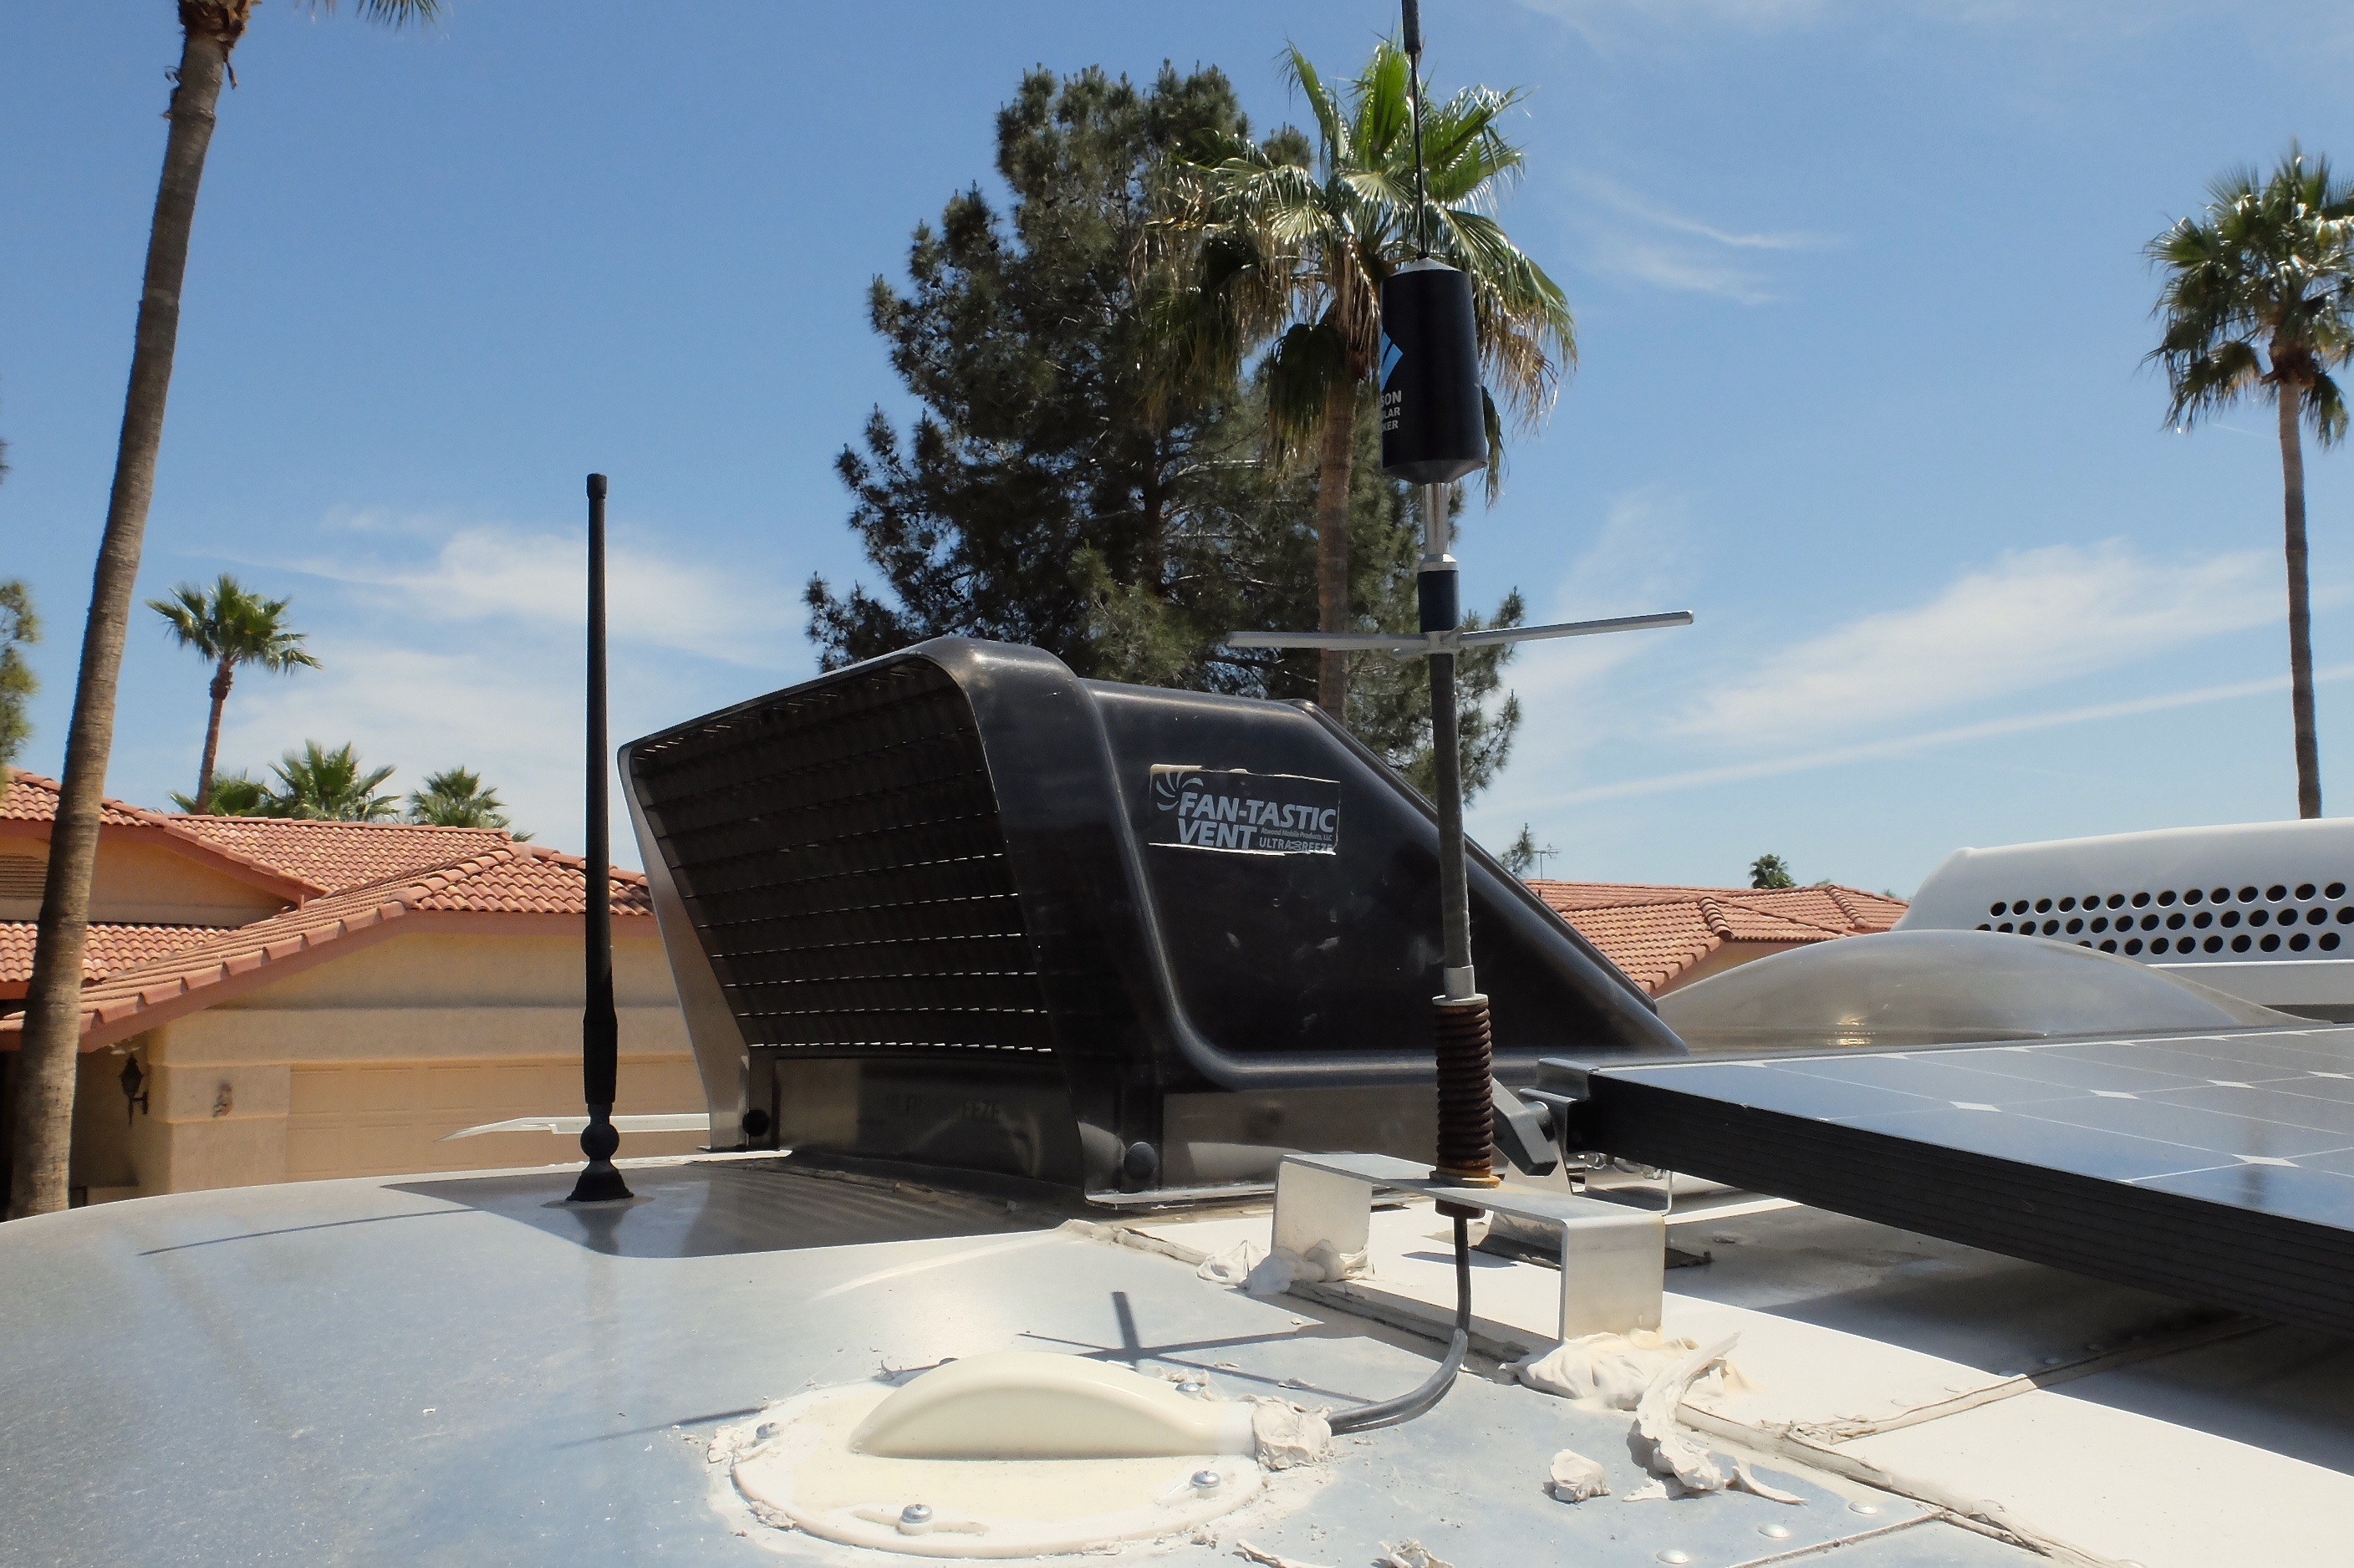
The existing 2G/3G antenna to be replaced
Antenna housing / cap
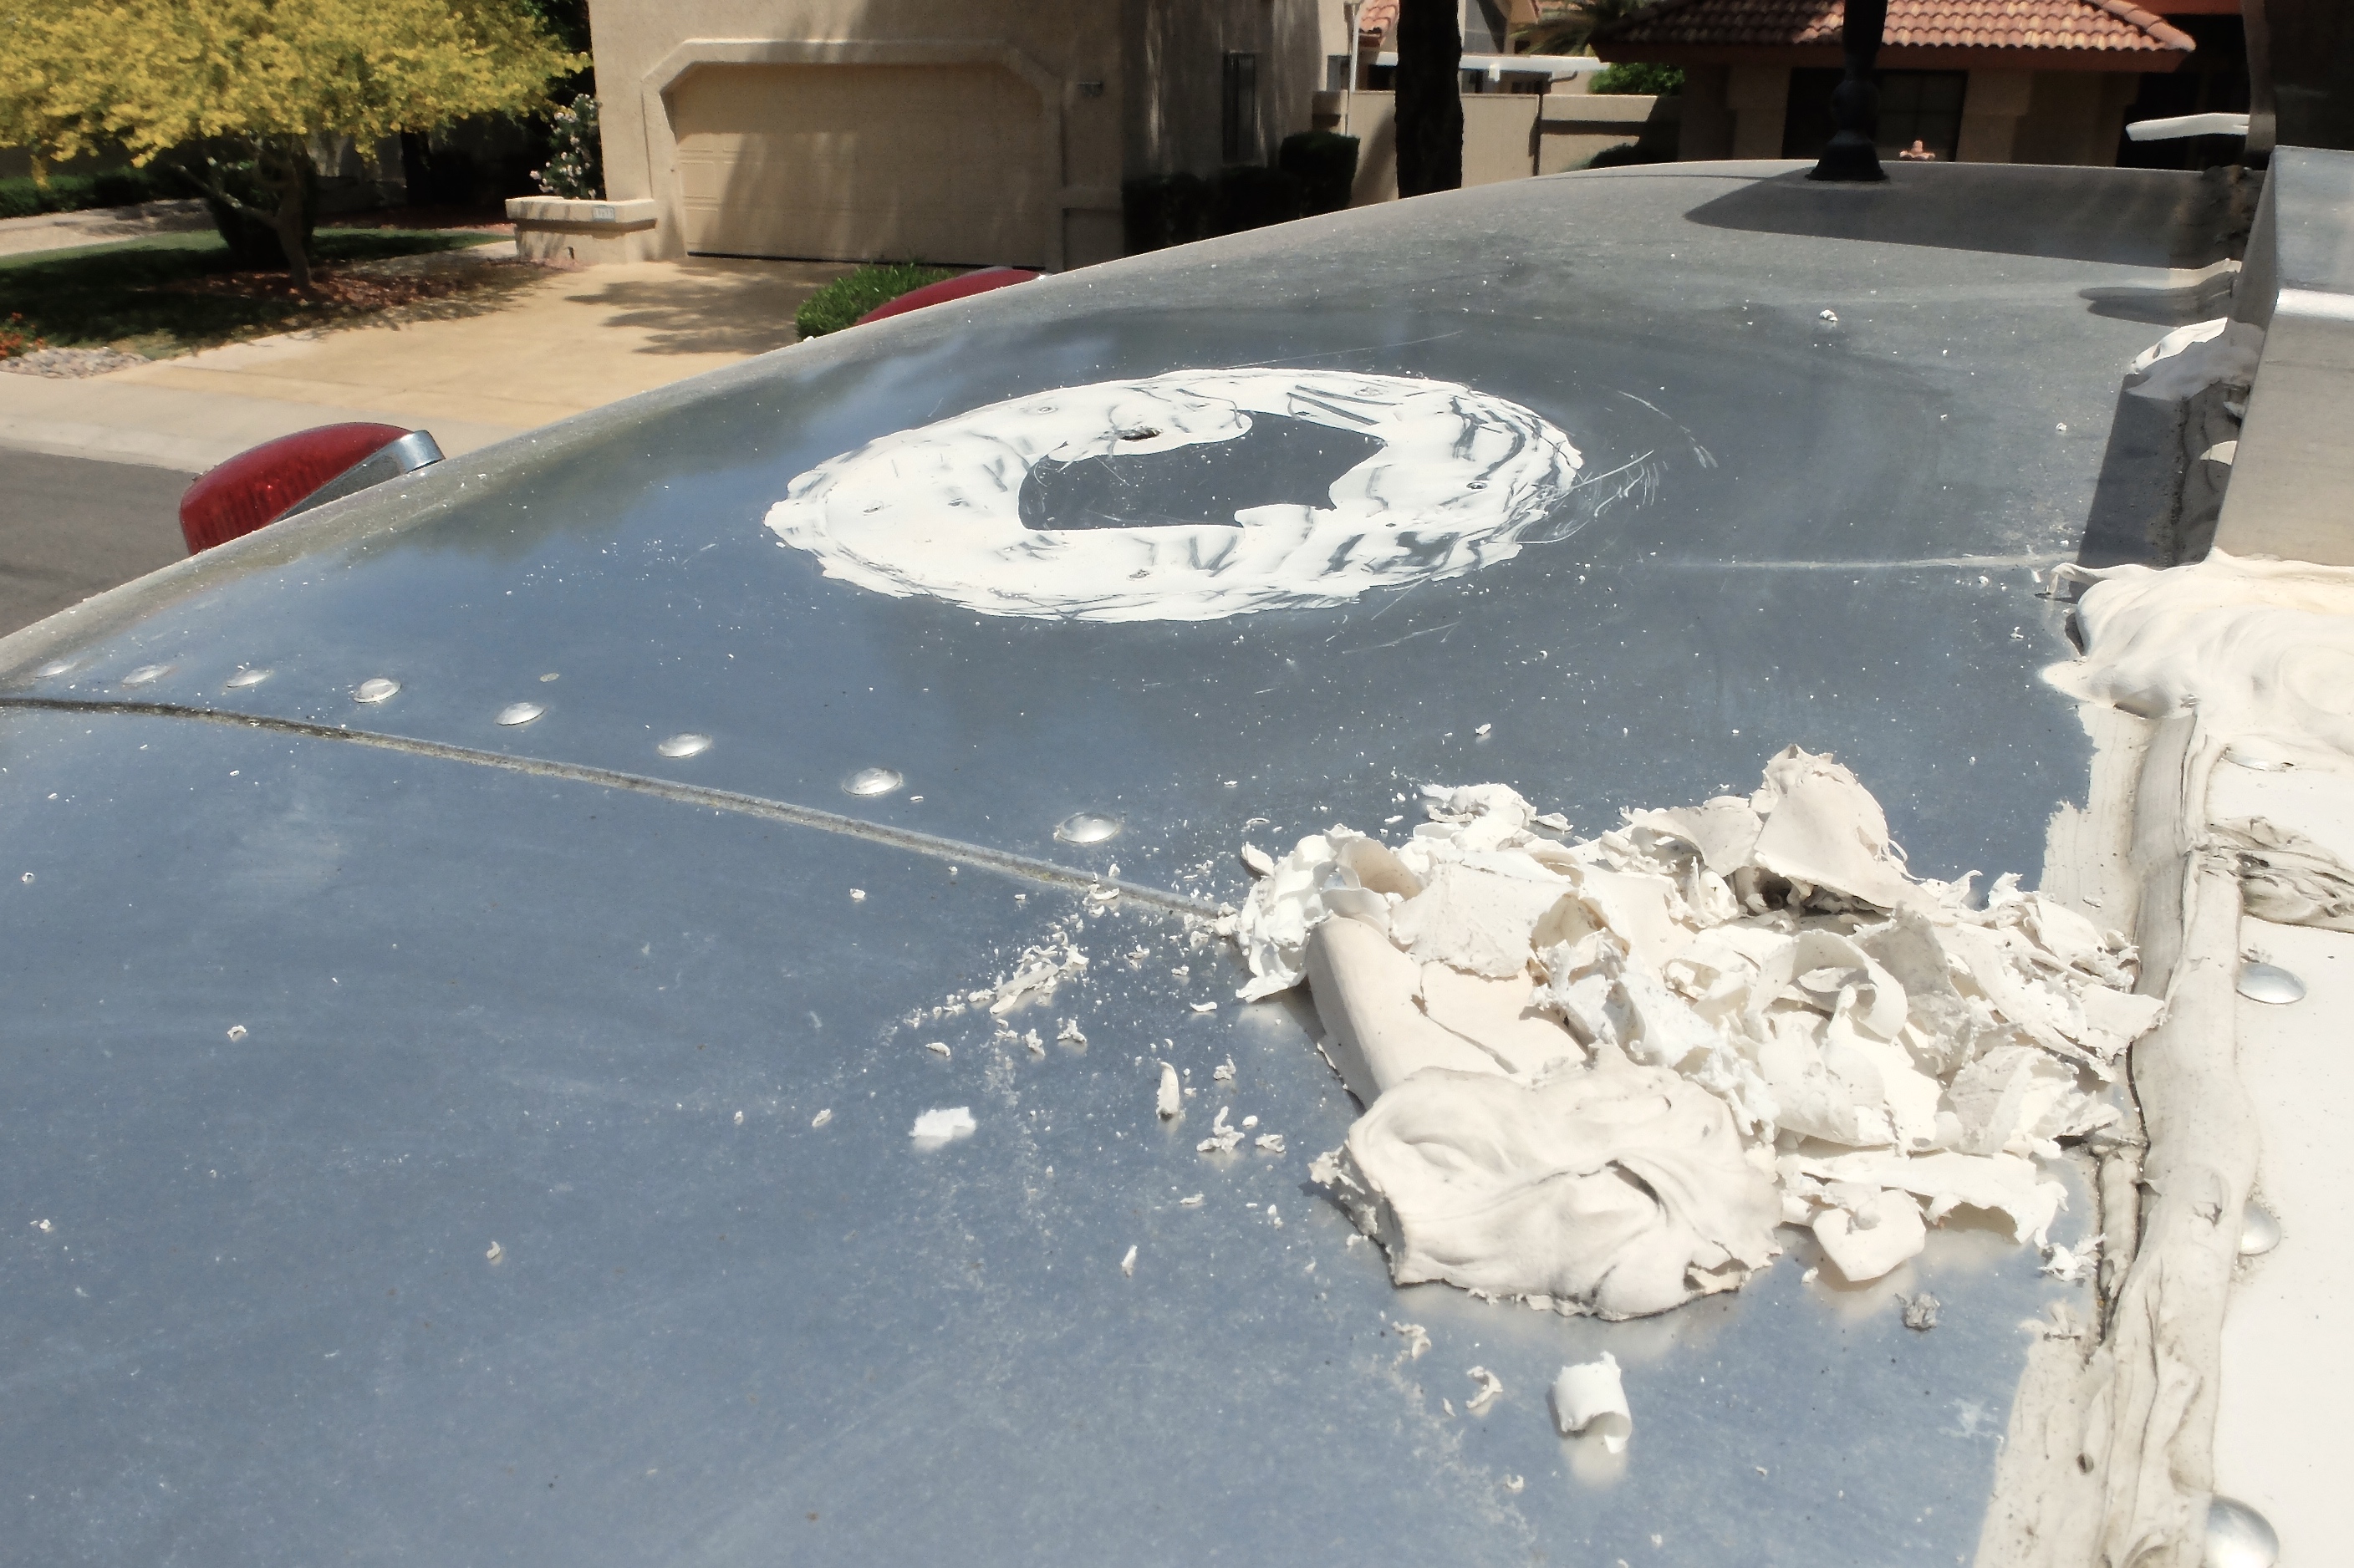
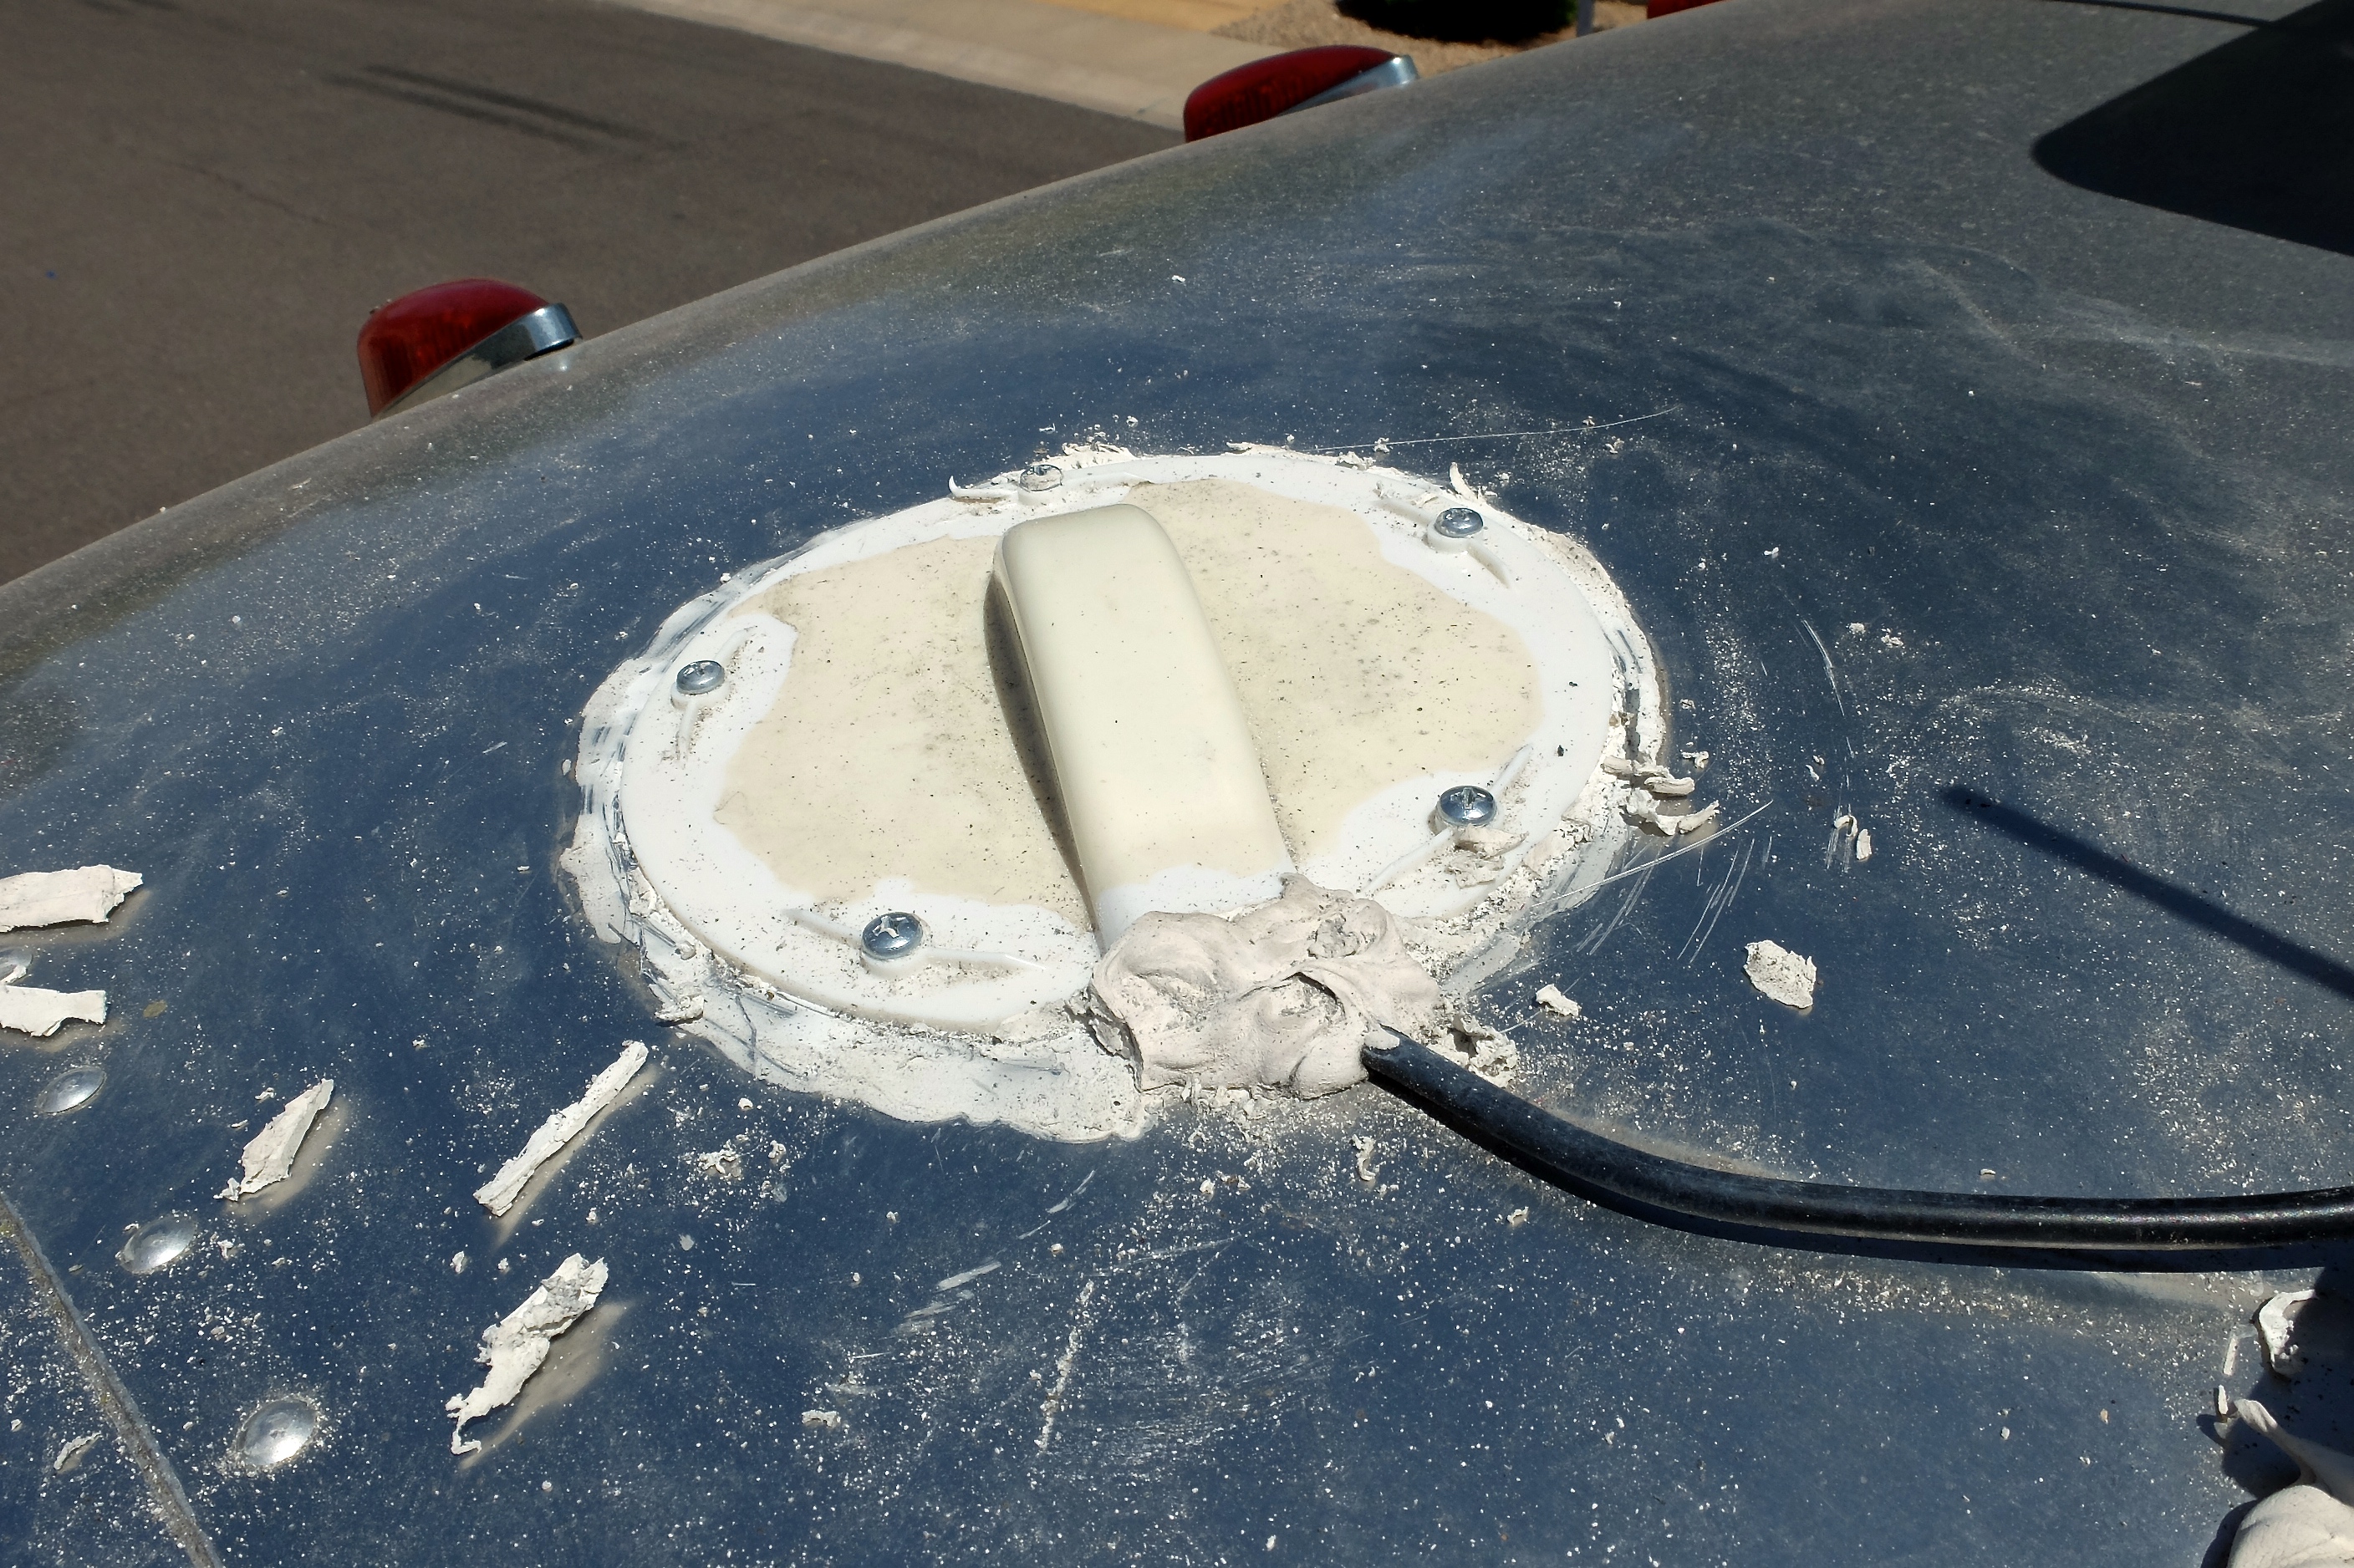
All prepped and ready for final surface cleaning.
Once the existing parts were removed, I was ready to fish the new cabling and pre-fit the new antenna. Fishing cable is often tricky, and this effort was no different. Threading the cable between two holes with tight tolerances proved quite difficult. Normally I would have used a straightened hanger as a guide needle, but in this instance the tolerance was too tight and the additional hanger width was a problem. I didn’t want to expand the holes, so atop a ladder and under the blazing sun, I blindly poked new cable (white in color) until I threaded through. A few four-letter words may have been uttered.
The black cable was removed; I threaded new cable through the tiny hole above.
The new cable fished and ready for fitting.
With the new wiring in place I was ready to begin test-fitting the replacement antenna. I really wanted to reuse the existing mount bracket as-is, but the height was a challenge. Various fit scenarios were attempted, and a few failed bracket test holes drilled, but nothing worked. Once again, a few four-letter words may have been uttered.

Roof installment completed
In the end, I settled on a solution that is not the most aesthetically pleasing, but I think it will work just fine. More, I was able to reuse existing parts and avoided drilling into the Airstream skin … a win in my book.
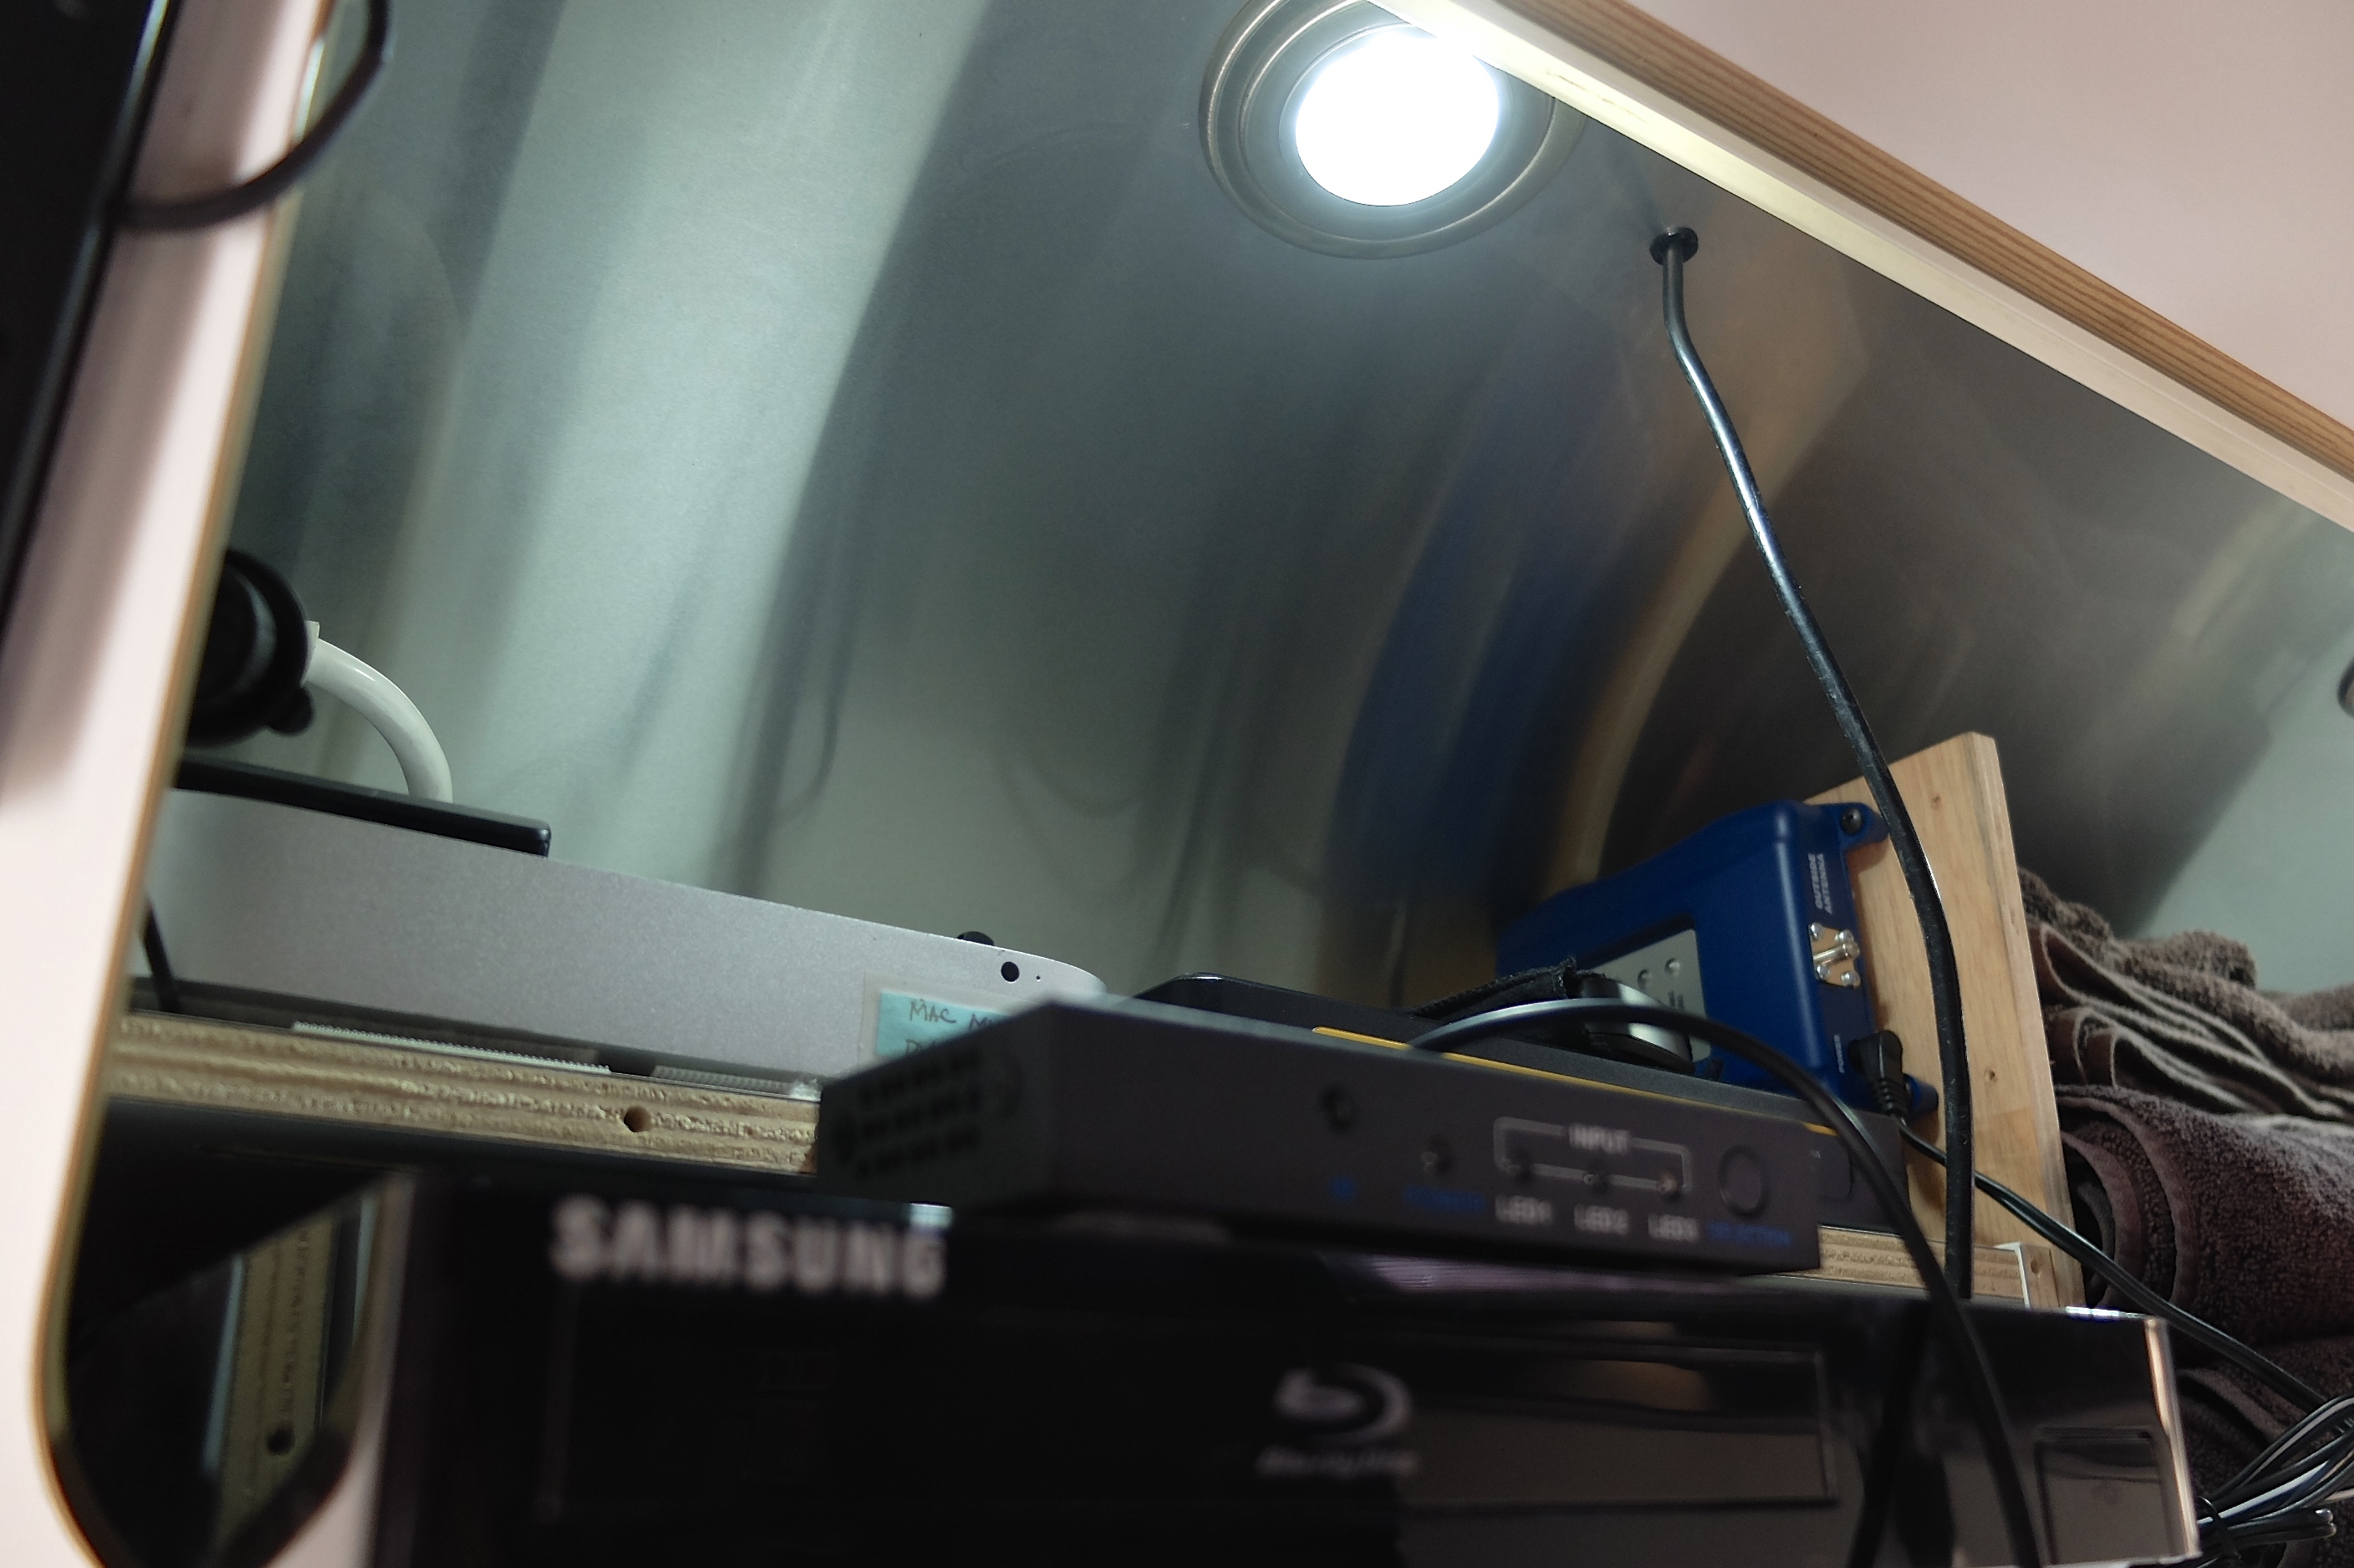
Mounting the antenna was only part of the project – I also needed to install the interior signal amplifier connecting to the antenna. This aspect of the project was quite easy and went quickly.
A piece of wood was added as a mounting plate
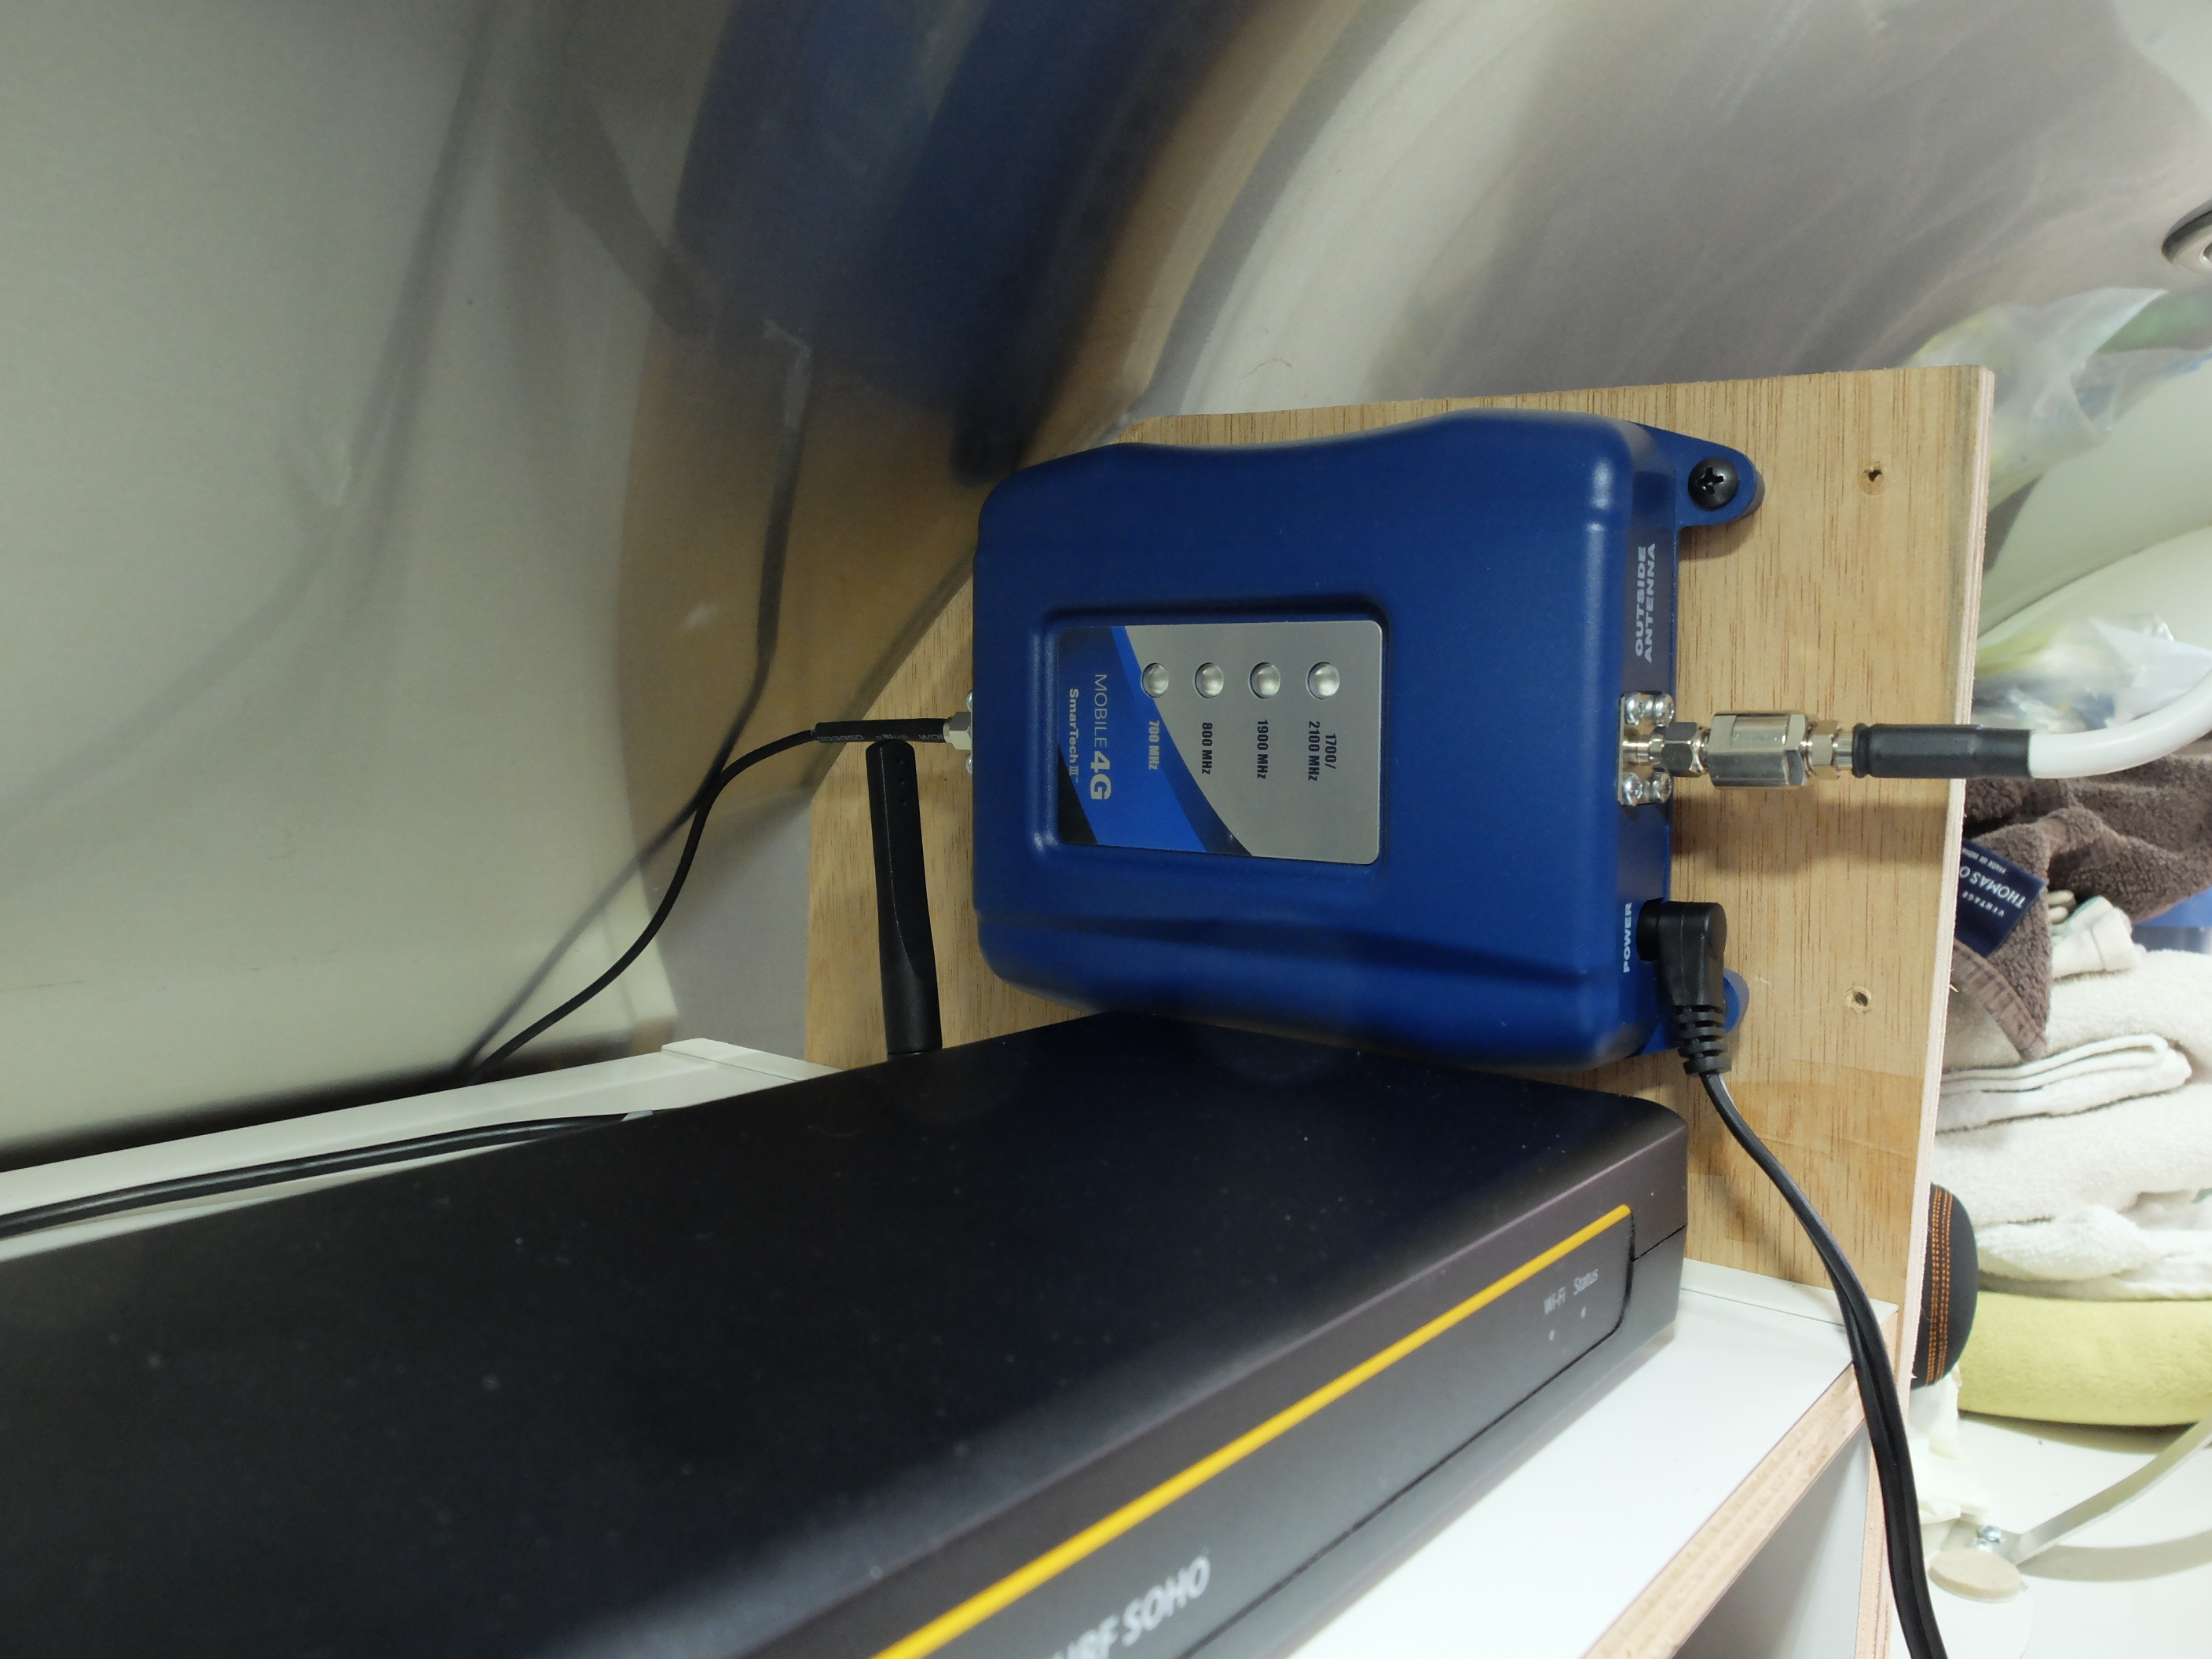
Amplifier mounted
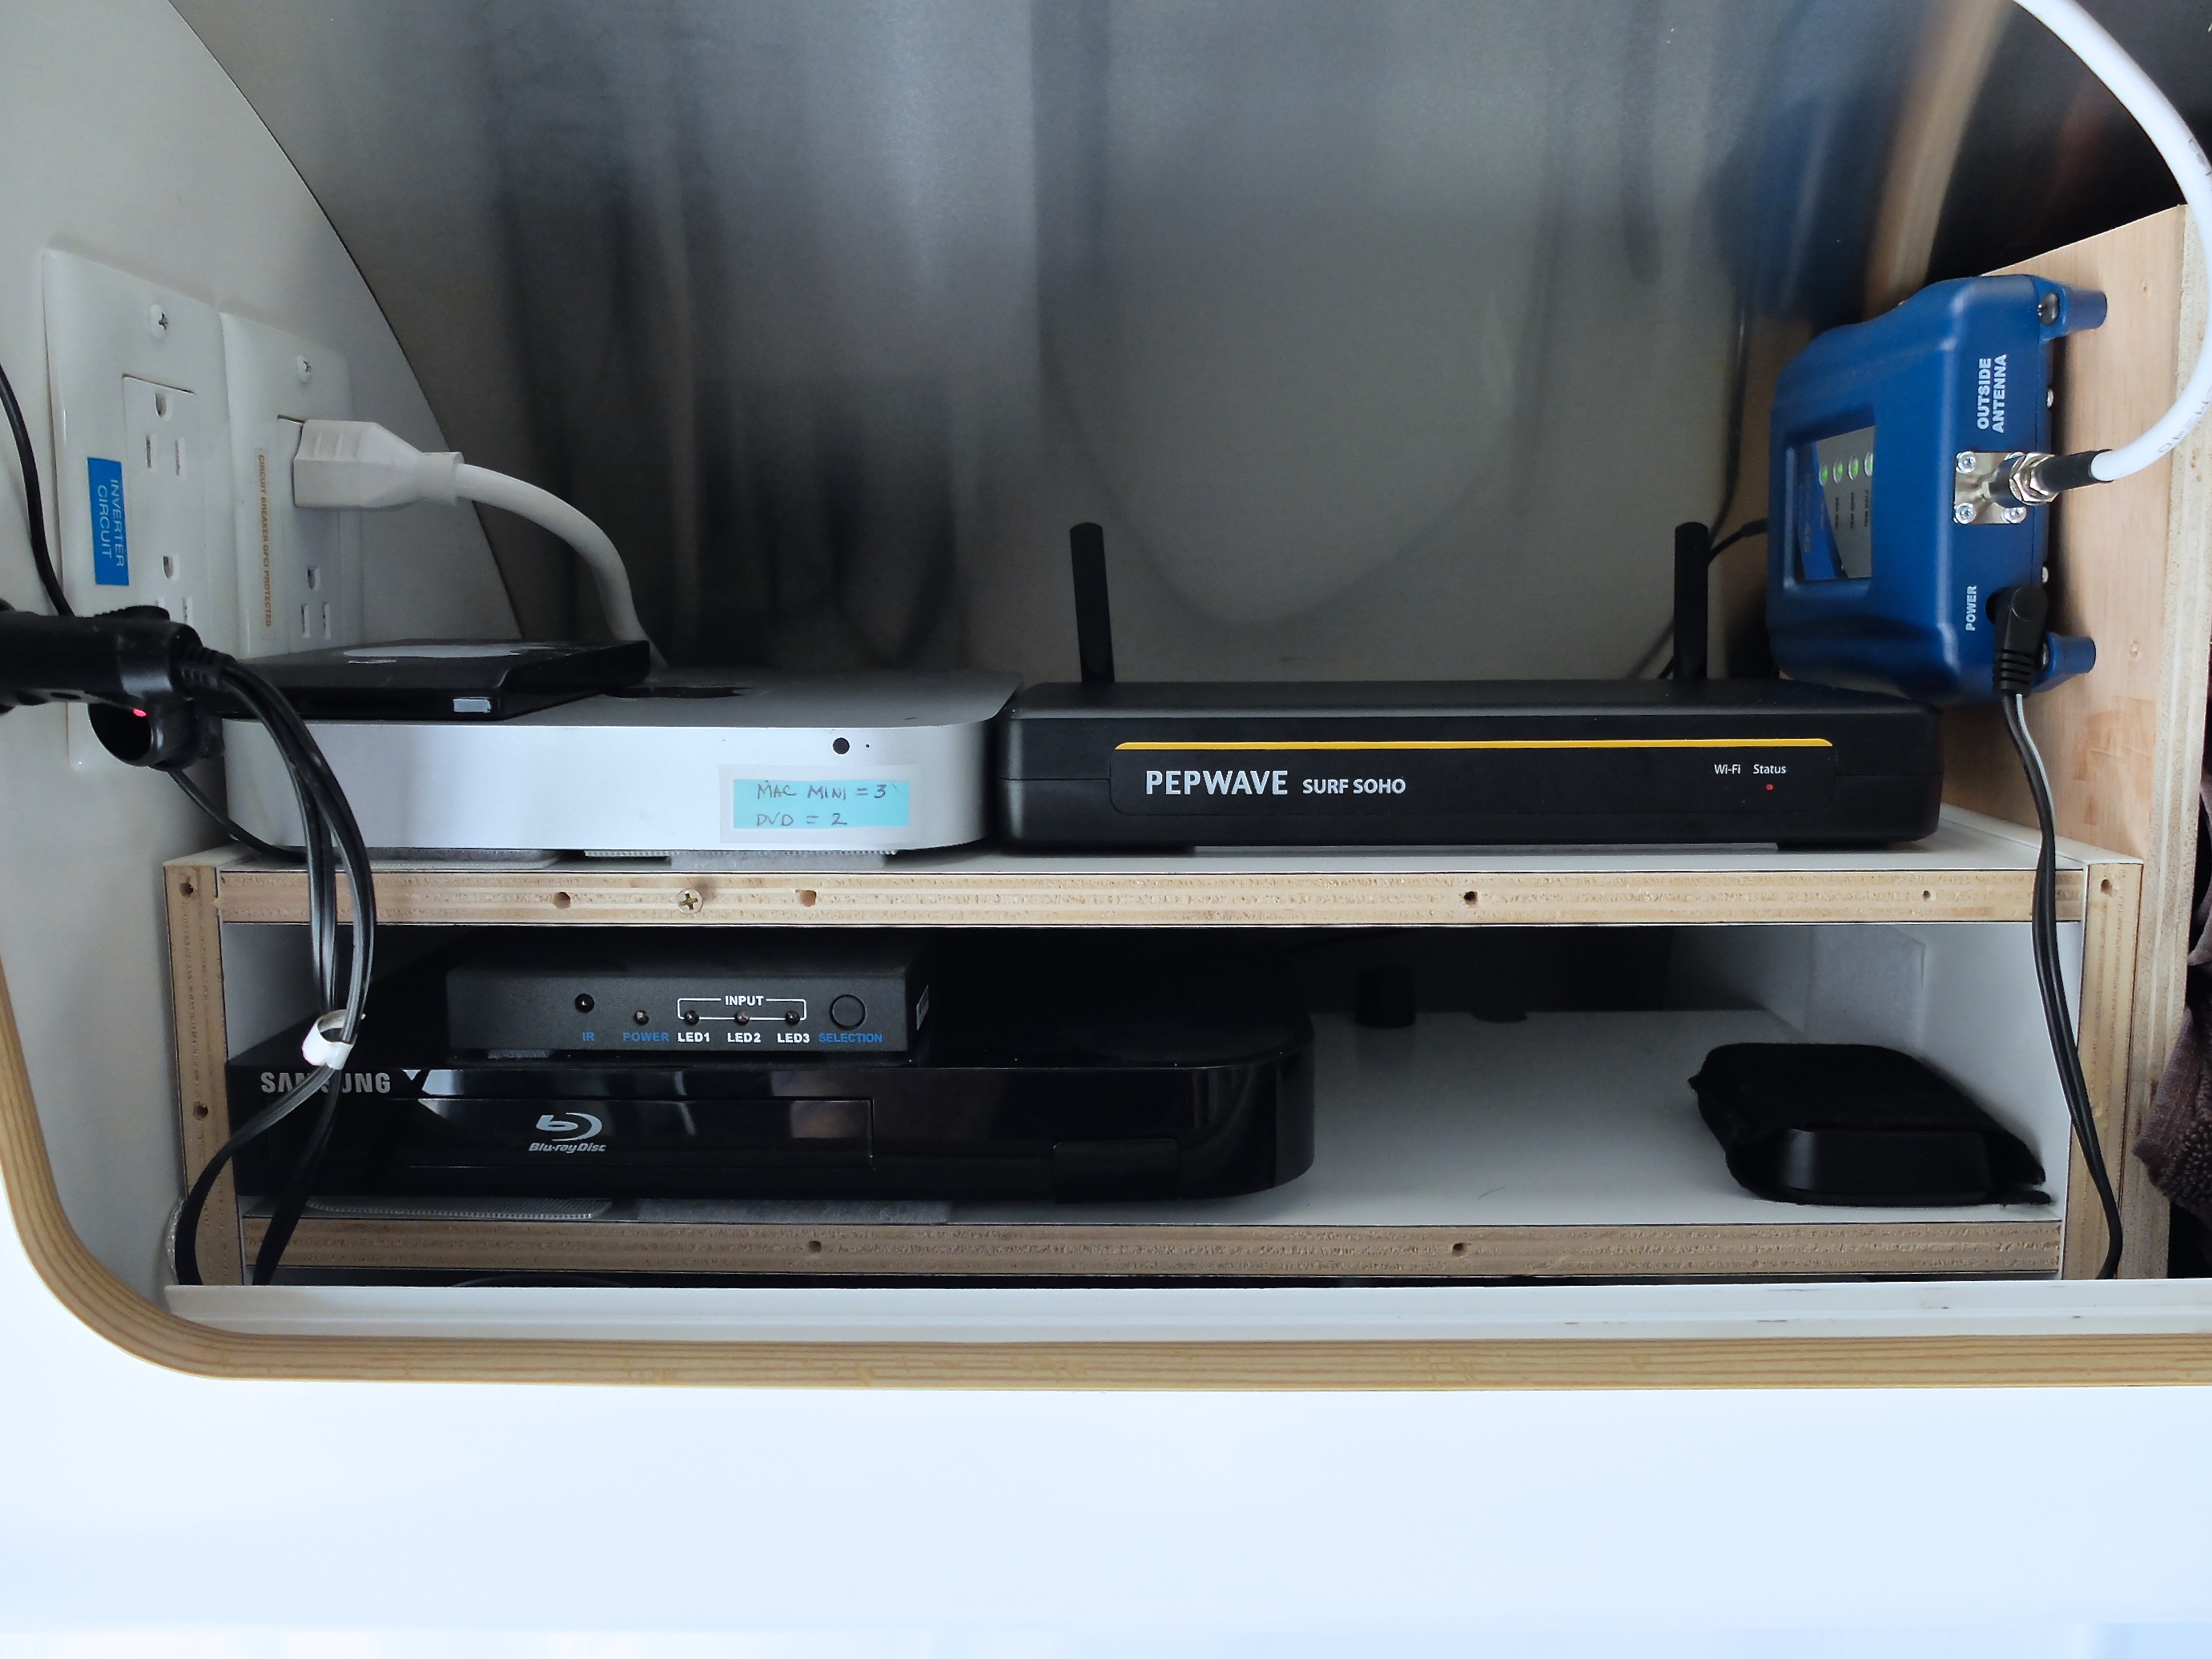
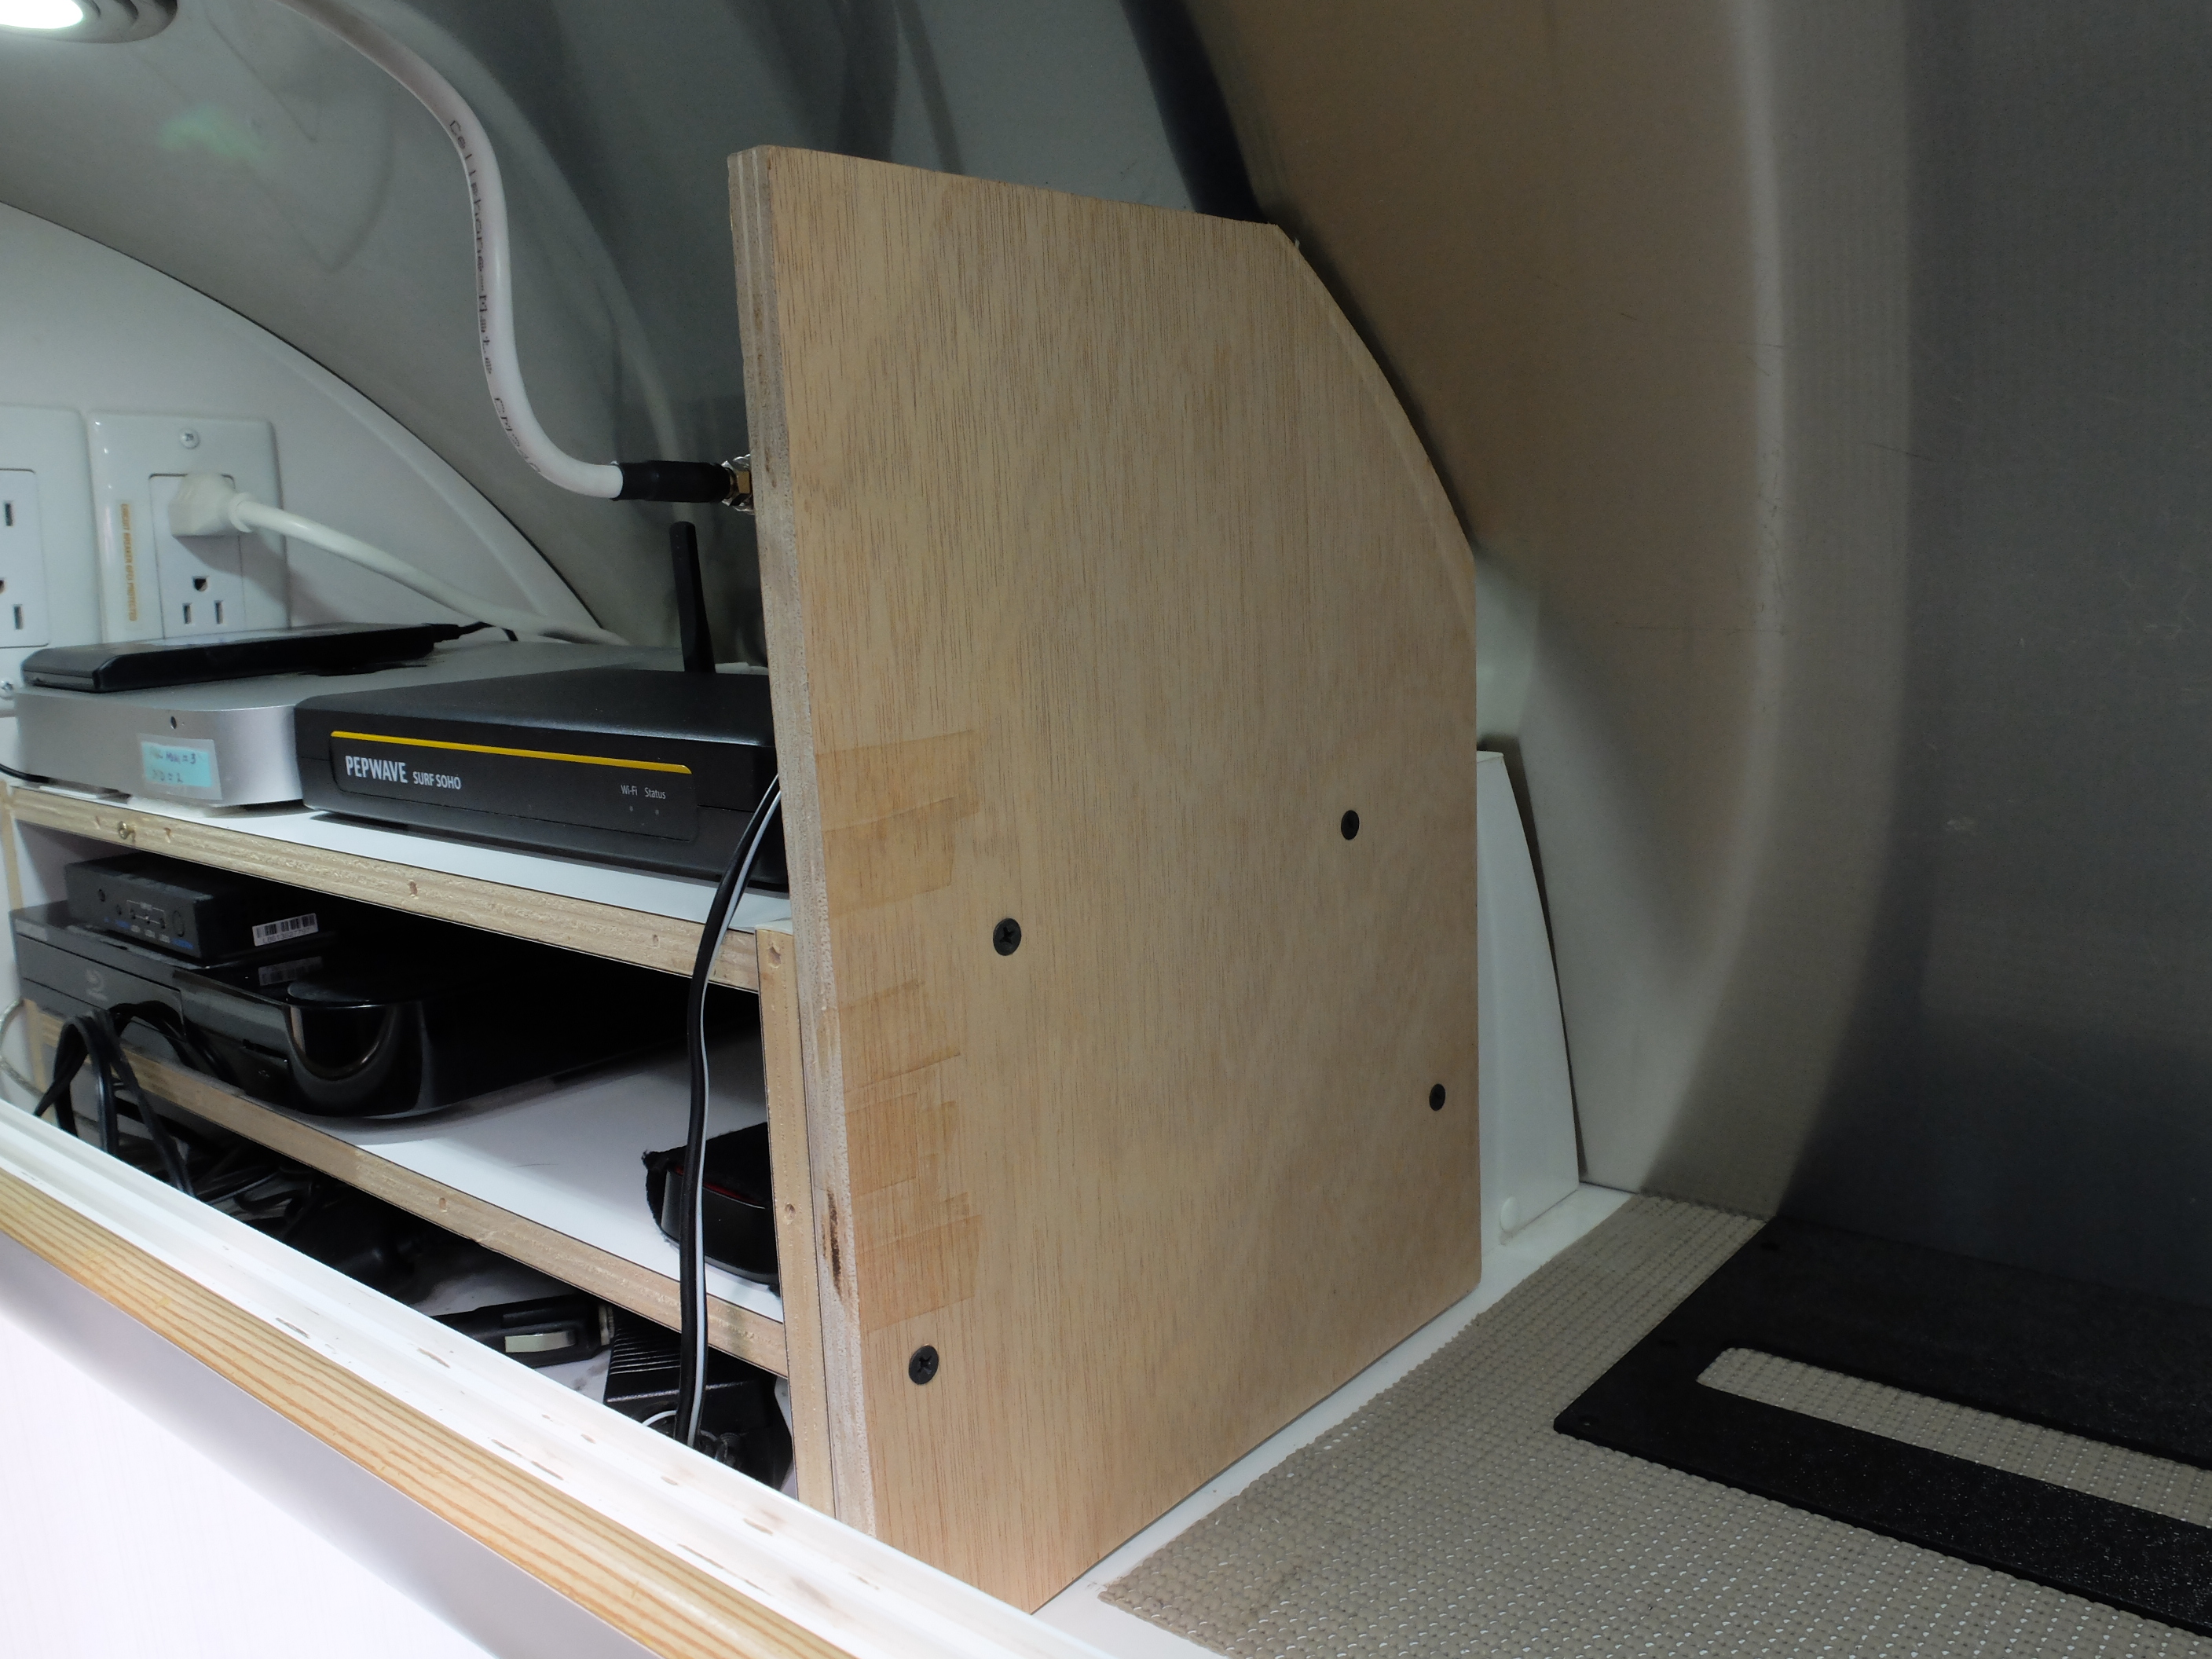
A clean install for my media cabinet
It will be a few weeks before I’m in an area requiring significant signal amplification, but I’m happy to have this project off my to-do list.
* I am not a 3G Store affiliate; I do not receive any compensation or other benefit by sharing any links contained in this post.