Skip to content

Posts from the ‘Airstream’ Category

Avoiding Groundhog Day

A year ago Kelly and I completed our longest tow day ever – 11 hours on the road only to go nowhere.  I’ve detailed events of that fiasco previously, but suffice it to say, I do not advise towing a fully provisioned trailer along a very crowded HW1 on the 4th of July, especially without a campground reservation securely in hand.

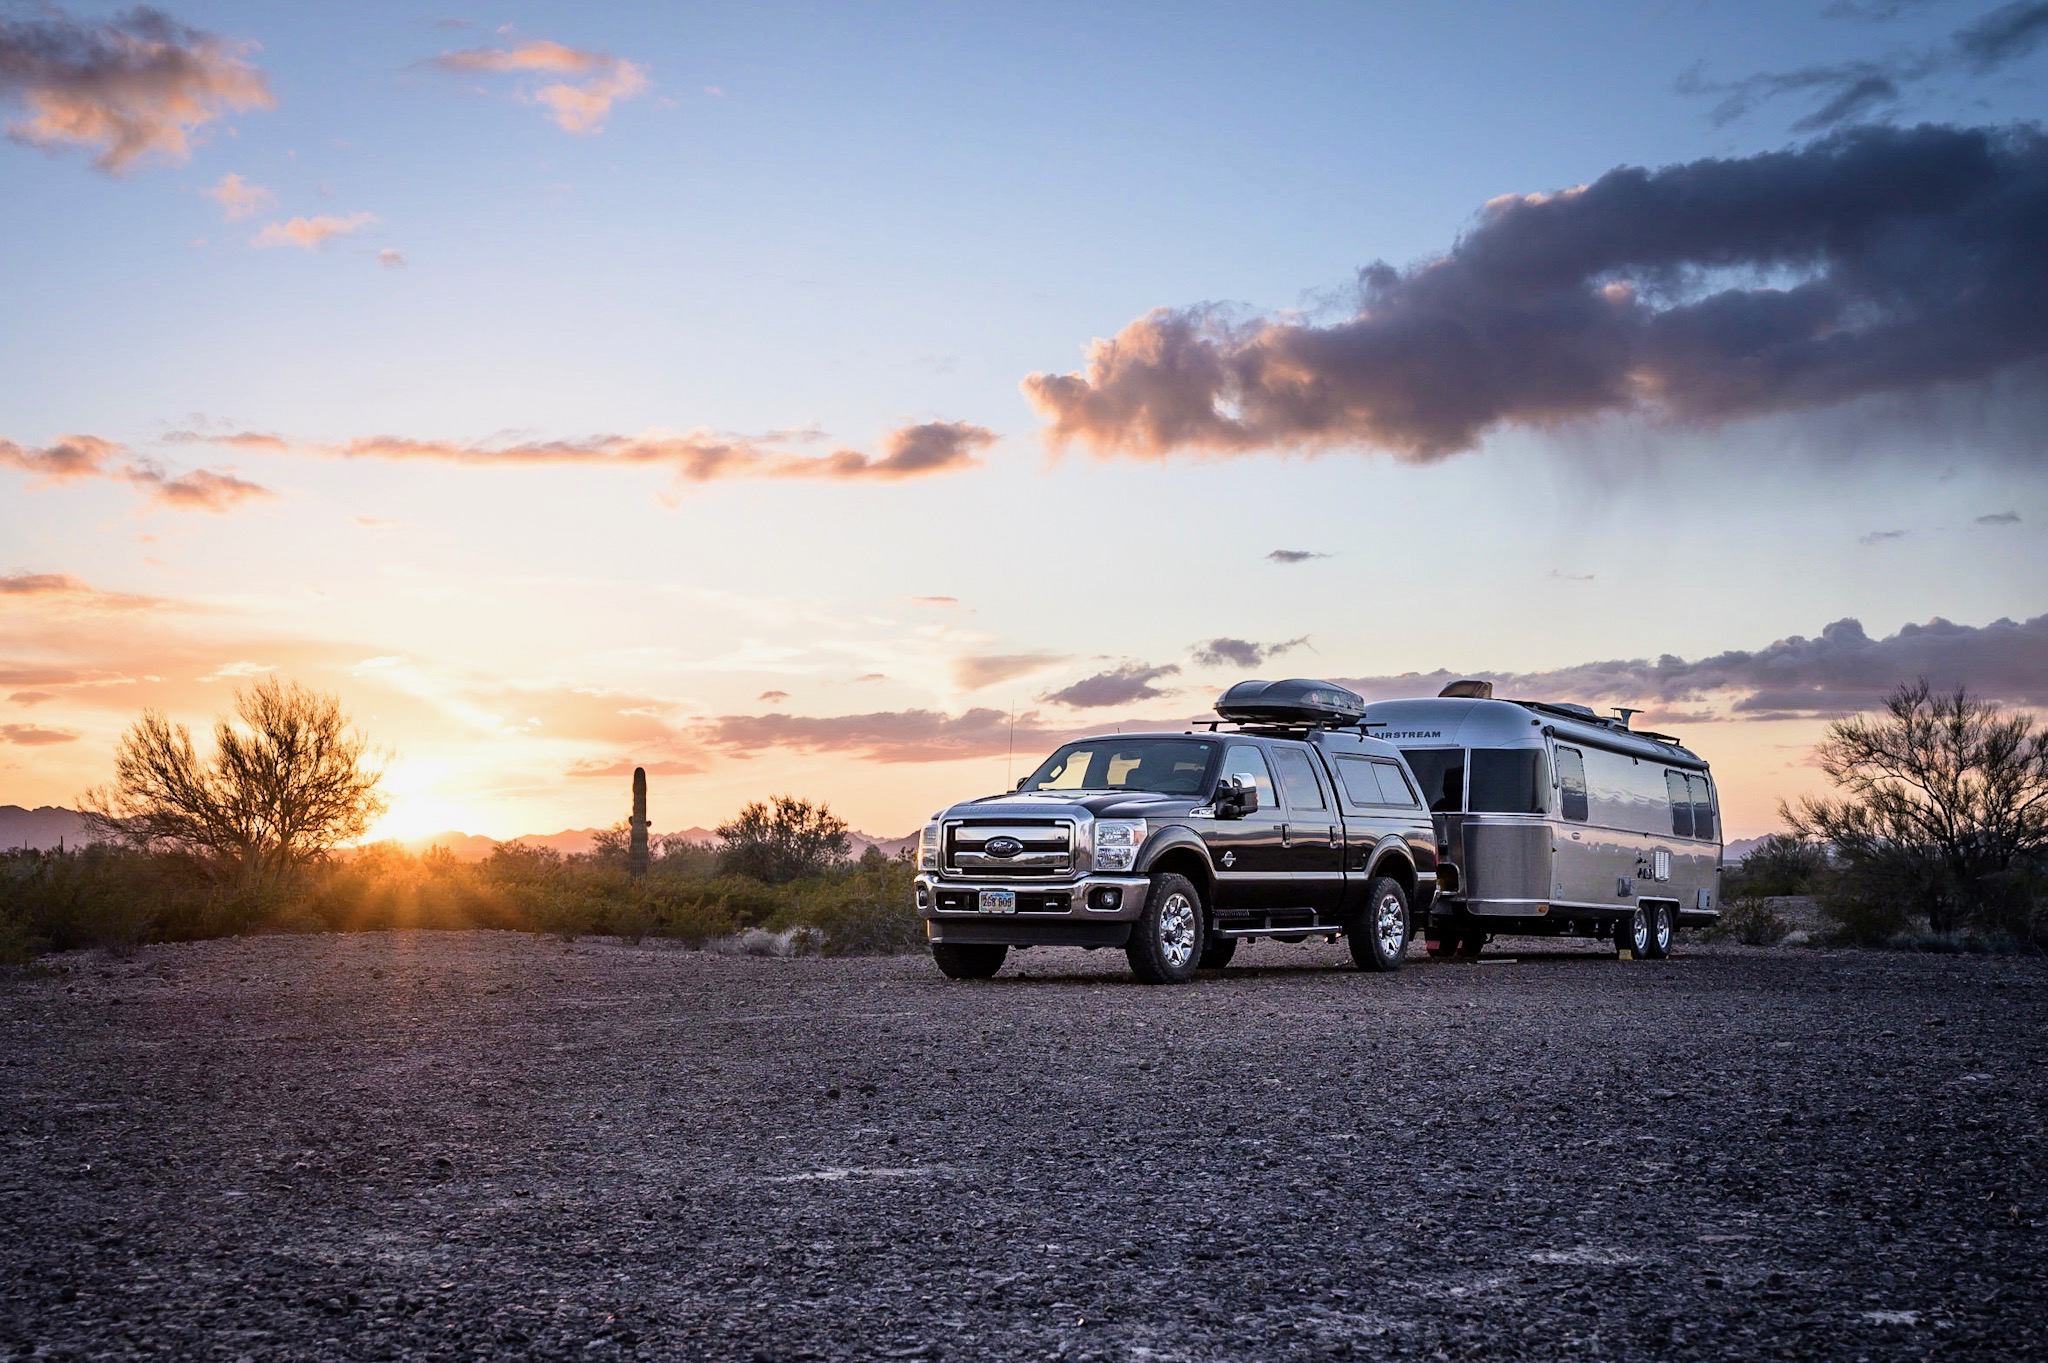
Determined not to make that same mistake this year, Kelly and I finalized holiday weekend reservations at Pinnacles National Park well in advance.  This would be our second visit to America’s newest national park and our plan was to spend a few relaxing days hiking the trails we didn’t complete during our visit last fall.

Knowing the weather would likely be hot, our plan was to be on the trail by 7am each morning in order to be back at the trailer a few hours later, before temperatures rose to triple digits.  Just as planned, the following morning we arrived to the trailhead around 8:30am.

Bathroom at the trailhead

Bathroom at the trailhead

I’d categorize the first trail as ‘ok’.  The trail took us through rolling sections of tree cover and skirted some cool ravine areas before arriving to sketchy  stairs carved into a rock face leading to a giant reservoir … which as far as I could tell, was inhabited mostly by snakes, frogs, and turtles.  But mostly, the trail lacked in ‘wow’ factor.  Perhaps I’m starting to become spoiled with the abundance of ‘wow’ scenery in California, but for me, this hike – while certainly pleasant, wasn’t the best I’ve seen, nor the best the park has to offer.

DSCF9601

Headed over there somewhere

DSCF9603

Kelly pauses for a look

DSCF9604

climbing up towards the reservoir

DSCF9619

Reservoir low on water – another victim of the severe drought conditions

DSCF9612

Lots of snakes relaxing under the warm sun

DSCF9617

Pinnacle rock formations

Day 2 started off a bit better – that is to say we arrived to the trailhead by 8am, but still sufficiently late for our 7am target (hey, it’s vacation, cut us some slack please).  Anyway, our plan was to complete one of the larger loops which would take us to what one park ranger referred to as the “money shot” section of the park.  Having seen the western side of the park during our last visit, I concur with the spirit of his comment – the area is stunningly beautiful, but I would prefer that ranges refrain from describing anything as being a money shot when conversing with me.

The weather seemed to be warmer than the day prior, and with no cloud-cover in sight, we knew to expect high temperatures for much of this unshaded hike.  However, before we would face any of the high heat, we first had to navigate through one of the park’s three caves.  Technically, these are not caves per se, rather  hundreds … perhaps thousands of boulders which have toppled onto themselves, creating a cave-like effect.  The result is a section of trail that is completely dark, damp, and very cool (temperature-wise).  Oh, and a lot of fun.

The park literature and signage approaching all of the park’s caves strongly advise the usage of a headlight(s).  Myself, I cannot imagine attempting to navigate the caves without lighting, but I’m sure some dumb-ass has tried.

DSCF9626

Approaching the cave

Just inside the cave, looking back towards the entrance

Just inside the cave, looking back towards the entrance

The picture below was taken using a flash, but trust me, it’s absolutely dark in these caves.  Note the guide arrow (pointing to the right) above Kelly’s left hand.  Also, check out the size of the boulders – they are  huge!

Kelly, cautiously making her way forward

Kelly, cautiously making her way forward

Dave descending into the 2nd set of caves

Dave descending into the 2nd set of caves

Once through the cave section, the trail winds through a series of giant boulders and other rock faces before opening onto an expansive meadow.  We then connected to a trail that winds atop some of the higher points (2500-ish feet) of the park, affording fantastic views.  Total hike was about 8.5 miles.  July isn’t the best time to visit – it’s crazy hot, dry, and much of the plant life is burnt to a crisp.  With better planning on our part, I would expect springtime to be glorious … wild flowers blooming everywhere.

DSCF9643

BIG rocks wedged everywhere

DSCF9645

Transitioning from caves to meadows

DSCF9648

DSCF9649

DSCF9653

More pinnacles as we hike towards the highpoint of the trail

DSCF9657

DSCF9661

Not long after we returned to the trailer, the air conditioning failed.  Quickly, the inside temperatures of the Airstream soared to a sweltering state, but we managed to make the best of the situation … including Kelly’s usage of an ice pack to cool her aching head.

DSCF9663

DSCF9664

Turns out that the failed AC was caused by a tripped GFCI bathroom breaker … probably due to heavy load.  Foolishly, I failed to consider this simple fact as part of my troubleshooting, so we had no choice but to sweat it out with many others for hours until the temps broke.  Fortunately, I did notice GFCI after work today (Monday), which was easily reset with the push a button.

So it turns out the misery you see in the photo above could have easily been avoided had I noticed tripped outlet.  Sorry Kelly.


12 Volt Twins

Having spent the month of May without full shore power, Kelly and I have been functioning exclusively via solar power.  For the most part, the lack of shore power has been largely a small nuisance, but during this time we’ve come to learn a lot about our power consumption habits and system constraints.

At purchase, our trailer was equipped with an inverter upgrade which allows us to use a subset of electrical outlets since they are powered directly by a pair of house batteries.  Largely, this solution of works well, but does have some gaps – mainly a lack of 12-volt sockets (similar to cigarette outlets, but with greater power capacity) which can be used to efficiently charge various electronics (phones, tablets, etc.) with less power consumption than traditional outlets.

Most annoying is the lack of 12-volt sockets in the bedroom – specifically near the bedside nightstands.  Always looking for a project, today I decided to add a socket to each of the bedroom nightstands.

My first order of business included a trip to NAPA auto parts and Ace Hardware for a few required supplies.

A variety of supplies needed for the project

A variety of supplies needed for the project

Once all parts were organized I began prepping the cable runs.  I wired-in a 15-amp fuse for each of the negative leads, and added heat shrink over each joint.

Positive cables prepped

Positive cables prepped

Initial wiring of the positive and negative cables was straightforward and didn’t take too much time.  When I completed this task, I began thinking about where to locate the sockets.

Kelly’s chief request with this project was that I locate the  sockets discretely, away from plain view.  Our 27′ FB floor-plan situates the bedroom close to the forward storage area … an easy location for tapping into power.  Once I finalized the socket location, I used a hole saw to bore an opening for each socket.  The first image below is taken from the garage (under) bed storage, while the second is taken from inside the trailer after I had completed seating the socket into place.

I repeated this process for Kelly’s side of the bed, then shifted my attention back to the wiring.

One of the holes awaiting the 12volt socket

One of the holes awaiting the 12-volt socket

The socket installed under the bed, next to the nightstand

The socket installed under the bed, next to the nightstand

With the sockets in place, I could then determine how much wire would be needed to reach the buss bars I’d be tapping into for power.  As seen in the picture below, I consolidated the positive and negative wires from my nightstand side of the bed into protective split loom before anchoring the bundle up and out-of-the-way.

Wiring from the far side nightstand

Wiring from the far side nightstand

Kelly’s nightstand is really close the DC (12-volt) electronics bay, negating the need for split loom.  This being the case, I finalized the wire lengths and attached everything remaining into place … doing my best to keep things “tidy” despite the mass of existing wires already in the area.

Then, using my trusty multimeter, I confirmed both sockets were fully powered “hot” at 12.5 volts and ready for use.

Kelly's socket entering the electronics bay.

Kelly’s socket entering the electronics bay.

A spaghetti mix of wires.

A spaghetti mix of wires.

Theoretically, my work was complete at this point – all that remained was to test both sockets.

Power!

Power!

While I forgot to snap a picture of the partition wall which protects the electronics from all the junk I keep in the “garage”, I reinstalled this divider, effectively concluding the project.  Satisfied with my accomplishments, I rewarded myself with a very satisfying beer.

All in, I’m out about $60 in parts, which I suspect will prove to be money well spent.


Saved By Solar

On Wednesday, I came home from work and noticed the trailer didn’t have full electric power.  Anything that required electricity by way of a wall outlet wasn’t working, however other things – such as lights, both ceiling exhaust fans, and the radio were working.  My initial suspicion that the trailer was not receiving any shore power (i.e. – the equivalent of tradition house power) was confirmed by the battery monitor reading, which read below 100% … an indicator that only the batteries were powering the trailer.

I immediately began checking potentially easily resolved issues outside the trailer in an attempt to troubleshoot a cause.  Was the shore power reading accurately at 120 volts?  Check.  Was the trailer solidly connected to shore power?  Check.  Was the primary external power cord fully functioning?  Check.

By this time it was getting late into evening and sadly, with a mountain of (day job) work needing my attention, I concluded that realistically, I would not have any more time to carefully investigate until later … like meaning the weekend.

Fortunately for me, the investment we made into a solar solution last year would save our bacon for a few days until I could more thoughtfully investigate the problem.  Kelly and I could not use any “power-hungry” appliances such as a toaster or hair dryer (actually, this impacts Kelly – not me), but using a couple of outlets throughout the trailer connected directly to the batteries through an inverter (which converts battery power to household power), the solar panels would easily recharge our batteries to 100% each day, minimizing the hassle of a few days without full electric power.

Today (Saturday) my neighbor Greg offered to help me troubleshoot the situation and together, he and I began looking inside the trailer in search of the culprit.

In most RV’s there are two electrical systems – direct current (DC) which is supplied by batteries and alternating current (AC) which is supplied by the power company or portable electric generator.  DC runs on 12 volts and is used principally for low voltage items (fans, lights, etc.), while the AC system (similar to a home) runs on 120 volts and provides power to the wall outlets.  After confirming the DC was fine, we focused on the AC … ultimately isolating the likely issue to the power converter/batter charger.

Pictured below is the main power center in our RV, responsible for receiving electrical power from either shore power or the batteries, and then distributing that AC or DC power throughout the trailer as required.

The heart of our electrical system

The heart of our electrical system

Usually nondescript, Greg and I were confident this piece of equipment would prove to be the cause of my electric troubles.  So of course he and I did what guys do … took out the unit and began looking for problems.

Using a multimeter, Greg and I confirmed the breakers and all fuses were fully functioning.  However, the four wires below (red, black, & white at the top of the picture) were not showing signs of power.  Given this, we began to question whether the unit itself was receiving power … which caused us to further roll up our sleeves and dig even deeper into the situation.

Circuit breakers for the AC and fuses for the DC

Circuit breakers for the AC and fuses for the DC

Power station removed for full inspection

Power station removed for full inspection

In our trailer, we have two external  power input “outlets” which feed power into the trailer.  Electricity from either shore power or a generator enters the power station via one of two (pink) Romex wires pictured above (left).  In this same picture, I’ve already removed the heavy gauge metal cover to expose the wiring, buss bar, and circuit board.

Immediately upon removing the cover, I spotted signs of a problem – note the burning on the bottom left of the picture below.

signs of excessive overheating

Singe marks indicate something bad

Upon closer examination, the evidence is clear – something happened which caused the cable to overheat and fail.

burned wires

Damaged wires

close up

Another view of the wiring

Fortunately, the unit performed as it was designed and isolated the failure from the rest of the unit.  I wasn’t home to hear, but I’m guessing that the moment of failure was accompanied by a loud noise of some sort.

Kelly and I are headed to Oregon in about 10-days and coincidently, our route will literally take us within two miles of an Airstream dealer.  While the damaged wiring is easily replaced, I’m nervous about long-term viability of the circuit board and unit overall.  This being the case, on Monday I’ll call that dealer and ask for a full warrantee replacement.  I’m hoping that if I email them the pictures above, they will agree to order a new unit and complete the service repair while we wait.

Definitely not how I prefer to start a long-awaited vacation …


Good Times At Dead Horse Ranch State Park

On Sunday Kelly and I traveled about 90 miles north of Sun City West to the town of Cottonwood and set-up shop in Dead Horse Ranch State Park.  Wanting to visit a number of locations in this general area, DHRSP seemed like an ideal, centrally situated location to base ourselves before moving 5 hours(ish) southwest to California’s Joshua Tree National Park.

Our spot overlooking the town of Jereome

Our spot in Dead Horse State Park

Unlike the weather my family and friends in Minnesota, Wisconsin, & Illinois have been experiencing the past few days, Mother Nature has not waved her miserable wrath-of-winter wand anywhere here in the high desert.  Under brilliantly blues skies, daytime temperatures flutter into the low 60’s before giving way to cooler 30’s at night.  Factor in virtually zero wind – the “feels like” effect has resulted in my donning t-shirts, shorts, sunglasses, and plenty of sunscreen while enjoying delightfully blissful conditions.

For those of you freezing-off your tushes elsewhere, you’ll need to trust me that these conditions are quite enjoyable.  Too bad for all of you.

Kelly taking a refreshing reprieve from the heat

Kelly taking a refreshing reprieve from the heat

DHRSP is big, offers loads of multi-use (dog friendly) trails, spacious sites, and surprisingly clean bathrooms/showers.  The park offers water and electric, but not sewer.  Consequently we must display conservative water disposal into our holding tanks when not secretly “watering” the bushes outside our door.

Less the absence of sewer, the situation here is so nice, we cancelled our plans to visit Joshua Tree and we will be staying put through Saturday.

So what makes this place so nice you’re wondering … many things actually.  The park is mostly empty which affords us plenty of elbow room, we’ve fallen smitten for the hipster cool town of Sedona located just up the road, and we have blazing fast mobile broadband directing the internet into our laptops … enabling us to work remotely Thursday and Friday. 

I’ve added a few snapshots from the past few days below.

photo 2 - Version 2

IMG_7791

IMG_7799

IMG_3578

IMG_3583

IMG_3587 - Version 2

IMG_3588 - Version 2

photo 1 - Version 2

photo