Solar Panel Installation (Part 2)
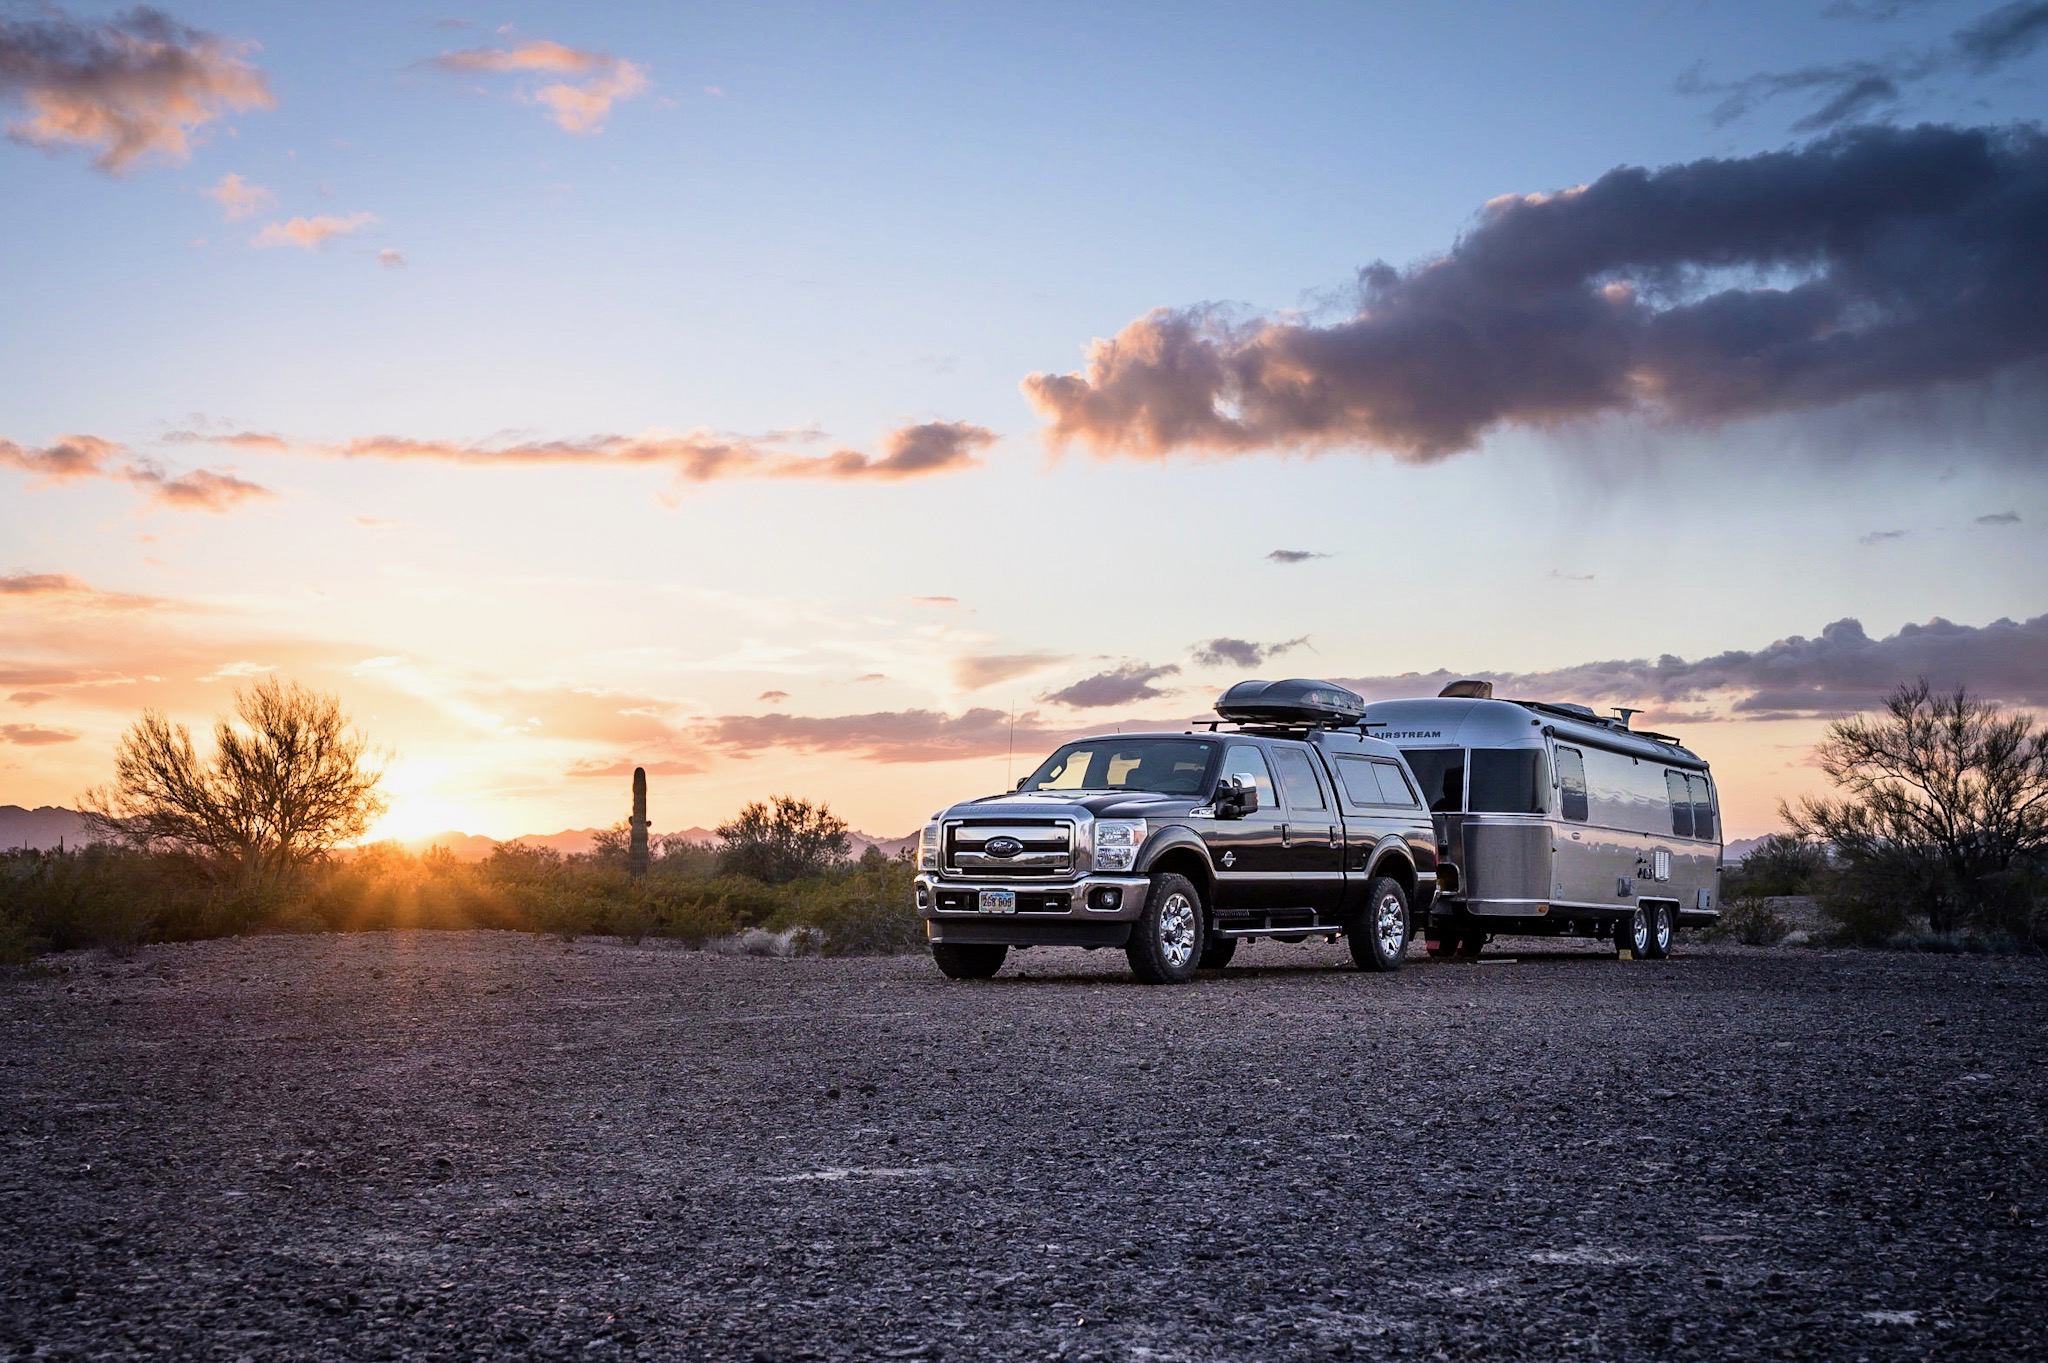
Coming off the heels of last week’s solar panel activity, I was feeling pretty good about my remaining to-do list. My plan was to haul the Airstream to Santa Cruz early Saturday morning, set-up shop at my buddy Tim’s place and together, he and I would finalize the installation. Surely we would be clinking beers by Sunday afternoon admiring our accomplishments.
That was the idea anyway.
Around lunchtime Sunday it was abundantly clear that the clinking of beers was not happening as we’d planned, but we remained cautiously optimistic that we’d be complete by dinnertime.
Yeah, that didn’t happen either.
While we did make good progress over the weekend, we found ourselves – both rookies in this world of solar panel installation, slowly prodding along. Nearly every decision was made only after some amount of extended collaboration. This approach proved to be a good one, but not particularly expedient. Further, there were multiple visits to the hardware store. And finally, I/we under-estimated the time needed to complete certain tasks such as running wires, measuring/fabricating cables, and completing other miscellaneous tasks … those which are simple, but important and painstakingly time-consuming.
Then, before we knew it … POOF … the day’s afternoon was turning to evening. We had to accept the cruel reality that the installation would not be completed this weekend.
Looking at our watches in a state of panic, we immediately shifted gears – focusing our attention to only those tasks which should be completed before departing Santa Cruz. More specifically, the plan was to complete anything I could not do by myself next weekend at my home base here in HMB. In the end, Tim graciously allowed my to borrow some of his hand tools which will prove useful as I finish things solo.
So, if we didn’t finish, what exactly did we accomplish? A lot actually. Allow me to explain…
Our first order of business was to route the primary 6/2 wire coming from the roof through refrigerator vent and then to the utility cabinet under the wardrobe, across the hallway into the pantry, and finally into to the bathroom. Did you get all of that?
Fortunately, Airstream has dedicated a subfloor chase which simplifies this task somewhat, but the process remains a nice sized pain in the ass. To illustrate my point, within the following pictures, follow the Orange and Black 6/2 cable as it routes from the utility access to the bathroom.

6/2 wire descending from the combiner box into the subfloor chase beneath the wardrobe

6/2 wire emerges from the chase behind the primary power center below the pantry

6/2 wire, (later joined with RJ11 and 18/2 wire) routed through a wall and into the bathroom
The “brain” of our solar solution is the charge controller – an otherwise nondescript, boring looking box of circuitry which will be mounted under the bed near the batteries. This charge controller captures a lot of useful data which will allow Kelly and me to accurately know what is happening with our batteries in real-time. Among other things, by way of a realtime remote display panel, we’ll be able to view how much power we are consuming at any moment, how much battery power (i.e. amp hours) remains, how quickly our batteries are recharging, and how much power we are collecting from the panels.
The question then became where to mount this display panel so that it remains easy to see/access without introducing unsightly aesthetics. Airstream simplifies the answer to this question as there is dead space in one of the overhead cabinets which makes for an ideal mounting location. Factor in that this dead space is affixed to the pantry and affords an easy cable run to the primary 6/2 wire, this location is practically begging to be used as a mounting surface.
And that is exactly what I did.

Pantry cabinets removed in order to fish a pair of control panel wires downward to be joined with primary 6/2 wire

Accessing the backside of the mount surface

Tim preps the 18/2 and RJ11 wire which powers the remote panel. Note the square hole for the panel

The mounted remote panel

All wires in the bathroom, awaiting next steps
Once I had all the wires together in the bathroom, the next task was to get them outside.
I knew from reading other blog posts that behind the water tank pictured above, lies a nice spot to drill through the subfloor. Coupled with a separate hole cut from the exterior, the wires can be exited from the bathroom through to the exterior. Such a task is easier said than done as the space is very cramped and maneuvering my hands and the drill into position proved to be hard – too hard.
Finally, after a lot of swearing and only after incurring a few scrapes to my knuckles, the hole was cut.

Through the floor (no I didn’t vacuum the wood shavings
Of course before I could insert the wires, Tim and I had to cut a hole into the underbelly of the rig. Together the two holes would provide easy passage to the outside. Following a fair bit of estimate measuring, we finally settled on a location and I cut an access hole.

A bit of nervous horseplay before cutting the hole.

Getting serious about the task at hand
Before routing the wires through, I decided to insert a piece of flexible PVC through the hole to act as a protectant against future rub/wear damage to the wires.

Wires routed through the floor
Obviously, being the underside of the coach, protection from weather is important. To solve for this, I opted to route all the wires through weatherproof flexible PVC, which was then clamped and screwed to the chassis frame rails.

The wire bundle exiting the coach
You can see in the picture below how once finished and in place, all the wires are completely protected from the elements and safely secured to the frame chassis.

Wires fully protected from the elements
The floorplan of our Airstream utilizes about a third of the space under the bed as storage, accessed from the outside. Within this space, a sub-portion is further dedicated as an electrical control panel. I chose to run the flex PVC into this bay.
What you are looking at below is: fuse for inverter (top left), the black box below the fuse is the bus for brake lights, running lights, electric brakes, etc,. Just beneath the wood board in the middle of the picture is the main power relay, and beneath it another positive and negative battery bus. Finally, the big box on the right is the (600 watt) inverter which converts DC battery power into household AC electric power. A small partition wall (which I’ve removed) separates this utility area from the main front storage area.

The forward garage/utility area
Looking at the picture above, it seems clear to me Airstream doesn’t give a damn about securing these components in a clean and orderly fashion. Sadly, another example of sloppy craftsmanship I sometimes find throughout the coach. Yes, everything works fine as it should, but for as much as an Airstream costs, details like these could and should be executed far better than they are.
But I digress…
For my installation I will need to fit a variety of items into this space. Accordingly, far too much time was spent rearranging the placement of items and cutting back unnecessarily long and sloppy factory cable runs. Once I had things a bit better situated, I proceeded to cut a hole into the floor for the cables to re-enter the trailer through the bay .

Awaiting wires from the bathroom

Wire bundle in and awaiting permanent tightening.
And that is also about when we starting running out of time.
I figure that I have about half a day remaining, which means in reality, probably one more full day. I continue to remind myself that doing this work myself is good. I saved a lot of money (I estimate about $1,200) and learned everything about my particular installation, the latter of which may likely serve me well sometime in the future if/when repairs are needed or if we decide to pursue a system expansion.
In the meantime, I remain committed to completing this project with a smile.
Lastly, I cannot express enough how grateful and thankful I am that Tim and his wife Katie allowed Kelly and me to squat in their front yard all weekend. I would have been in big trouble without Tim’s knowledge, assistance, and awesome cache of tools. Thanks again Tim and Katie!
Fingers crossed that phase 3 is the final chapter of this project.