Leaping To Lithium
More Solar + More Electrical Capacity = More Happiness
Despite what some will say, it turns out you can buy happiness … and a guy named Marv can help.
Before transitioning to full-time travelers, our jobs afforded us flexibility to routinely work out of the office. Annually, we accumulated about 2.5/3 months camping … 7 to 10 days at a time. When camping we routinely worked remotely, so having sufficient reliable battery power (and internet) was critically important for us.
Shortly after purchasing the trailer I bought a Yamaha 2kw generator and also replaced the Airstream supplied Interstate batteries with a pair of Trojan T-105 deep cycle batteries. This set-up afforded us 110 usable amp hours (at 50% draw), plus the ability to use the generator to recharge batteries when boondocking. Complementing all of this was an Airstream factory installed 600 watt inverter powering three dedicated 120v outlets. For about a year this solution worked decently well for our needs, but definitely wasn’t perfect.
Over time Kelly and I began to resent our reliance upon the generator when off the grid, so I installed a basic system consisting of four 100 watt rooftop solar panels and a midlevel solar charge controller system, all of which was purchased from AM Solar. The system was a big improvement, vastly improving our camping experiences for the past 2.5yrs.

Prepping re-routed rooftop combiner cable & box

Moving the combiner cable to curbside of coach significantly shortened cable length, reducing voltage drop

New roof layout. Removed batwing antenna; added 2 panels (fore and aft) on streetside
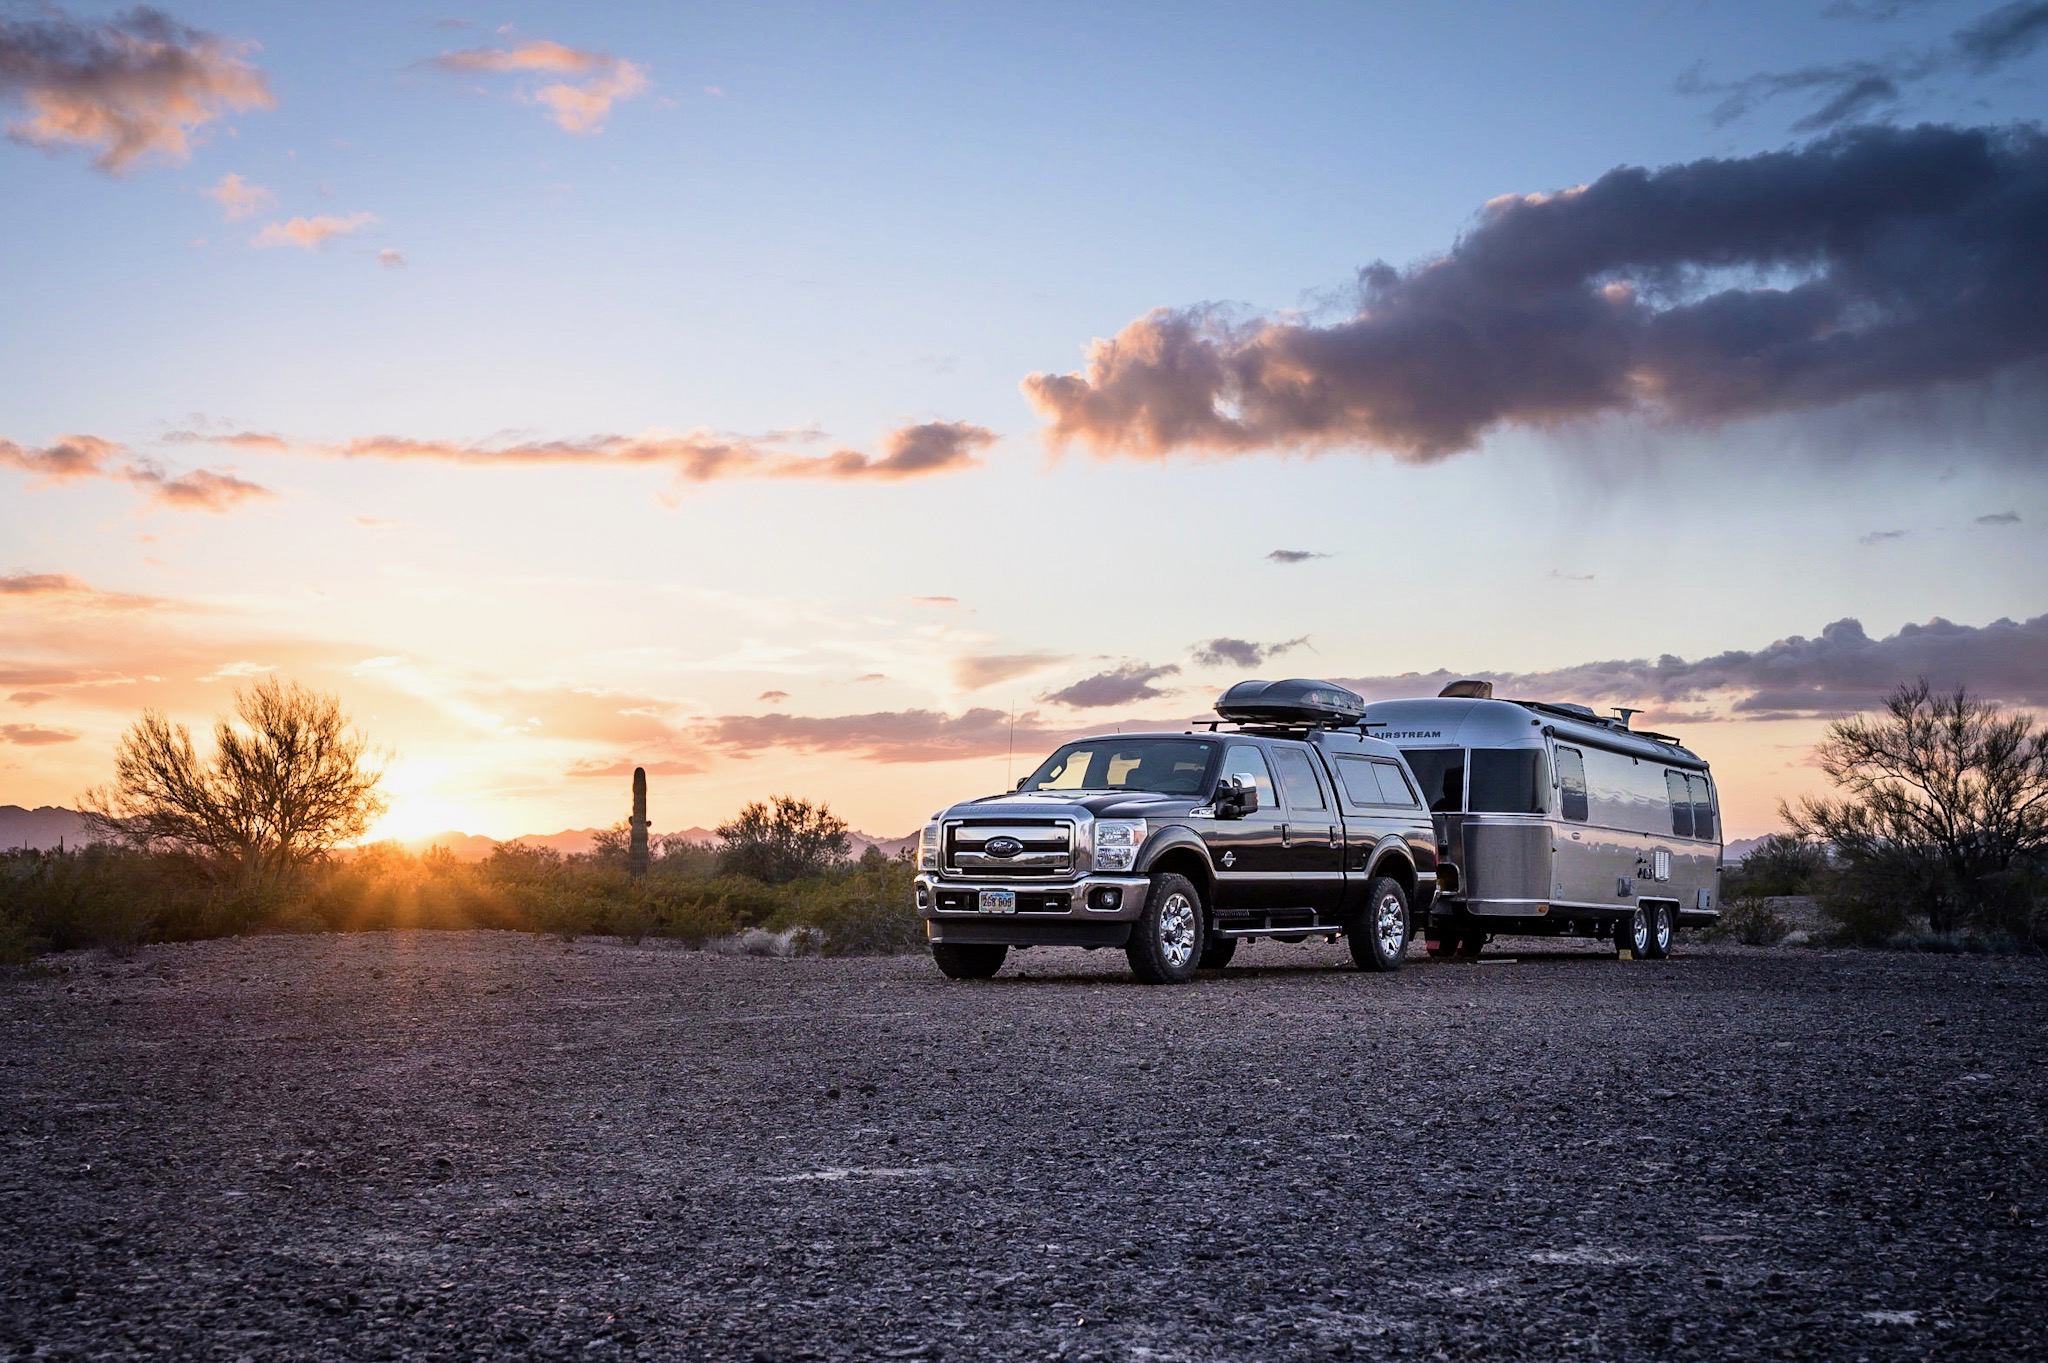
All was good until April of this year, when Kelly and I left the Bay Area to live and work full-time from the road, boondocking whenever possible.
Almost immediately we began to stretch the system to its limits, often running negative amp hours. When days were long, sun constant, and outdoor temperatures moderate, we could make do work with conscious electrical conservation behaviors. But in the absence these ideal conditions (especially cool/cold nights at elevation) or if we wanted to use a lot of power, we quickly consumed the available 110 amp hours, requiring that we run our 2kw Yamaha for hours, which we hated doing.

200ah lithium battery pack (1 of 2) wired with cell balancers

Marv pairing the batteries

Main cables from outside the bed platform

Main power console taking shape
Additionally, we were increasingly frustrated with the wimpy inverter (600 watts) and lack of conveniently located inverter power outlets.
Finally, as dog owners we occasionally need to run air conditioning when leaving Lilly behind. Our particular generator is not powerful enough to enable this and too often we felt compelled to camp at RV parks or campgrounds when we would rather be boondocking. This issue alone drove much of our route planning this past summer, requiring us to stay in otherwise non-preferred locations.
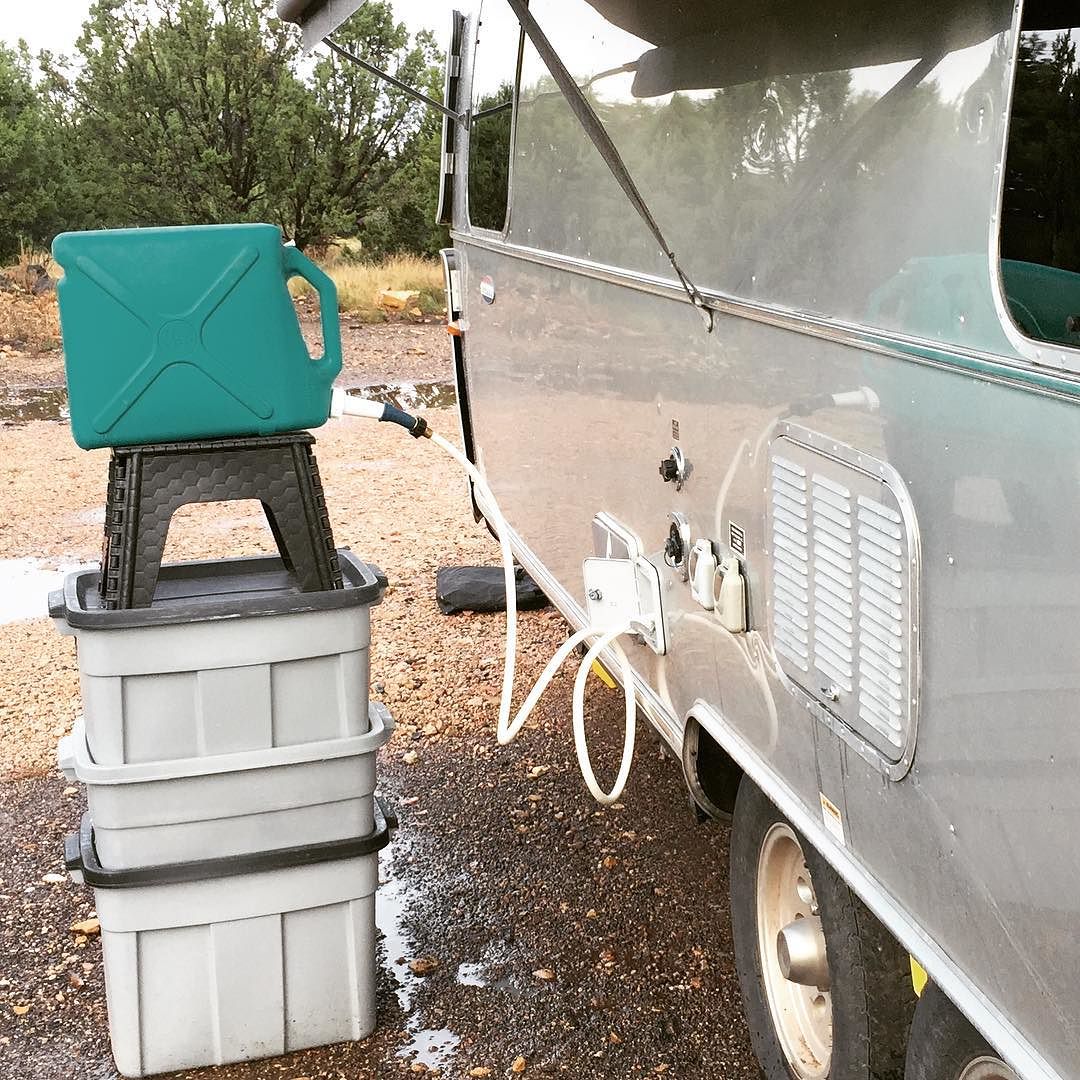
All of this came to head a few weeks ago in Flagstaff as temperatures dropped into the low 40’s, rain was constant, and I was forced to buy a bigger gas container in order to continue feeding the generator.
Something had to give. Kelly and I immediately decided to upgrade our electrical infrastructure, mindful of specific objectives:
- Negate any reliance of external AC power (generator or shore).
- When boondocking, we want ability to live day-to-day no differently than when connected to an external AC power source (generator or shore).
- Ability to run our air conditioner directly off battery when boonbocking.

Charger/Inverter wired up

Previous charger removed, freeing space for the AC sub-panel

New 40amp solar charge controller (left) connected to 25amp solar controller (right)

Roughing in the layout
Given the size and weight restrictions we have to work within, Lithium batteries were the logical solution. For various reasons I was initially hesitant about lithium, but increasingly I could not look past the numerous benefits. But, they do not come cheap – each of my two batteries cost $1,600. More, the technology is still new in RV applications, which raises a whole host of other considerations.

1/2″ plywood added for protection

Close-up of plywood

Test fitting a few bins before re-assembling the bed platform
Ultimately Kelly and I were lured by the potential upside; key considerations solidifying our decision to go lithium being:
- Discharge capability is far greater with lithium. For us, usable amp hours would skyrocket from 110ah to 320ah (at 80% discharge) with the same size/weight footprint.
- Recharging times for lithium back to 100% (full) are significantly faster versus lead acid or AGM batteries.
- With proper EMS and cell balancing sensor boards, lithium technology is essentially hassle/maintenance free.
Unlike my previous installation, knowing my DIY limitations and the need to stretch beyond my comfort zone, I never considered installing the system myself.
Enter Marv Braun of Precision RV.
I contacted a few potential installers but immediately clicked with Marv. Besides being very knowledgeable and extremely qualified – he really helped me think through our specific power consumption needs, desires, and preferences. More, I really appreciated that Marv and his wife are full-timers themselves (12 years going strong). I valued that he could personally relate to the power consumption challenges and nuances Kelly and I are experiencing.
With Marv’s input, Kelly and I decided on the following equipment to serve as the basis for our electrical infrastructure:
Solar:
- Addition of two rooftop 100 watt panels (bringing total to 600 watts).
- Blue Sky 40 amp charge controller paired to my previously purchased 25 amp Blue Sky controller (which is now dedicated to a previously purchased 160 watt external portable panel) as a slave, allowing the monitoring input performance of portable panels separately from, or combined with the rooftop panels.
Batteries & Battery Management:
- Two Elite Power Solutions 200ah lithium battery packs & Energy Management System CPU.
- Energy Management System cell balancing sensor boards & EMS LED display.
Electrical:
- Magnum 3k hybrid charger/inverter & remote panel.
- Custom made sub-panel separating the hot water heater and fridge from the inverter.
- Much of the wiring was upgraded from 6AWG to 4AWG or 2AWG, not to mention a whole host of related misc items (fuses, breakers, cutoff switches, etc.) needed upgrading to accommodate the supercharged power demands.
Marv is awesome and I cannot say enough good things about him and his dedication to ensuring that all aspects of the installation went smoothly. Even if you are only considering a solar/electrical upgrade … or simply need various general repairs to your rig (which he also did for us) give Marv a call.

Marv and one happy customer

Top to bottom: 1) battery/EMS monitor, 2) charger/inverter remote, 3) solar change controller remote
So, how’s it been so far? In a word – awesome! We’ve been dry camping and purposely pushing the new system, consuming power generously … perhaps wastefully, just to see what happens. And while we’ve only been using the systems for a week, initial indicators suggest the new set-up will be a game changer for us. In fact, barring something crazy, I don’t think I really need to plug-in anymore.
Thanks Marv!